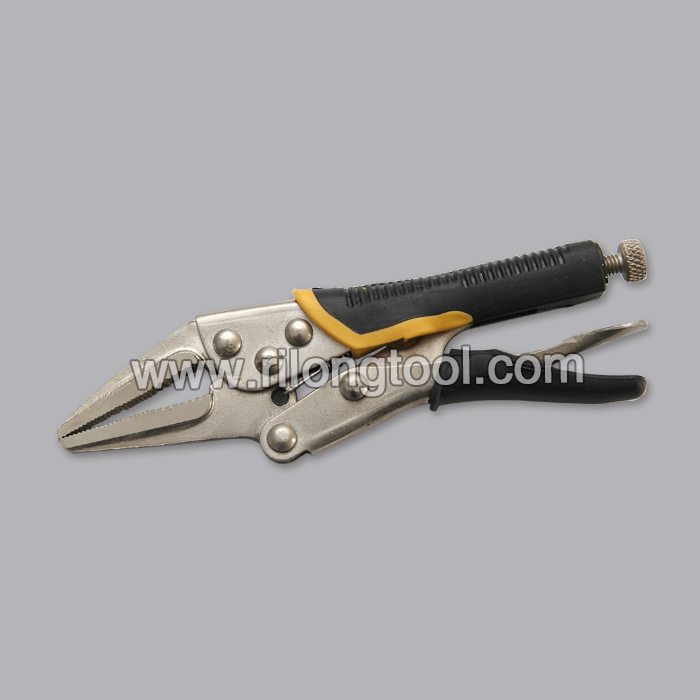
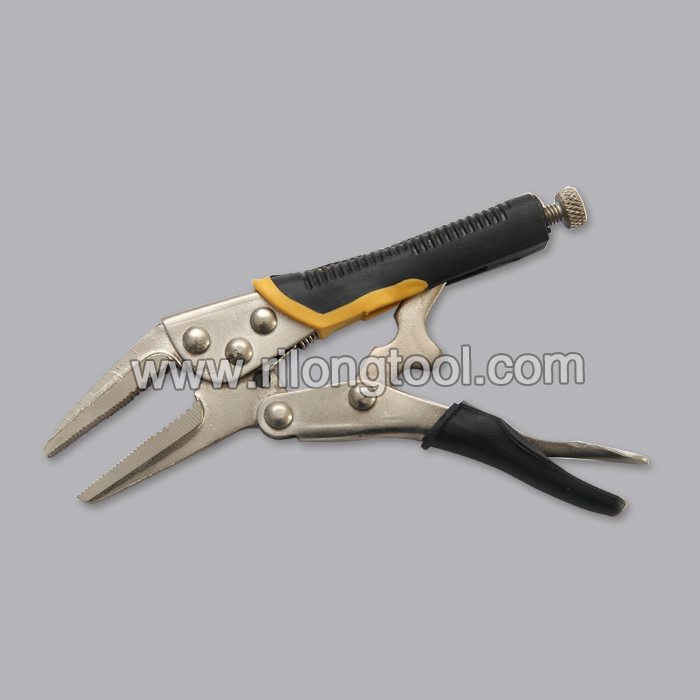
China Wholesale for 6.5″ Backhand Long-nose Locking Pliers with Jackets in Miami
Short Description:
Product Detail
Product Tags
Our advantages are lower prices,dynamic sales team,specialized QC,strong factories,high quality products and services for China Wholesale for 6.5″ Backhand Long-nose Locking Pliers with Jackets in Miami, Welcome to build the well and long standing business relationships with our company to create a glorious future together .customers' satisfaction is our eternal pursuit
Basic Information
■Model Number: RL-DLQ014
Additional Information
■Material: A3# steel (Q235) or 45# steel
■Size: 6.5”
■Surface Treatment: Nickel-plated, Zinc-plated, Black Oxide, Electrophoresis
■Heat Treatment: Optional
■Package: Blister Card, Suction Card, Tie Card, Double Blister Card
■OEM: Acceptable
■HS Code: 8203200000
■Samples: For FREE
■Delivery Time: Always 30 working days depending on the order quantity
■Packing: By standard cartons
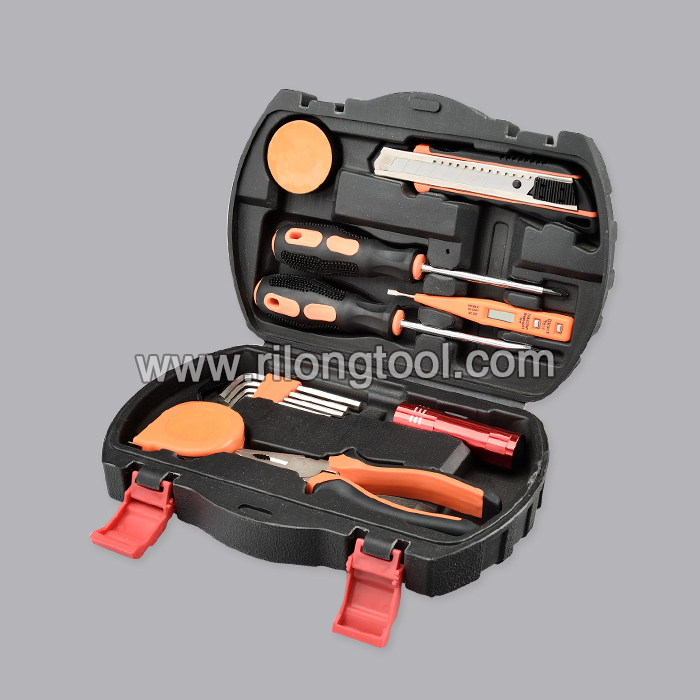
Product Description
■Mainly used for clamping parts to rivet, weld, grind and so on, which is characterized by the powerful clamp force produced by the jaw. It can lock tight so that the parts won’t fetch away. Besides, jaws have a lot of levels to adjust for the use of different thickness of parts, and it also can be used as a wrench.
■Flexible using, long life and good tenacity.
■The screw tuning button can give the best clamp size easily.
Product Image
A good tip, it’s so easy to gap a spark plug with a channel lock plier. Easy leverage control, fast and simple, you can open and close the gap easily. I gap my spark plugs visually, no need to measure.
Watch the full episode: https://www.thisoldhouse.com/toh/tv/ask-toh/video/0,,21001613,00.html
Ask This Old House plumbing and heating expert Richard Trethewey helps a homeowner install a washer and dryer in his basement. (See below for a shopping list, tools, and steps.)
Click here to SUBSCRIBE to the official This Old House YouTube channel: https://www.youtube.com/subscription_center?add_user=thisoldhouse
Shopping List for How to Install a Basement Laundry:
- Dryer vent
- Caulk
- Flexible metal dryer vent tubing
- Hose clamp
- 2-inch-by-1-inch PVC Y-fitting
- 2-inch PVC piping
- Rubber repair coupling
- Flux
- Solder
- Copper pipe T-fittings
- Stainless-steel hoses
- 1-inch PVC piping and fittings
- 1-inch PVC check valve
- 1-inch PVC ball valve
- Washing machine valve
- Laundry sink
- Laundry sink pump
Tools for How to Install a Basement Laundry:
- Drill/driver
- 2 1/2-inch hole saw
- Caulking gun
- Reciprocating saw
- Copper-pipe cutter
- Torch
- Pliers
Steps for How to Install a Basement Laundry:
1. To install the dryer vent, use a small drill bit to drill through the side of the wall of the house. Pick a spot that’s near the base of the home and free from obstructions.
2. With the small hole as a guide, use a 2 1/2-inch hole saw to saw through the house siding and into the basement.
3. Place a bead of caulk around the dryer vent where it connects to the building. Then screw in the vent using a driver.
4. Connect the flexible metal dryer vent tubing to the dryer vent using zip screws and a driver.
5. Use an elbow fitting to connect the dryer vent tubing to the back of the dryer.
6. Connect the dryer vent tubing to the back of the dryer using a hose clamp.
7. Plug the dryer into a 240-volt receptacle.
8. Next, to connect the washtub and water pump, use a reciprocating saw to cut out a piece of old galvanized pipe.
9. Replace the pipe section with a PVC Y-fitting and connect it to the old galvanized pipe using a rubber coupling.
10. Ensure the water supply is off, then, using a copper-pipe cutter, cut the existing hot and cold water lines.
11. Replace copper pipe connections with copper pipe T-fittings.
12. Then connect new copper pipes to T-fittings that will lead to the washer.
13. Apply flux to each joint and solder the connections with a torch.
14. At the washing machine supply location, install a washing machine shutoff valve.
15. Attach stainless-steel hoses to the washtub and faucet supply line. Hand-tighten and then snug them up with a pair of pliers.
16. Connect 1-inch PVC pipes from the washtub to the PVC Y-connection and drain line. Ensure you install a check valve to prevent discharged water from returning to the pump and a ball valve to control the flow.
17. Move the washer into place and connect the stainless-steel supply hoses.
18. Be sure to throttle down the water pump until it continuously stays on while water is being fed. Otherwise it will short-cycle, shortening the life of the pump.
Follow This Old House and Ask This Old House:
Facebook: https://www.facebook.com/ThisOldHouse
Twitter: https://twitter.com/thisoldhouse
https://twitter.com/asktoh
Pinterest: https://www.pinterest.com/thisoldhouse/
G+: https://plus.google.com/+thisoldhouse/posts
Instagram: https://instagram.com/thisoldhouse
Tumblr: https://thisoldhouse.tumblr.com/