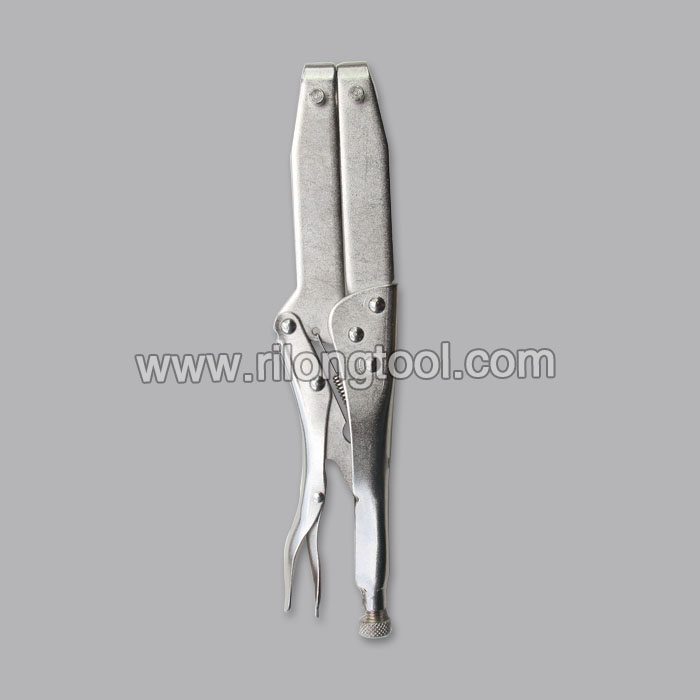
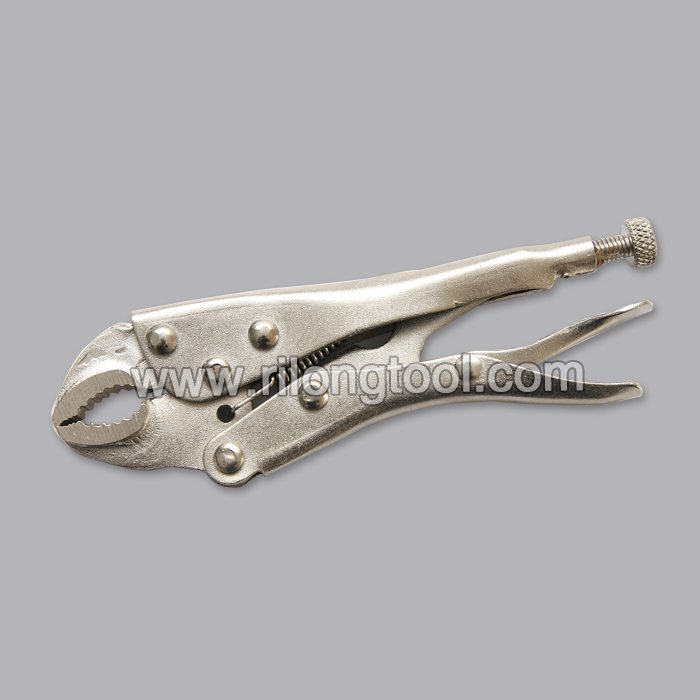
20 Years Factory 10″ Backhand Round-Jaw Locking Pliers for New Zealand Manufacturers
Short Description:
Product Detail
Product Tags
We always work as a tangible team to ensure that we can provide you with the best quality and the best price for 20 Years Factory 10″ Backhand Round-Jaw Locking Pliers for New Zealand Manufacturers, If you are interested in our products, please feel free to send us your inquiry. We sincerely hope to establish win-win business relationships with you.
Basic Information
■Model Number: RL-DLQ006
Additional Information
■Material: A3# steel (Q235) or 45# steel
■Size: 10”
■Surface Treatment: Nickel-plated, Zinc-plated, Black Oxide, Electrophoresis
■Heat Treatment: Optional
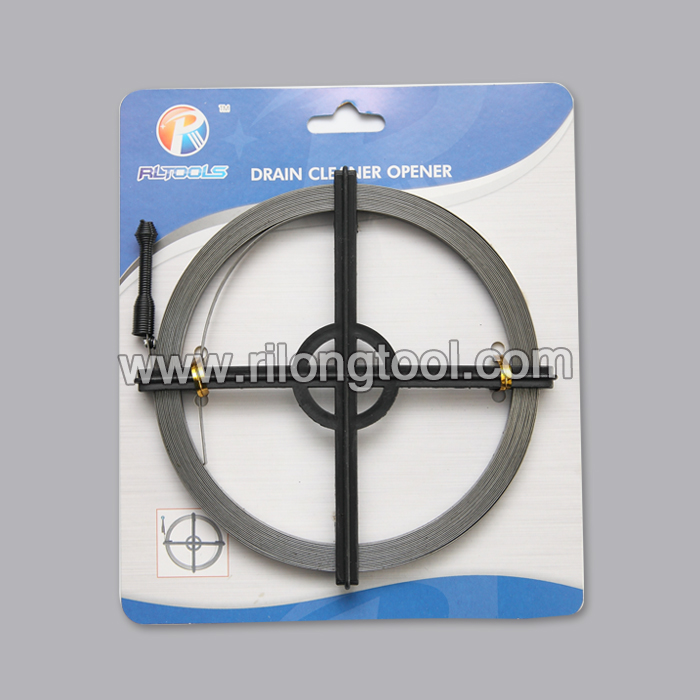
■Package: Blister Card, Suction Card, Tie Card, Double Blister Card
■OEM: Acceptable
■HS Code: 8203200000
■Samples: For FREE
■Delivery Time: Always 30 working days depending on the order quantity
■Packing: By standard cartons
Product Description
■Mainly used for clamping parts to rivet, weld, grind and so on, which is characterized by the powerful clamp force produced by the jaw. It can lock tight so that the parts won’t fetch away. Besides, jaws have a lot of levels to adjust for the use of different thickness of parts, and it also can be used as a wrench.
■Flexible using, long life and good tenacity.
■The screw tuning button can give the best clamp size easily.
Product Image
This has all the features of a much more elaborate stuffer, but at a fraction of the cost. This is a 4″x24″ PVC sausage stuffer controlled by a foot pedal. It holds about 10 pounds of sausage. The plumping is quite simplified and the faucet itself is used as the speed control valve. AND it has power retraction. All for less than $100.
By using garden hose quick connects the system can be quickly re-plumbed to use a venturi pump to retract the piston. The beauty of the venturi pump is that it is cheap ($7.95 on Ebay) and it works great. Buy the Python brand 13B is the model number. Don’t settle for imitations I am told.
In operation, the system is plumbed as pictured. With the hose disconnected from the pipe and with the pipe dry, I push the piston as far into the pipe as I can. I then stand it up in the sink and pour water through the connection into the area behind the piston. When it is full I attach the hose. I have previously filled the hose by running the system for a few seconds. This way I eliminate air in the system.
Glossary:
MH – Male Hose thread
FH – Female Hoe thread
MHM – Male Hose Mender
FHM – Female Hose Mender
MNPT – Male National Pipe Thread (NPT)
FNPT – Female NPT
MQC – Male Quick Connect for a Hose
FQC – Female Quick Connect for a Hose
Starting at the faucet:
1. Faucet:
a. Your faucet aerator to FH
b. Attach FQC to FH
2. Connection to Faucet
c. Length of 5/8” ID hose equal to the distance from you faucet to the bottom of your sink.
d. MHM to MQC on one end of the hose
e. 5/8” hose barb to ¾” MNPT. Don’t forget to put the Hose clamp on first.
3. Plumbing of the solenoids:
f. 2 above attached to inlet of one solenoid
g. ¾”npt to ¾” PVC street El. Thread to other side of this solenoid using Teflon tape on all threaded joints.
h. ¾” PVC short nipple cut from a length of pipe. About 3” long glued to b. above.
i. ¾” PVC T with middle T threaded for ¾” NPT
j. Glue d to c so that the threaded T is straight up.
k. Repeat c and b but attach threaded street L to inlet of second Solenoid.
4. Hose from PVC T to stuffer
l. On one end of about 12” of 5/8” ID hose: 5/8” hose barb to ¾ MNPT. Screw this into the T. Don’t forget to put the Hose clamp on first.
m. On the other end: 5/8” hose barb to FHM to FQC
n. ON both ends of 5-6’ of 5/8” ID hose: 5/8” MHM to MQC
5. At the end of the suffer:
o. Drill a ¾” hole in the cap.
p. Take a ½” NPT nipple and cut two slots in one end about ½” deep. Cut across the nipple (as it is standing on end) and then rotate your cut slightly (maybe 5 degrees) and make another cut. Use pliers to snap off the bit between the cuts. Put this is a vice (or use vice grips) so that you can screw the cap onto this end of the nipple. This acts as a thread “TAP”. After you tap the hole,
q. Screw into the hole ½”NPT to FH to FQC.
6. To the Python venturi pump
r. Attach FQC and MQC as appropriate.
Suffer:
7. 24” of 4” PVC holds about 10 lbs of sausage. Clean and dry pipe and all other 4” fittings
8. Drill and tap a 4” cap. See instruction 5 above. Glue to one end of the pipe.
9. Glue 4” cleanout to other end of pipe.
10. Threaded cap:
a. Dill 1 ¾” hole in 4” threaded cap.
b. Cut a Keeney Mfg. Co. Plastic Straight Coupling Item #: 25011(from Lowes) to leave about 5/16” of the tubing after the threads.
c. Glue into 1/3/4” hole trying to make the inside edge flush so it is easy to clean.
11. Modify a commercial stuffing horn to fit into the threaded ring that attaches to the coupling you glued into the threaded cap.
12. Plunger
a. 3” PVC Cap
b. Two grooves .147 deep and .238 wide.
c. 4” O-rings. I used Buna-N -342 from Grainger
Instructions for use:
12. Plunger: Grease the o-ring grooves, add o-rings and grease over o-rings with Crisco.
13. Push Plunger as far into stuffer as possible with rounded side facing out.
14. Stand stuffer on the threaded in the sink and fill with water using a pitcher through connector in cap end.
15. Attached QC to faucet. Attach MQC Hose end to faucet. Attach 6’ hose to FQC coming out of the T.
16. Plug in power.
17. Press switch and turn on water to fill 6’s hose. Once it is full turn off water and attach other end of 6’ hose to stuffer.
18. You are now ready to fill suffer with sausage.
19. Once filled (avoiding as much air as possible), screw on cap with attached horn.
20. Press start and turn on water slow. Soon sausage will come out of horn.
21. Let up on switch.
22. Add casings to horn.
23. Stuff in normal way.
24. When you get to the end. Stop before you blow the horn out of the end of the stuffer with the plunger. It is powerful. I broke the first threaded plug I built. Buy a heavy duty threaded plug.
This video shows how to operate the Macnaught K32 grip type grease gun and teach how to expel the air pocket while first time usage of grease cartridge.
See more tool information: www.alba-tools.com.tw