Wholesale price stable quality 11″ C-clamp Locking Pliers Supply to Senegal

Short Description:
Product Detail
Product Tags
The company keeps to the operation concept "scientific management, high quality and efficiency primacy, customer supreme for Wholesale price stable quality 11″ C-clamp Locking Pliers Supply to Senegal, We sincerely welcome domestic and foreign merchants who calls, letters asking, or to plants to negotiate, we will offer you quality products and the most enthusiastic service,We look forward to your visit and your cooperation.
Basic Information
■Model Number: RL-DLQ019
Additional Information
■Material: A3# steel (Q235) or 45# steel
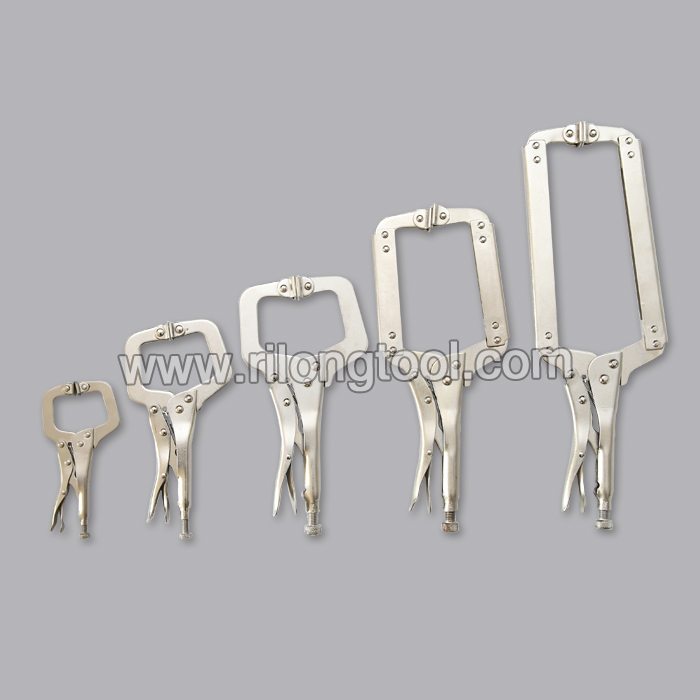
■Size: 11”
■Surface Treatment: Nickel-plated, Zinc-plated, Black Oxide, Electrophoresis
■Heat Treatment: Optional
■Package: Blister Card, Suction Card, Tie Card, Double Blister Card
■OEM: Acceptable
■HS Code: 8203200000
■Samples: For FREE
■Delivery Time: Always 30 working days depending on the order quantity
■Packing: By standard cartons
Product Description
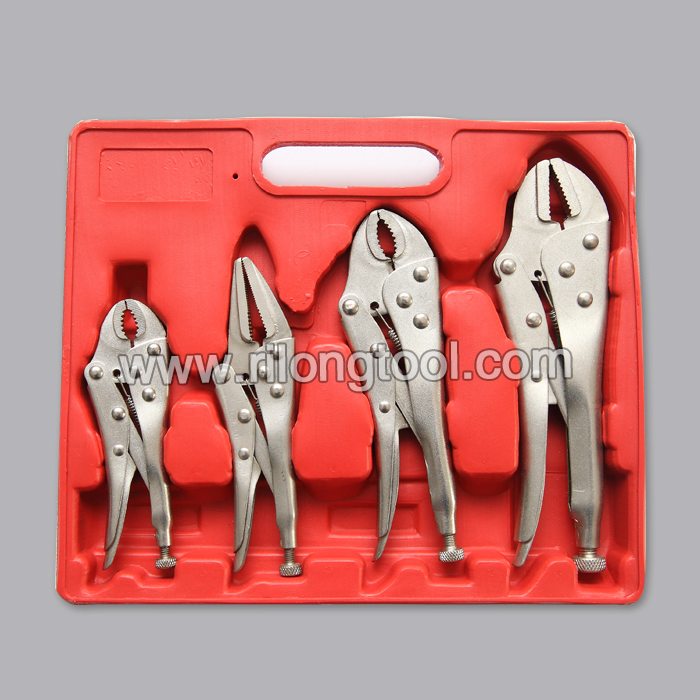
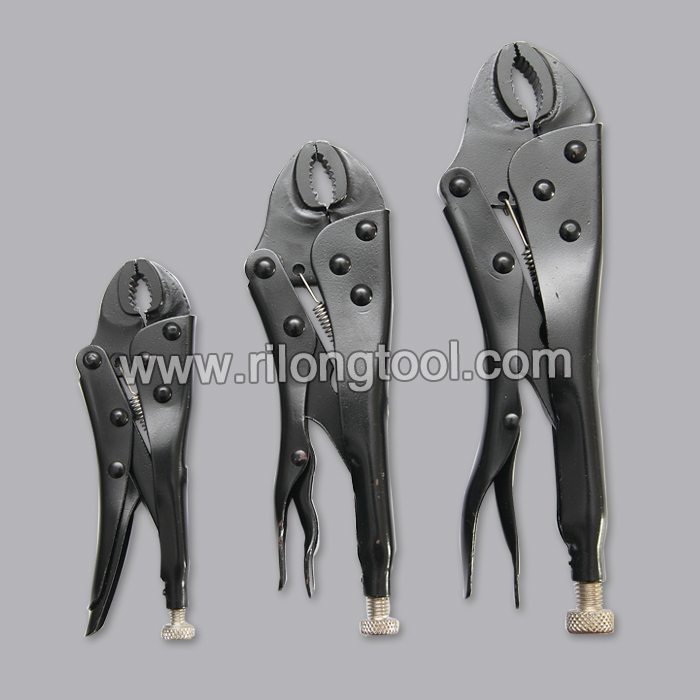
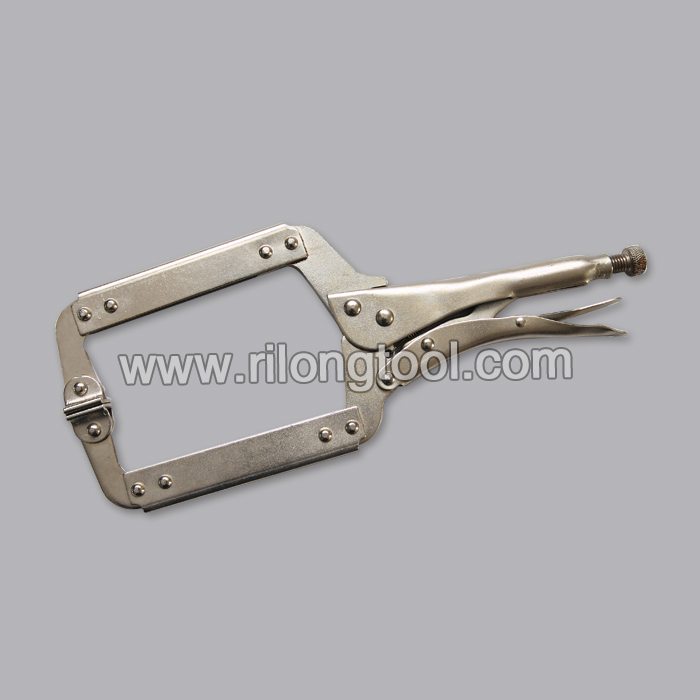
■Mainly used for clamping parts to rivet, weld, grind and so on, which is characterized by the powerful clamp force produced by the jaw. It can lock tight so that the parts won’t fetch away. Besides, jaws have a lot of levels to adjust for the use of different thickness of parts, and it also can be used as a wrench.
■Flexible using, long life and good tenacity.
■The screw tuning button can give the best clamp size easily.
Product Image
This video from Sears PartsDirect shows how to replace a broken clutch band in a direct-drive washer. the clutch releases the brake in the drive system to allow the basket to spin when the washer is in spin mode. The clutch band creates friction between the clutch hub and the clutch lining, causing the entire clutch assembly to rotate and release the brake. If the clutch band is worn out, the clutch assembly will not rotate properly to release the brake. If the washer spins when the washer basket is empty but not when it’s full, check the clutch band to see if it’s loose, worn-out and easy to move. If it is, you may be able resolve the problem by replacing just the clutch band, without having to replace the whole clutch assembly. This repair will work for direct-drive washers made by Kenmore, Whirlpool and Maytag.
Visit us at https://www.searspartsdirect.com?sid=soc:youtube:how-to-replace-a-direct-drive-washer-clutch-band
Or call 1-800-437-1673 to speak with a parts specialist.
The video includes these parts. Look up your model to make sure you get the right parts for your washer.
Clutch band
https://www.searspartsdirect.com/part-number/285790/0026/110.html?sid=soc:youtube:direct-part-link
Find parts for your washer at:
https://www.searspartsdirect.com/partsdirect/product-types/Washer-Parts?sid=soc:youtube:card-washer-part
Or click here to schedule an appointment with a repair technician. https://www.searshomeservices.com/repair#showall
Transcript:
Unplug the power cord from the wall outlet. Turn off the water supply valves for the washer. Open the washer lid and pry the cap off the top of the agitator. Remove the 7/16″ bolt and washer that secure the agitator to the agitator drive shaft. Grip the bottom of the agitator and pull the entire agitator assembly up and out of the washer. Pull the drain hose out of the standpipe behind the washer. Move the washer away from the wall so you can reach the fill hoses. Mark which fill hose goes to the hot connector and which goes to the cold. Using channel-lock pliers, carefully loosen and remove both fill hoses. Expect some water to pour out. Tip: Wipe up water spills with a towel to prevent slipping. Carefully tip the washer backwards to access the drive components at the bottom of the washer. Use a slot screwdriver to release the metal mounting clips that secure the drain pump to the front of the drive motor. Pull the drain pump forward and release it from the drive motor shaft, leave the hoses connected to the drain pump. Unplug the wire harness from the drive motor. Detach the wires from the drive motor capacitor. Release the drive motor wire harness from the plastic retainer clip on the bottom of the transmission housing. Remove the bolts that secure the transmission to the base of the washer. Carefully pull the transmission (with drive motor attached) straight out of the bottom of the washer. Set the transmission and drive motor assembly upright to service the clutch assembly. Using channel-lock pliers, compress the spring on the clutch band and pull the clutch band up and out of the clutch housing. Pry the C-clip off of the brake cam. Pull the brake cam off of the base of the washer. Position the new brake cam on the base of the washer and reinstall the C-clip. Install the spring retainer caps on the new clutch band. Install the new clutch spring between the spring retainer caps. Carefully compress the new clutch band using channel-lock pliers and insert the new clutch band into the clutch housing. Carefully slide the transmission and motor assembly back into the base of the washer. Adjust the alignment of the clutch as necessary so the transmission is flush with the base of the washer and the mounting holes are lined up. Reinstall the mounting bolts in the transmission. Reconnect the wire harness plug on the drive motor. Reattach the wires to the drive motor capacitor. Reinstall the wire harness in the plastic retainer clip at the bottom of the transmission. Reposition the drain pump on the drive motor shaft and secure the drain pump with the retainer clips. Carefully tilt the washer back to the upright position. Connect the drain hoses and properly tighten the connections using channel-lock pliers. Slide the agitator onto the agitator drive shaft. Insert the agitator bolt and the washer. Tighten the agitator bolt firmly. Snap the agitator cap onto the top of the agitator assembly. Put the drain hose back in place, and turn on the water supply valves. Tighten the connection if you find a slight leak. Plug the washer into the electrical outlet. Return the washer to its original location.
Stapling Pliers are hand operated pliers ideal for general warehouse and office use. These pliers are useful for stapling a large amount of paper or mailing bags and provides a firmer fix than a regular desktop stapler. Regular Staple: Around 20 sheets of paper. Stapling Pliers or ‘book staplers’: Around 50 sheets of paper. View on our website here: https://www.kitepackaging.co.uk/scp/staples/staplers-and-hand-tackers/