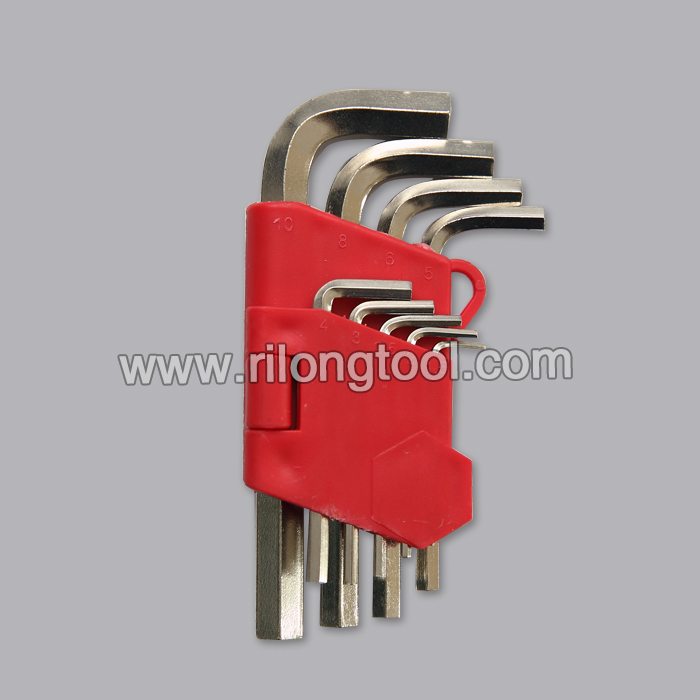
Wholesale price for Plastic massagers for bathroom & toilet for Singapore Factory

Short Description:
Product Detail
Product Tags
We have a professional, efficiency team to provide quality service for our customer. We always follow the tenet of customer-oriented, details-focused for Wholesale price for Plastic massagers for bathroom & toilet for Singapore Factory, Adhering to the business principle of mutual benefits, we have won good reputation among our customers because of our perfect services, quality products and competitive prices. We warmly welcome customers from home and abroad to cooperate with us for common success.
Basic Information
■Model Number: RL-WY005
Additional Information
■Material: Plastic
■Package: Insert Card
■OEM: Acceptable
■Samples: For FREE
■Delivery Time: Always 30 working days depending on the order quantity
■Packing: By standard cartons
Product Description
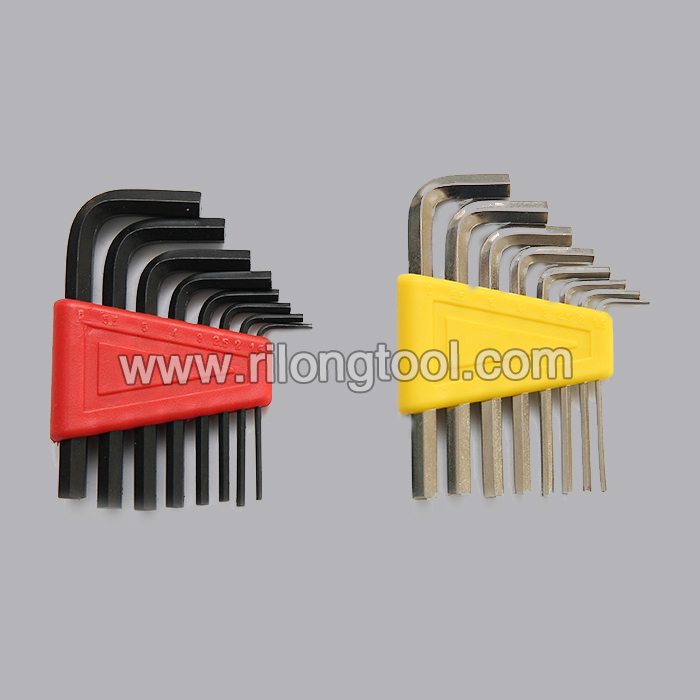
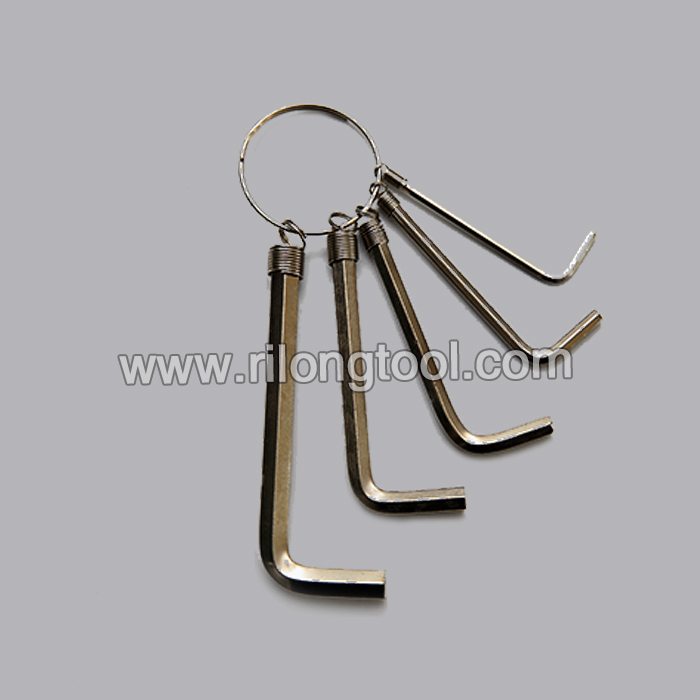
■Ningbo Rilong Hardware Tools Factory can provide various kinds of accessories products for bathroom and toilet.
Product Image
https://www.ereplacementparts.com/bushing-housing-assembly-p-283426.html Click here for more information on this part, installation instructions and more.
This particular bushing housing assembly is specific to Ryobi manufactured brands, including Ryobi, Troy-Bilt, Yard Man, Bolens, and MTD. To find a bushing housing assembly specific to your model, visit eReplacementParts.com.
If your Ryobi string trimmer is showing any of these symptoms; replacing the bushing housing assembly could solve your problem:
1) Trimmer head not spinning
2) Trimmer head makes noise
3) Drive cable not engaging the trimmer head
4) Bump head knob won’t tighten (threads stripped)
5) Guard mounting holes stripped
6) Spool won’t fit onto spindle
7) Entire trimmer head is loose on the housing shaft
eReplacementParts.com part number: 791-181857
Tools used for this repair/replacement:
1) Pick or small screwdriver
2) Phillip’s screwdriver
3) Split-ring pliers
4) Long-nosed pliers
5) Rubber mallet
6) Wrenches and/or socket set
7) Retainer ring installation tool (or a metal tube or pipe that is slightly larger in diameter than the bushing housing drive spindle
Get model-specific repair help from eReplacementParts.com. Learn how to troubleshoot, diagnose and repair your power tools and equipment with illustrated instructions, hundreds of step-by-step repair videos, and our DIY forum. If you have a power tool or appliance problem, we can help. https://www.ereplacementparts.com/articles-c-8873.html
[ VIDEO TRANSCRIPT ]
Hi, I’m Mark from eReplacementParts.com. In this video, I’m going to show you how to install a new bushing housing assembly on a Ryobi trimmer. The bushing housing assembly is a critical part of your string trimmer. It mounts to the trimmer’s shaft and accepts the cable.
It also has the mounting locations for the guard. It contains the bushing so that the shaft can rotate, and the shaft itself where the trimmer head mounts. Common problems with the bushing housing assembly are broken mounting tabs, stripped out screw holes for the guard assembly, worn out bushings, a bent spindle, or stripped threads where the bump head knob mounts.
Replacing the bushing housing assembly is easy to do, and I’m going to show you how. Bushing housing assemblies, as well as many other parts, can be found on our website. Let’s get started.
I’ll begin by removing the bump head knob and the spool. I’ll use a small pick to pull the C-clip away from the shaft. Now I’ll remove the plunger and the plunger spring. Now I’ll remove the E-clip, the slider and the two slider springs. I’ll use a pair of split-ring pliers to do that. Now remove the retaining clip that secures the trimmer head to the shaft. This part is not reusable, so you don’t have to be real careful when you are removing it. I just pry it away with a pick and then use pliers, or even a cutter, to pull it away from the shaft if necessary. This one’s going to come out pretty easily.
Now I can remove the outer spool from the shaft. The plastic outer spool is pressed onto a metal nut on the back side. To remove it, I’ll strike the end of the shaft with a rubber mallet. You don’t want to use a steel hammer here, because you will bend and damage the shaft. Now I’ll remove the bushing housing assembly.
First, I’ll remove the guard, then the retaining clamp, and the anti-rotation screw. Next, I’ll loosen the bolt that secures the clamp to the shaft. Now remove the anti-rotation screw and separate the bushing housing assembly from the shaft. Now we can install the bushing housing assembly. Before I do though, I want to make sure that I remember to slide the retaining clamp over the shaft, then the shaft into the bushing housing assembly. Make sure everything lines up, and I’ll secure these two together with the anti-rotation screw and the clamp.
Now we can install the outer spool. I’ll slide it over the shaft, making sure to line up this recessed portion in the back with the nut on the shaft. Once I have those aligned, I’ll tap the spool onto the nut.
Now I’ll install a new outer spool retainer. I slide the retainer over the shaft. To install it, I’m going to use a special tool that I have. This tool has an inner diameter that gets slightly bigger than the diameter of the shaft. You probably won’t be able to find a tool like this, but a piece of metal tubing has that same inner diameter will work great. I slide the tubing over the shaft and then tap the retainer into place…
[ DOWNLOAD THE ENTIRE TRANSCRIPT FOR THIS VIDEO HERE: https://www.ereplacementparts.com/article/19831/How_to_Replace_the_Bushing_Housing_Assembly_on_a_Ryobi_Trimmer.html ]
The powerful and highly precise NC high-pressure vice GARANT HiPo Clamp is perfect for horizontal, vertical and lateral use as all its sides are ground.
The clamping force can be adjusted by hand with 8 levels of fine adjustment without any additional tool. Thanks to the practical bayonet lock you can easily change the completely encapsulated spindle.
The GARANT HiPo Clamp offers a wide range of applications thanks to its extended equipment.