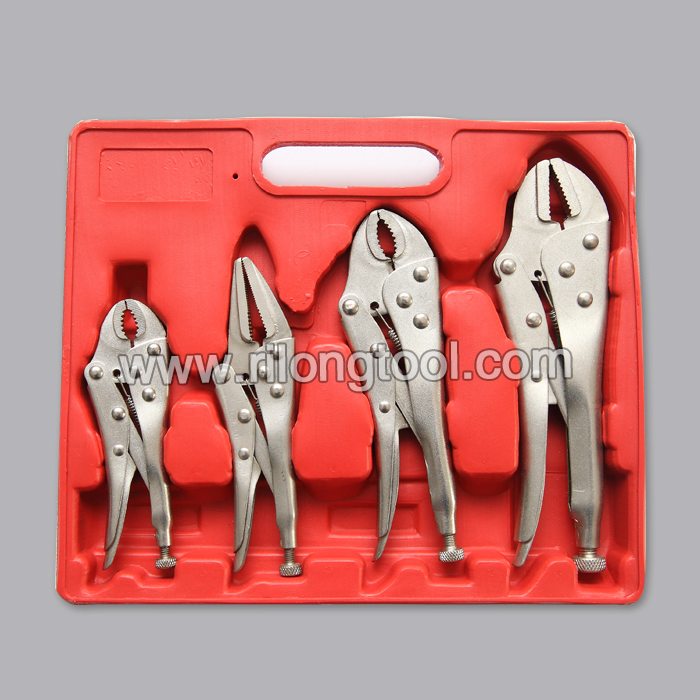
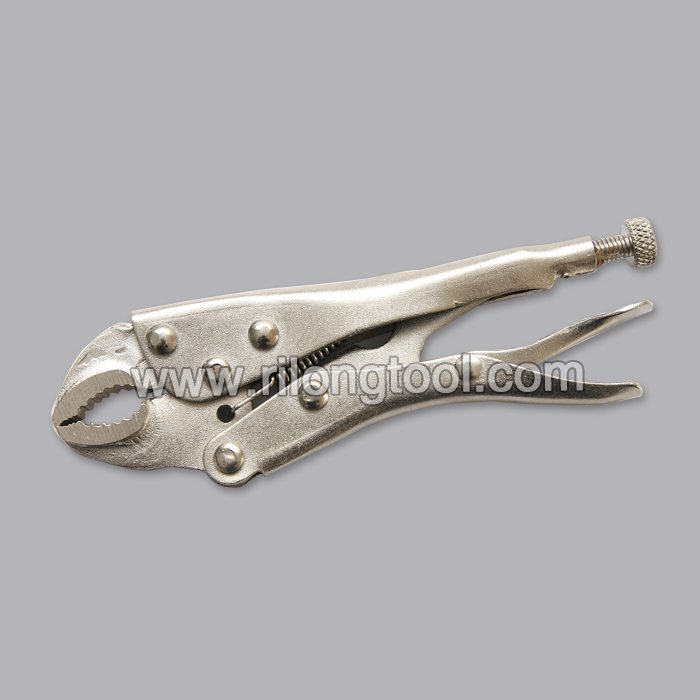
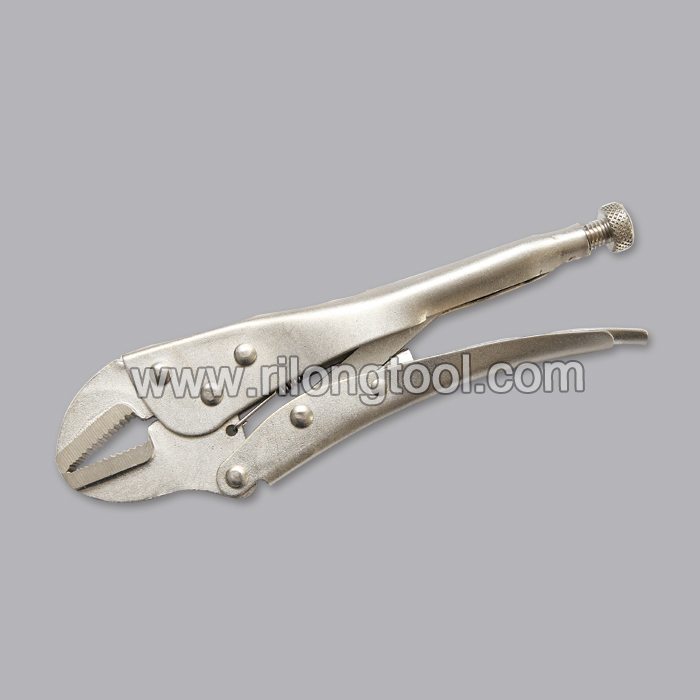
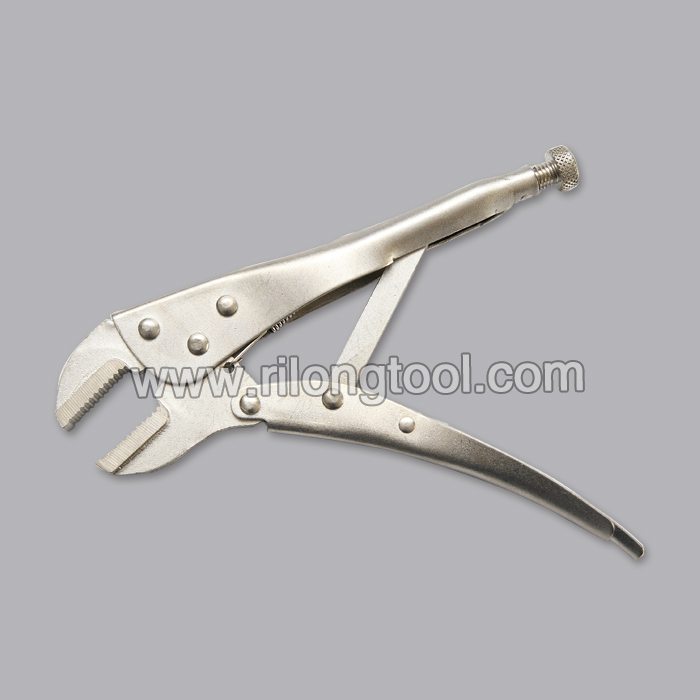
Trending Products 10″ Forehand Flat-nose Locking Pliers to Leicester
Short Description:
Product Detail
Product Tags
We always work as a tangible team to ensure that we can provide you with the best quality and the best price for Trending Products 10″ Forehand Flat-nose Locking Pliers to Leicester, Looking to the future, a long way to go, constantly striving to become the all staff with full enthusiasm, one hundred times the confidence and put our company built a beautiful environment, advanced products, quality first-class modern enterprise and work hard!
Basic Information
■Model Number: RL-DLQ009
Additional Information
■Material: A3# steel (Q235) or 45# steel
■Size: 10”
■Surface Treatment: Nickel-plated, Zinc-plated, Black Oxide, Electrophoresis
■Heat Treatment: Optional
■Package: Blister Card, Suction Card, Tie Card, Double Blister Card
■OEM: Acceptable
■HS Code: 8203200000
■Samples: For FREE
■Delivery Time: Always 30 working days depending on the order quantity
■Packing: By standard cartons
Product Description
■Mainly used for clamping parts to rivet, weld, grind and so on, which is characterized by the powerful clamp force produced by the jaw. It can lock tight so that the parts won’t fetch away. Besides, jaws have a lot of levels to adjust for the use of different thickness of parts, and it also can be used as a wrench.
■Flexible using, long life and good tenacity.
■The screw tuning button can give the best clamp size easily.
Product Image
Channellock 85 Fence Tool – Multitool Accessories -. For more details please visit: https://amzn.to/2cxl8Oj Thank You!
Great Channellock 85 Fence Tool – Multitool Accessories – Review
Channellock 85 Fence Tool – Multitool Accessories – For Sale
Channellock 85 Fence Tool – Multitool Accessories – Unboxing
Review Channellock 85 Fence Tool – Multitool Accessories – Product
[#B00910PQXQ]
https://www.youtube.com/watch?v=https://www.amazon.com/gp/product/B00910PQXQ/ref=as_li_qf_sp_asin_il_tl?ie=UTF8&camp=1789&creative=9325&creativeASIN=B00910PQXQ&linkCode=as2&tag=bakulcoffeblo-20
Product page: https://mishimo.to/1VUdgVl
Facebook: https://www.facebook.com/GoMishimoto
Twitter: https://www.Twitter.com/Mishimoto
Instagram: https://www.Instagram.com/Mishimoto
Mishimoto, the world leader in performance cooling products, shows you how to install the Mishimoto Silicone Coolant Hose Kit in a 1990 Mazda Miata!
These reinforced silicone hoses will stand up against the tests of time, adding a level of cooling and protection your old stock hoses just can’t compete with!
Model Number: MMHOSE-MIA-90
Mishimoto Silicone Hose Kit Installation Guide
PARTS LIST
(2) Mishimoto Silicone Heater Hoses
TOOLS NEEDED
Ratchet Wrench
10mm Socket
12mm Socket
Ratchet Extensions
Phillips Screwdriver
Flathead Screwdriver
Lineman’s Pliers
Coolant
Coolant Drain Pan
Coolant Funnel
Jack & Jack Stands
Disclaimer
• Please dispose of any liquids properly.
• Allow vehicle to cool completely prior to attempting installation.
• Mishimoto Performance (MP) is not responsible for any vehicle
damage or personal injury due to installation errors, misuse,
or removal of MP products.
• MP always suggests that a trained professional install all
MP products.
• Do not run the engine or drive the vehicle while overheating.
Serious damage may occur.
• Raise vehicle only on jack stands or on a vehicle lift.
INSTALLATION INSTRUCTIONS
( 1 ) REMOVING THE OEM UPPER & 1ST LOWER RADIATOR HOSES
1. Using a jack, securely support the vehicle on jack stands or use a vehicle lift. Disconnect the negative terminal from the battery. (Located in the trunk).
2. Using your phillips screwdriver, remove the coolant drain plug located in the center of the vehicle, below the radiator. Drain all coolant from the vehicle, using a drain pan to catch all used coolant. Removing the radiator cap will aid the draining process.
3. Disconnect and remove the upper radiator hose by unscrewing the two hose clamps securing it.
4. Unbolt and remove the splash shield under the vehicle to access the first lower radiator hose. Using your pliers, loosen the two spring clamps securing the hose and remove the hose from the vehicle.
5. Working with care, carefully remove the factory heater hose on the right from the vehicle.
( 2 ) REMOVING THE OEM AIR BOX & 2ND LOWER RADIATOR HOSE
1. To access the second lower radiator hose, the air cleaner must first be removed. Begin by disconnecting the mass airflow sensor connection. Using your flathead screwdriver, remove the two wire clips securing the sensor connection.
2. You will need to remove the intake tubes from the air cleaner. Using your 10mm socket, loosen the hose clamps on each tube, and loosen the 10mm bolt on the rear tube near the fender. Disconnect the tube from the fender area, and unhook the inner intake tube.
3. Loosen the three 12mm bolts securing the air box, and remove the entire air box from the vehicle. This will expose the lower radiator hose that needs to be removed.
4. Loosen the two spring clamps securing the second radiator hose, and remove it from the vehicle.
( 3 ) REINSTALLATION OF THE OEM AIR BOX & MISHIMOTO 2ND LOWER RADIATOR HOSE
1. Attach the Mishimoto second lower radiator hose, making sure to slide the supplied T-bolt clamps on with the hose. Secure the hose by tightening the 10mm bolts on the clamps.
2. Reinstall the air box and OEM intake tubes by doing steps 2.1-2.3 in reverse. Make sure to securely tighten the 10mm bolts on the intake tubes, as well as the 12mm nuts on the air box.
3. Reconnect the mass airflow sensor connection.
( 4 ) INSTALLATION OF THE MISHIMOTO UPPER & 1ST LOWER RADIATOR HOSES
1. Attach the Mishimoto silicone lower radiator hose, again using the supplied T-bolt clamps. Securely tighten the 10mm bolts on the hose. Reinstall the splash shield under the vehicle.
2. Attach the Mishimoto upper radiator hose, once again using the supplied T-bolt clamps. Securely tighten the 10mm bolts on the clamps.
( 5 ) COOLANT REFILLING & INSTALL COMPLETION
1. It is now time to refill the vehicle with coolant. Screw the coolant drain plug back in if you have not done so already. Insert the funnel into the filler neck of the radiator and begin to pour a 50/50 mix of coolant and distilled water. While filling, it is a good idea to pump the upper radiator hose to remove any last bit of air in the system.
2. Reinstall the radiator cap and reconnect the negative terminal on the battery and start the vehicle, making sure the vehicle is in neutral or park.
3. With the vehicle running, turn the hear on high. Monitor the temperature gauge to make sure the vehicle does not overheat.
4. Using a jack, raise the vehicle, remove the jack stands and lower the vehicle, or lower the vehicle on the lift you were using.
Download the guide here: https://lib.store.yahoo.net/lib/yhst-62631657248580/MMHOSE-MIA-90-install-guide.pdf