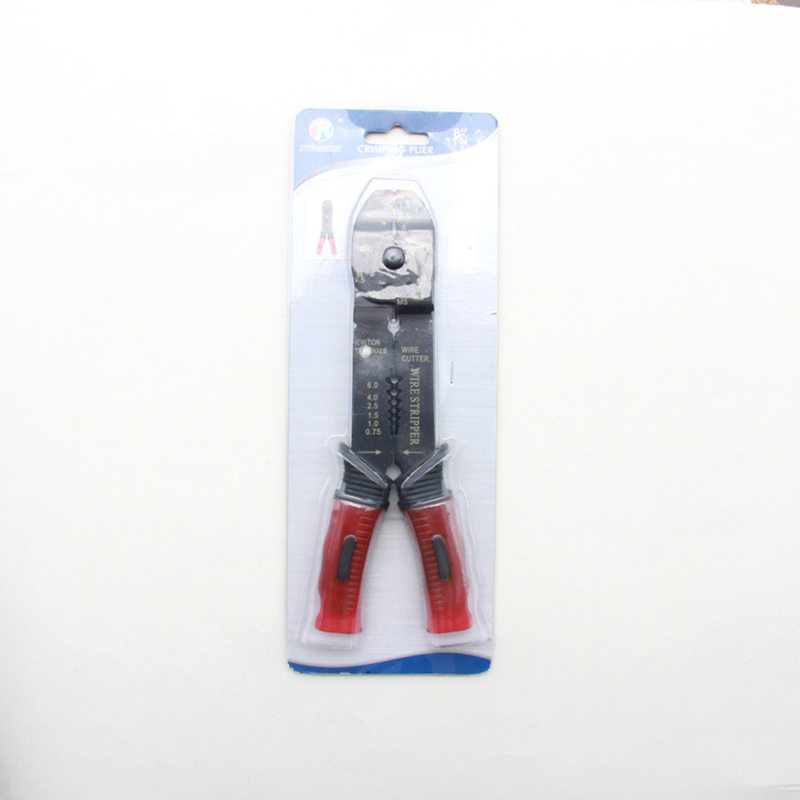
Supply for Wire Strippers & Cable Cutters with double colors handle to Latvia
Short Description:
Product Detail
Product Tags
It adheres to the tenet "Honest, industrious, enterprising, innovative" to develop new products constantly. It regards customers, success as its own success. Let us develop prosperous future hand in hand for Supply for Wire Strippers & Cable Cutters with double colors handle to Latvia, Sincerely hope we are growing up together with our customers all over the world.
Basic Information
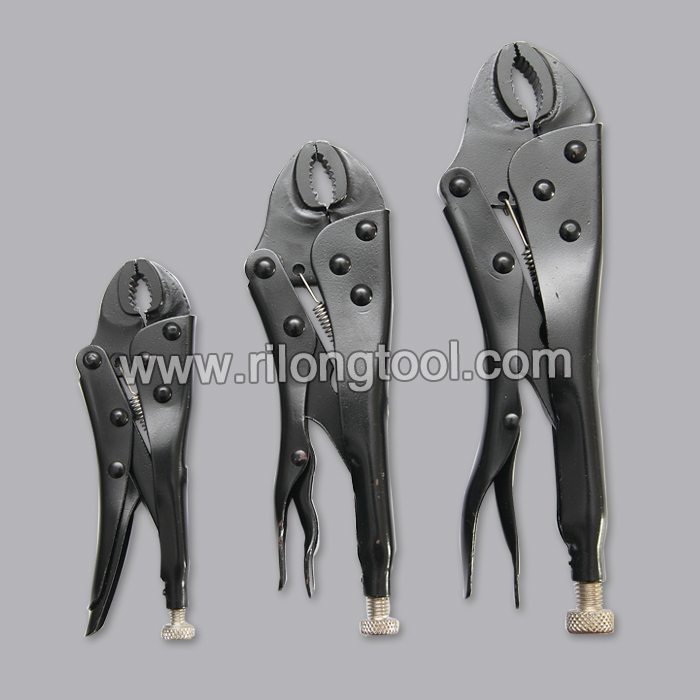
■Model Number: RL-YXQ002B
Additional Information
■Material: A3# Steel
■Size: 8”
■Surface Treatment: Coated
■Handle: PVC
■Color: Optional
■Package: Insert Card
■OEM: Acceptable
■Samples: For FREE
■Delivery Time: Always 30 working days depending on the order quantity
■Packing: By standard cartons
Product Description
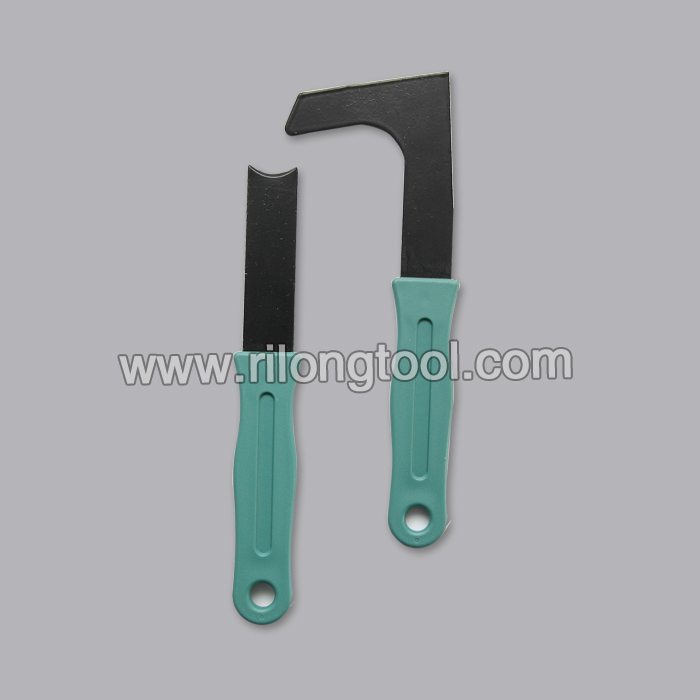
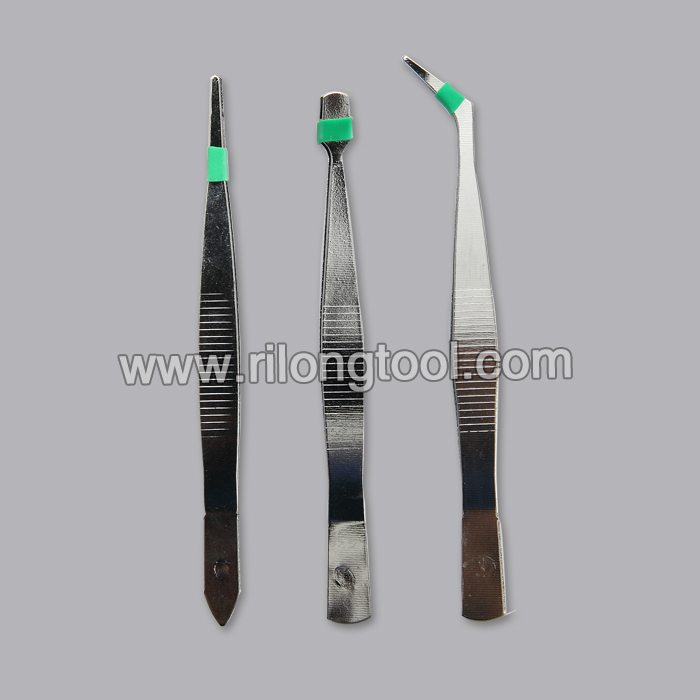
■Ningbo Rilong Hardware Tools Factory, can provide various kinds of hardware tools.
Product Image
Master Locking Pliers®, Are The Only Locking Pliers In The World, That Have The Capability Of Using Screwdriver Bits Like; Phillips, Flat, Stars, Hex’s, Squares, Extension, Sockets, Metric and Standard, But That’s Not All, Master Locking Pliers®, Can Be Used In Hundreds Of Applications!….
Master Locking Pliers®, Are Very Easy To Use, Very Easy To Store, and Very Reliable!…
You Can Have Them In Your House, You Can Have Them In Your Cars, You Can Have Them At Your Work Place .
Master Locking Pliers®, Can Be Stored Anywhere Because They Are Very Compacted.
The Newest Version Of The Master Locking Pliers®, Are The New Master Locking Pliers ® Deluxe!…
Now They Come In A 47 Pc Set, With 3 Way Flexible Ratchet!, Wire Cutter!, And Soft Grip Handles!, “To Make Any Job Easier”…..
Thanks To This New!, And Super Revolutionary! Innovation!, Now I Use , My own, Master Locking Pliers® Deluxe , For My Everyday Needs!…. Get Your At: ShopMasterLockingPliers.Com
https://shopmasterlockingpliers.com/
It’s time. You know which one…
It’s been on your to-do list for a while, right?
In fact, it’s been staring at you for quite a while. Well, today might be the day to re-do that seat cover for that whole new look you’ve been wanting. It shouldn’t take too long and you have an afternoon to spare. All you have to do is get your supplies and tools out and do it.
Here’s what you’ll probably need:
Tools and Supplies:
Chalk pencil or pen
Phillips head screwdriver
Flat-head screwdriver
Needle-nose pliers
Glue-carpenter’s type
Scissors
Utility knife
Staple Gun, heavy duty with ¼” staples
Upholstery-weight fabric or other replacement covering
Replacement foam or other padding if necessary
Let’s Do It:
Turn your seat upside down on a flat surface. Check to see how the seat is attached to the rest of the stool or chair and remove the screws that hold the seat in place. In my case, the screws are directly underneath the seat, attached to a metal plate, but in your case, they may be be small metal brackets near the frame of the chair that hold the screws that you need to remove.
Set your stool or chair frame aside and place your seat pad face down on a work surface. Check to see how the original cover is attached. In some cases, there is a thin outer cover that will need to be removed first. Usually it’s just stapled on the bottom, so just remove that and check to see what’s underneath. In this case, a vinyl cover has been simply stapled around the edges.
Check your edge, you may have have room to staple a new cover without removing a lot of staples. In my case, I could remove a lot of staples, but it would take forever, so I just chose to cut off the vinyl along the edge with a utility knife. Discard the old covering, and check the condition of your seat padding. Many times it will need to be replaced, since many foam-type materials can break down and deteriorate over time. Or, you may just want additional padding or batting. Place the old padding over the new padding and trace to get the seat size. Trim excess.
If you’re satisfied with the padding, place your fabric or other new covering material face down on your work surface. Next, place your seat with the padding face down on top of the material, making sure the seat pad is centered on your fabric. Fold the fabric over the bottom of the seat to figure the seat size of the material. Allow for at least 1 -2″ to fold over and staple to the seat bottom. In this case, I measured about 2.5″ diameter outside of the edge. Measure and mark your fabric in about ten places, then connect the marks to complete the outline of the seat. Cut material along your marked outline. With your material centered on the fabric again, begin turning over edge of material and staple. On opposite side of the seat, stretch to bring material just taut and staple. Do not over-stretch material or you will have wrinkles. Staple another opposite side, halfway in between and then again on the opposite side, making sure material is taut. For example, you can start in a clock-wise manner, beginning at 12 o’clock, then at the opposite side at the six o’clock position, continuing next to the three o’clock position and next at the nine o’clock position. Continue the pattern by evenly stapling in-between where you have stapled, and on opposite sides, until all edges are fully attached. Fold over any extra material and staple flat. Trim any extra material off edge.
If you’d like an optional outer cover for the bottom to hide any rough edges, trace the finished top again over the wrong side of a lightweight material. Dark colors work best. Cut the material 1″ smaller in diameter. Or, for an even more finished look, keep the original tracing size and sew a ½ – 1″ hem. Place the outer cover over the rough edges of the seat bottom to be sure it fits well. Glue the outer cover to the seat bottom before stapling if you prefer.
Mark any screw holes, if necessary, in the areas where the seat was attached to the frame. Poke the marks you made for the screws with a nail or awl. Smooth material and staple outer cover to hide the previously stapled seam. Replace screws and reattach seat to rest of stool.
Have a seat and relax!
© 2012 J.C. Gary
Disclaimer: Video and content provided as a public service. Not intended to be a substitute for any professional advice or service.
Royalty-free music courtesy Adobe.