Renewable Design for 30-PCS Hex Key Sets packaged by BMC surface by Black Oxide Wholesale to Namibia
Short Description:
Product Detail
Product Tags
Adhering to the principle of "quality, service, efficiency and growth", we have gained trusts and praises from domestic and international client for Renewable Design for 30-PCS Hex Key Sets packaged by BMC surface by Black Oxide Wholesale to Namibia, Our mission is to help you create long-lasting relationships with your clients through the power of promotional products.
Basic Information
■Model Number: RL-NLJ015A
Additional Information
■Material: 45# Carbon Steel
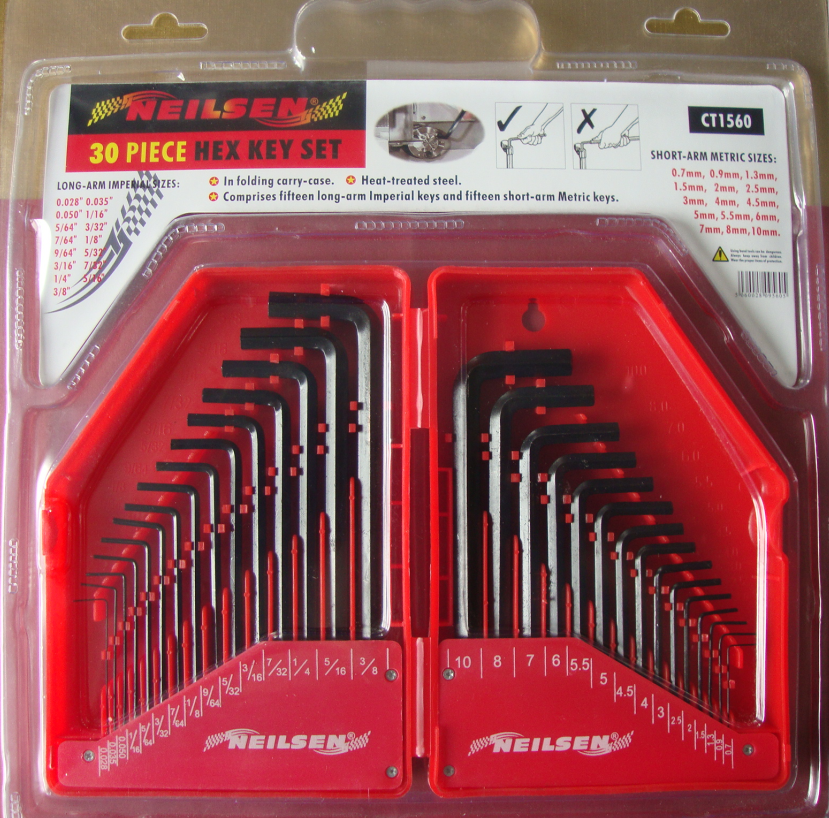
■Size: 0.028″-3/8″, 0.7mm-10mm
■Surface Treatment: Black Oxide
■Heat Treatment: Optional
■Package: BMC + Double Blister Card
■OEM: Acceptable
■HS Code: 8204110000
■Samples: For FREE
■Delivery Time: Always 30 working days depending on the order quantity
■Packing: By standard cartons
Product Description
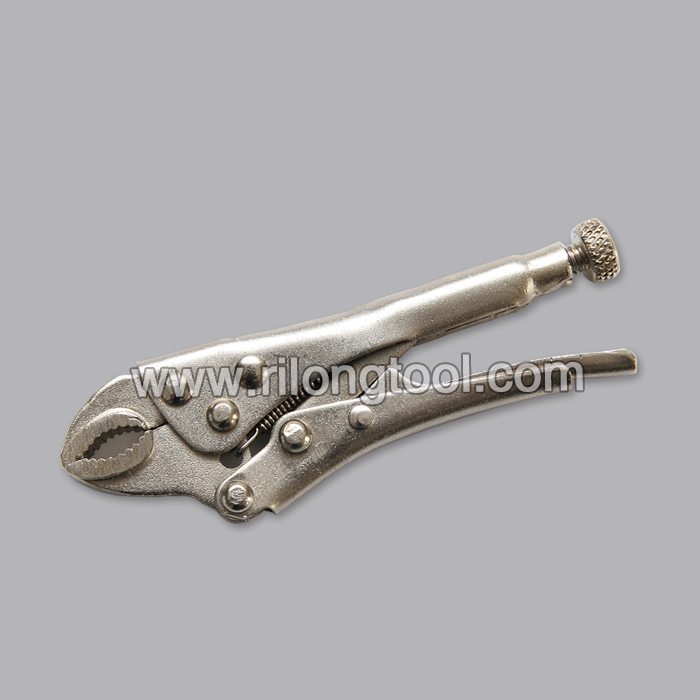
■Ningbo Rilong Hardware Tools Factory can provide various kinds of Hex Key with different sizes and packages.
Product Image
I show how to make a mini crossbow out of wooden coffee stir sticks. The crossbow is pretty easy to make and uses basic materials and tools. It is a fun project and shoots projectiles surprisingly far. I used two different types of bolts for the projectiles, one was made from wood skewers a needle and tape. The other was made from a needle, q tips and tape. The needles were held in place with thread wrapping around them that was soaked in glue. Take all of the necessary safety precautions if making/using this as it can potentially be dangerous.
A crossbow, also known as a horizontal bow is a type of weapon based on the bow and consisting of a horizontal bow-like assembly mounted on a stock. It shoots projectiles called bolts or quarrels. The medieval crossbow was called by many names, most of which were derived from the word ballista, a torsion siege engine resembling a crossbow.
Materials:
- Wooden Coffee Stir Sticks
- Glue
- Piece of String
- Thread
- Wood skewer
- Tape
- Small Saw
- Scissors
- Utility Knife
- Wire Cutter Pliers
Twitter: https://twitter.com/VonMalegowski
Instagram: https://www.instagram.com/vonmalegowski/
Music: YouTube Audio Library
Tracks: Foundation, Rocker_Chicks, Sunday_Spirit, Sliver, Accidents_Will_Happen, Please_Tell_Me, Sunday_Plans
Artists: Vibe Tracks; Audionautix; Riot; Silent Partner
Rocker Chicks by Audionautix is licensed under a Creative Commons Attribution license (https://creativecommons.org/licenses/by/4.0/) Artist: https://audionautix.com/
Sunday Spirit by Audionautix is licensed under a Creative Commons Attribution license (https://creativecommons.org/licenses/by/4.0/) Artist: https://audionautix.com/
Our house central vacuum quit working. It wasn’t hard to find the problem as there was smoke billowing out of the motor. I got a part number off the old motor and Googled it. Turns out it was a pretty common vacuum motor and I was able to find a replacement that was maybe a little better than the one that blew up. I highly recommend the people I got this one from, they were really nice and knowledgeable and they had about the cheapest price I could find. The motor came in a couple of days and it was just like what they represented. If you want to order one just like the one in the video, click this link: https://www.centralvacuumonline.com/products/vacuflo/motors/motormodels/117549-lamb-ametek-motor/.
To change the motor you’ll need a step stool, a 1/4″ and 11/32″ socket, a phillips head screwdriver, a set of electrical connectors (the new motor doesn’t come with them), a crimping device or vise grips and a set of pliers. The very first thing to do is unplug the vacuum from the wall.
The top comes off the central vac by removing a 1/4″ set screw and tilting it back. There are three wires to remove, that connect the motor to the vacuum, a black one, a white one, and then a ground, and it’s held on with an 11/32nds nut. Then comes the toughest part, and that’s getting that cussed vacuum hose disconnected. You’ll need the Phillips screwdriver and once the hose clamp is loosened, there’s quite a bit of twisting and turning (if it’s been on there a while like mine had been) to get the motor away from the hose. Once it’s off the whole motor lifts right out, nothing holding it there but the hose, the wires, suction and gravity..
We have a couple of things to do to the new motor before we reinstall. First, we’ll need to crimp electrical connections on the wires. I got my connections at O’ Reilly Automotive and clamped them on with a pair of vise grips. Then, there are three rubber feet on the old motor that I wanted to reuse. I took the needle nose pliers and compressed the tops of them and they came right out. After squirting them with WD-40 I twisted them right into the new motor and the whole thing was ready to go back together.
Reverse the process to put it back together. Set the motor in the housing, connect the vacuum hose and tighten the hose clamp, and then connect the black, white and ground wire and you’re almost done. Put the lid back on and tighten the set screw, plug it into the wall and test it. You should be good to go.
Hope this video helped…good luck!
Copyright 2017 Tractor Mike, LLC