Online Manufacturer for 18pcs Hand Tool Set RL-TS034 to Wellington Manufacturer
Short Description:
Product Detail
Product Tags
We are committed to providing easy,time-saving and money-saving one-stop purchasing service of consumer for Online Manufacturer for 18pcs Hand Tool Set RL-TS034 to Wellington Manufacturer, To learn more about what we can do for you, contact us at any time. We look forward to establishing good and long-term business relationships with you.
Basic Information
■Model Number: RL-TS034
Additional Information
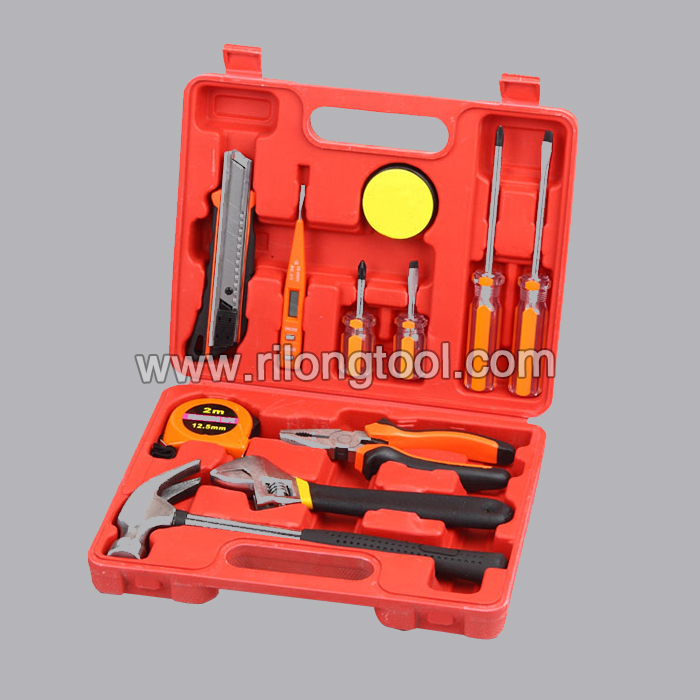
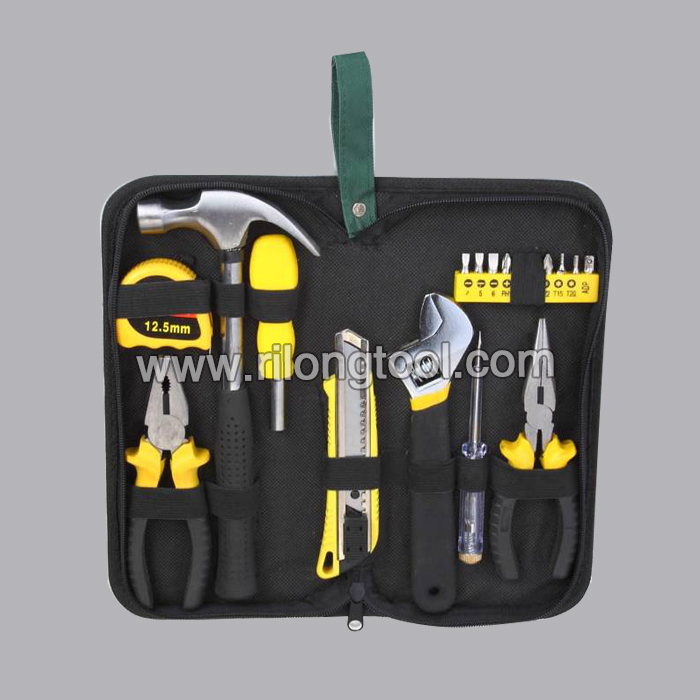
■Content:
| Hammer | 1pcs |
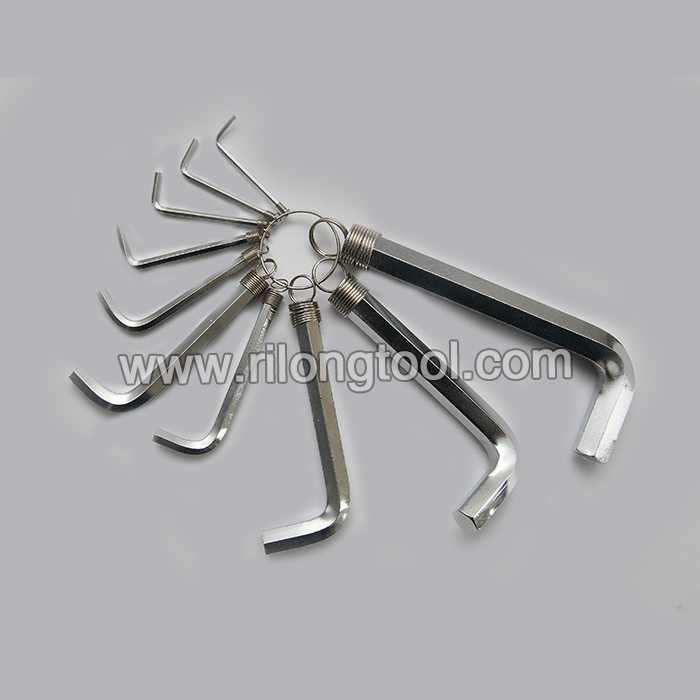
| Quick release reversible ratchet handle | 1pcs |
| Tape measure | 1pcs |
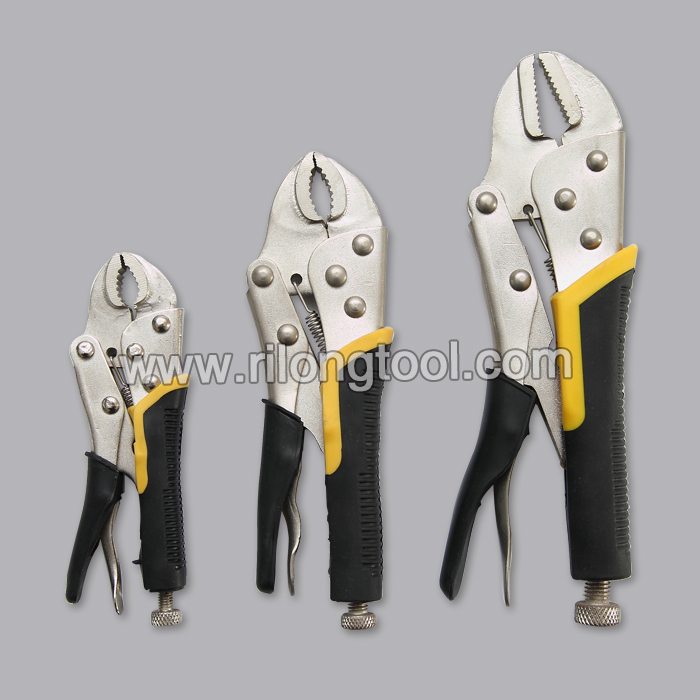
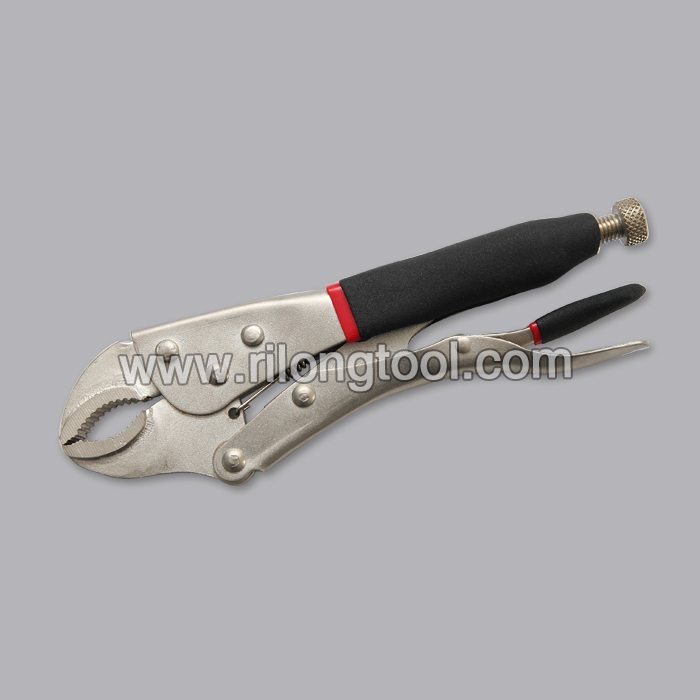
| Cutting plier | 1pcs |
| Knife | 1pcs |
| Adjustable spanner | 1pcs |
| Electroprobe | 1pcs |
| Long nose plier | 1pcs |
| Bits | 10pcs |
■Package: By bag
■OEM: Acceptable
■Samples: 3 times of the original cost, and you need to afford the express cost
■Delivery Time: Always 30 working days depending on the order quantity
■Packing: By standard cartons
Product Description
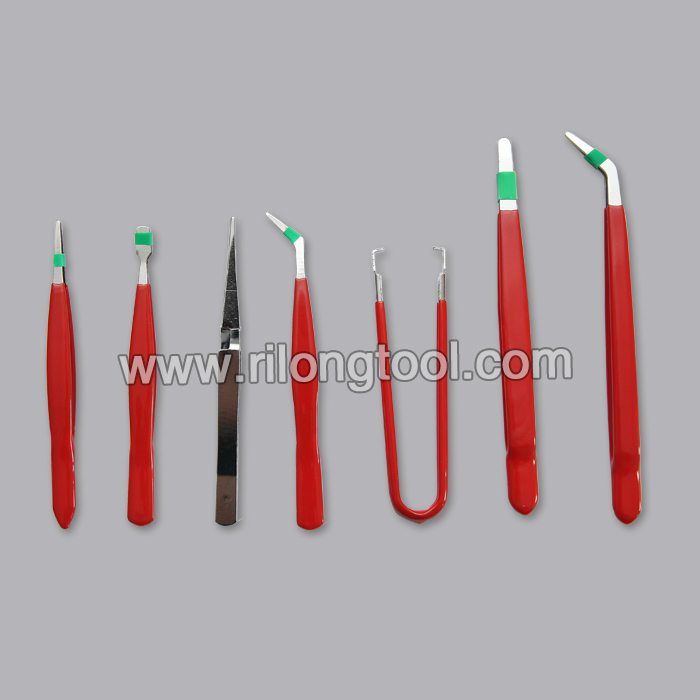
■The hand tool set is hand-held, and it is very convenient.
Product Image
See other terrific gold scales at https://www.esslinger.com
Item DISCONTINUED
Subscribe to our channel and get updates on new movies right here: https://www.youtube.com/subscription_centre?add_person=EsslingerCompany
This video from Sears PartsDirect shows how to replace a broken door boot in a front-load washer. The door boot seals the area between the washer tub and the front door. If water leaks from the washer door during operation, you can replace the door boot using the steps in this video.
Visit us at:
https://www.searspartsdirect.com?sid=soc:youtube:replacing-the-door-boot-on-a-front-Load-washer
Or call 1-800-437-1673 to speak with a parts specialist.
The video includes these parts. Look up your model to make sure you get the right parts for your washer.
Door Boot
https://www.searspartsdirect.com/part-number/MDS47123608/0026/795.html?sid=soc:youtube:direct-part-link
Find parts for your washer at:
https://www.searspartsdirect.com/partsdirect/product-types/Washer-Parts?sid=soc:youtube:washer-part
Or click here to schedule an appointment with a repair technician. https://www.searshomeservices.com/repair#showall
Transcript:
Unplug the power cord from the wall outlet. Using a Phillips screwdriver, remove the 2 screws on the back of the washer that secure the top panel. Gently pull the top panel toward the back of the washer and lift it up and off. Using a Phillips screwdriver, remove the screw on the back of the control panel. The screw is on the right side as you face the front of the washer. Release the locking tab at the back of the dispenser drawer and then pull it completely out of the dispenser housing. Using a Phillips screwdriver, remove the screws on each side of the dispenser housing. Unplug the wire harness connections for the control panel by pressing on the release tabs and sliding the connections apart. Stand in front of the washer and lift up on the control panel to release the top. Pull the control panel off the washer. Open the drain pump filter cover at the bottom of the washer front panel. Remove the screws that secure the plastic pump housing to the frame of the washer. Remove the plastic pump housing. Use a Phillips screwdriver to remove the mounting screw from the bottom of the front panel. Use the outer spring pliers to expand the spring clamp and remove it from the door boot. Release the rubber door boot from the lip around the opening to the washer tub on the front panel. Remove all of the screws from the top of the front panel. Close the washer door. Tip the top of the front panel out and disconnect the wire harness from the door lock assembly. Pull the front panel off the washer. Remove the bolts from the bottom counterbalance weight and pull it off the tub. Repeat the process to remove the top counterbalance weight. Use pliers to release the spring clamps and pull all of the hoses off the door boot. Release the locking tab and unplug the wire harness for the drum light. Release the spring clamp using the inner spring tool. Pull the old door boot off the tub. Transfer the hose clamps from the old door boot to the new door boot. Position the new door boot on the front lip of the tub with the arrow tab at the top of the door boot at 12 o’clock. Make sure that the hoses are correctly lined up. Work the door boot into the washer tub lip making sure to correctly seat it around the entire tub. Position the spring clamp on the lip with the spring at 12 o’clock. Use the inner spring pliers to expand the spring clamp and work the bent end into the spring-side eyelet. Plug the harness for the drum light back in. Make sure the locking tab snaps into place. Push the hoses onto the door boot connections and secure them with the spring clamps. Leave clearance between the hose clamp and the door boot to prevent rubbing. Reinstall the counterbalance weight on the bottom of the tub using the mounting bolts. Repeat the process to reinstall the top counterbalance weight. Put the front panel in position and reconnect the wire harness. Lift the front panel onto the frame and line up the mounting screw holes at the top. Insert the mounting screws at the top of the front panel and tighten them firmly. Position the door boot around the lip of the opening in the front door panel. Secure the door boot with the spring clamp. Insert the screw into the bottom base of the washer in the opening for the pump housing and tighten it. Push the drain pump filter housing to the front panel recess. Reinstall the mounting screws and tighten them firmly. Close the drain pump filter housing door. Position the control panel on the top of the front panel. Reinstall the screws in the dispenser housing. Reinstall the screw in the back right side of the control panel. Plug in the wire harness connections for the control panel. Push the detergent dispenser back into the drawer housing. Push the panel down and forward to seat it on the washer frame. Reinstall the screws to secure it in place. Avoid overtightening. Plug the washer into the electrical outlet.