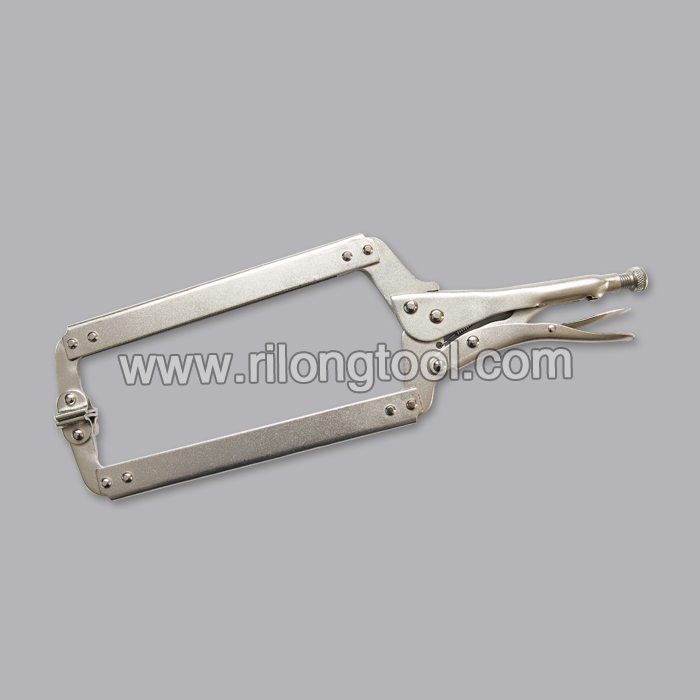
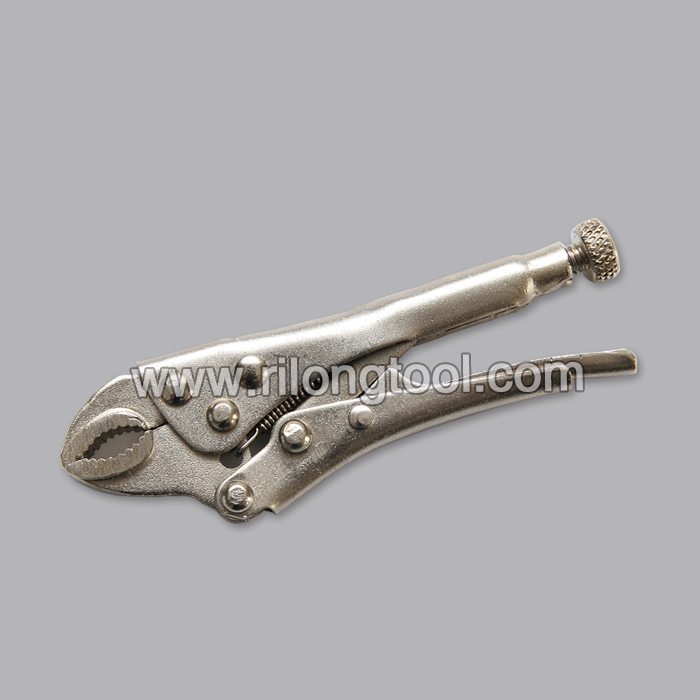
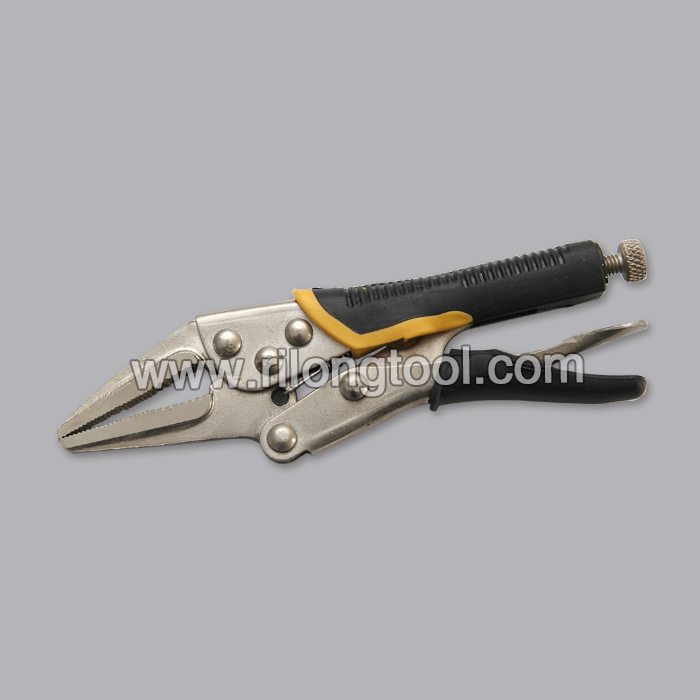
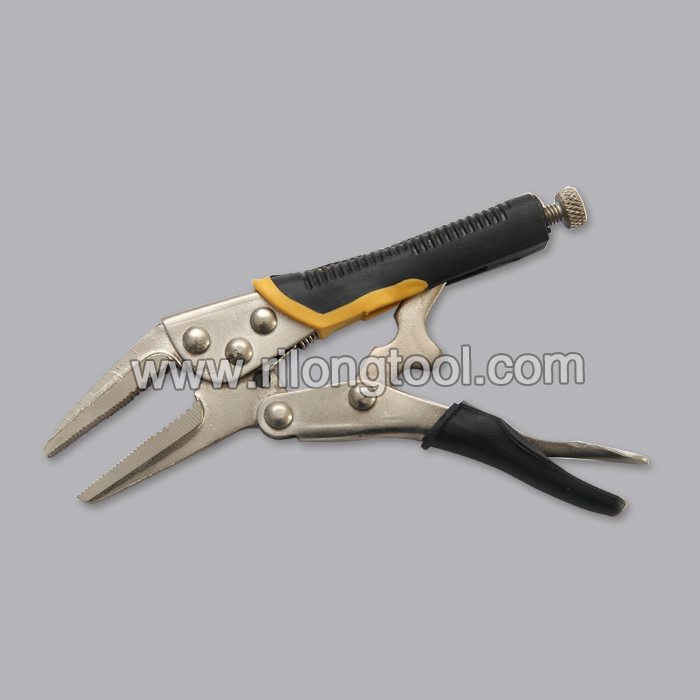
OEM Factory for 6.5″ Backhand Long-nose Locking Pliers with Jackets for Thailand Factories
Short Description:
Product Detail
Product Tags
It is our responsibility to meet your needs and efficiently serve you. Your satisfaction is our best reward. We are looking forward to your visit for joint growth for OEM Factory for 6.5″ Backhand Long-nose Locking Pliers with Jackets for Thailand Factories, We sincerely welcome both foreign and domestic business partners, and hope to work with you in the near future!
Basic Information
■Model Number: RL-DLQ014
Additional Information
■Material: A3# steel (Q235) or 45# steel
■Size: 6.5”
■Surface Treatment: Nickel-plated, Zinc-plated, Black Oxide, Electrophoresis
■Heat Treatment: Optional
■Package: Blister Card, Suction Card, Tie Card, Double Blister Card
■OEM: Acceptable
■HS Code: 8203200000
■Samples: For FREE
■Delivery Time: Always 30 working days depending on the order quantity
■Packing: By standard cartons
Product Description
■Mainly used for clamping parts to rivet, weld, grind and so on, which is characterized by the powerful clamp force produced by the jaw. It can lock tight so that the parts won’t fetch away. Besides, jaws have a lot of levels to adjust for the use of different thickness of parts, and it also can be used as a wrench.
■Flexible using, long life and good tenacity.
■The screw tuning button can give the best clamp size easily.
Product Image
This video shows how to DIY terminate the CAT7 Installation cable with a male connector.
For this installation you will need a CAT 7 cable, a strip tool, scissors, the shielded connector, a crimp tool, pliers and wire clippers.
I often hear people say that you need to buy a whole new crimp tool for Cat 7 Cables. You would only need a new one if you were going to use a connector which inst standard size. But these days you can get standard sized shielded like the ones in my video.
This crimp tool only cost me £3, there is no point splashing out.
Instructions
1. Use the cable stripper to score the outside jacket leaving enough length for some exposed mesh. You will only need to rotate once as you do not want to damage the wires or shielding inside the jacket.
2. Pull off the outer jacket to reveal the mesh foil shield. Fold it back and cut to the approximate length of the termination connector.
3. Cut off the mesh to where you have folded it.
4. There is an additional foil shield surrounding each pair. Remove the shield from each pair.
5. Untwist the pairs and order them from left to right with the connector contacts up:
Please refer to the video to avoid confusion.
8 = Brown
7= Brown White
6 = Green
5 = Blue White
4 = Blue
3 = Green White
2= Orange
1 = Orange White
This is the standard T568B wiring pinout for all normal household use, crossover or Type A is only used in industry or other complex situations.
6. Insert the wires into the connector, pushing them in until they push on the end of the connector near the contacts.
7. Insert the connector into the crimp hole with the contacts being where the teeth are, and squeeze as much as you can. You should hear a hollow ‘click’.
8. Flatten down some of the exposed mesh.
9. Get some electrical tape (ideally the same colour as the cable) and cover the exposed mesh and fix it also to the connector.
10. Repeat for the other end of the cable
11. Now test it.