New Arrival China Hay Knife Sets Ecuador Manufacturer
Short Description:
Product Detail
Product Tags
Quality First,and Customer Supreme is our guideline to provide the best service to our customers.Nowadays, we are trying our best to become one of the best exporters in our field to meet customers more need for New Arrival China Hay Knife Sets Ecuador Manufacturer, If you have any comments about our company or products, please feel free to contact us, your coming mail will be highly appreciated.
Basic Information
■Model Number: RL-GCD003
Additional Information
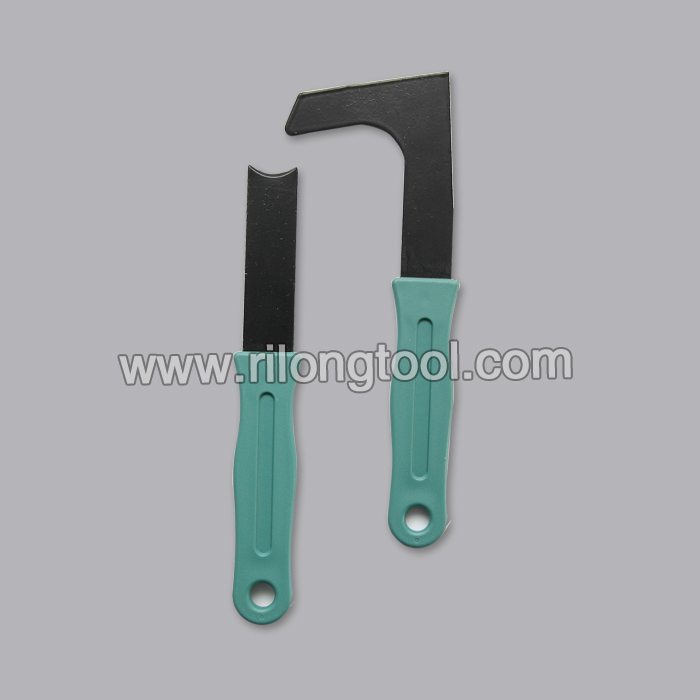
■Material: Carbon Steel
■Size: 8”
■Surface Treatment: Black Oxide, Painting
■Handle: Injection molding
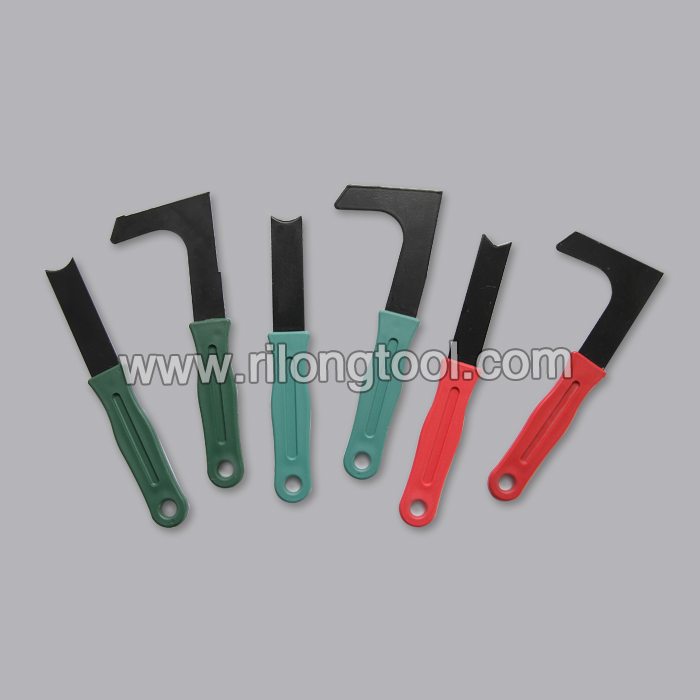
■Color: Optional
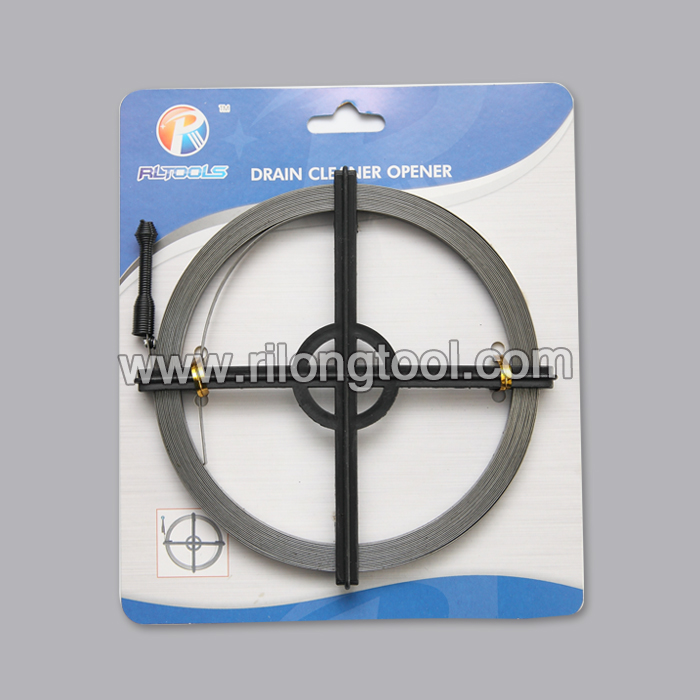
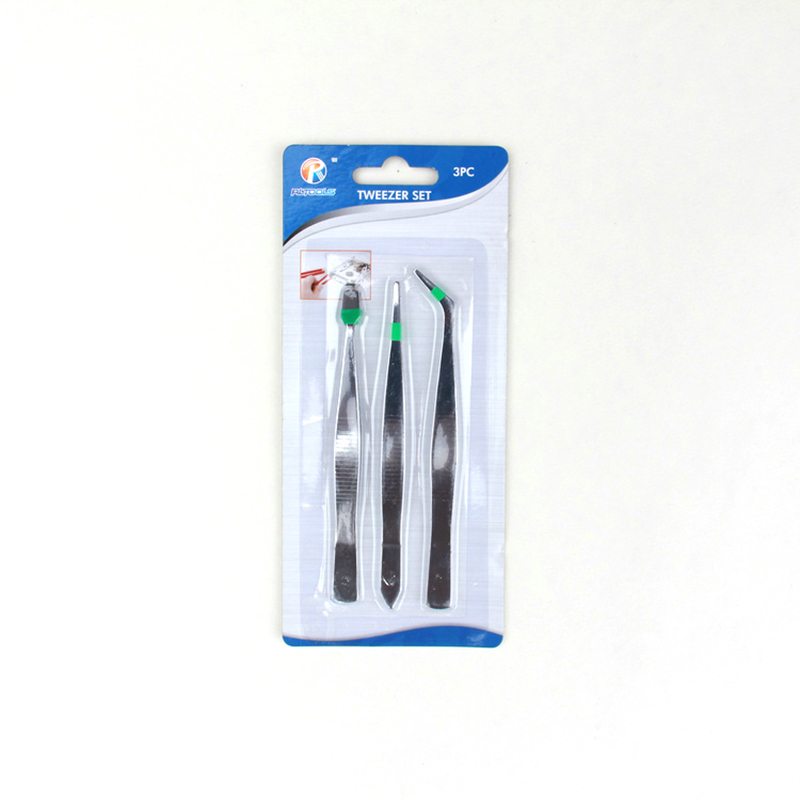
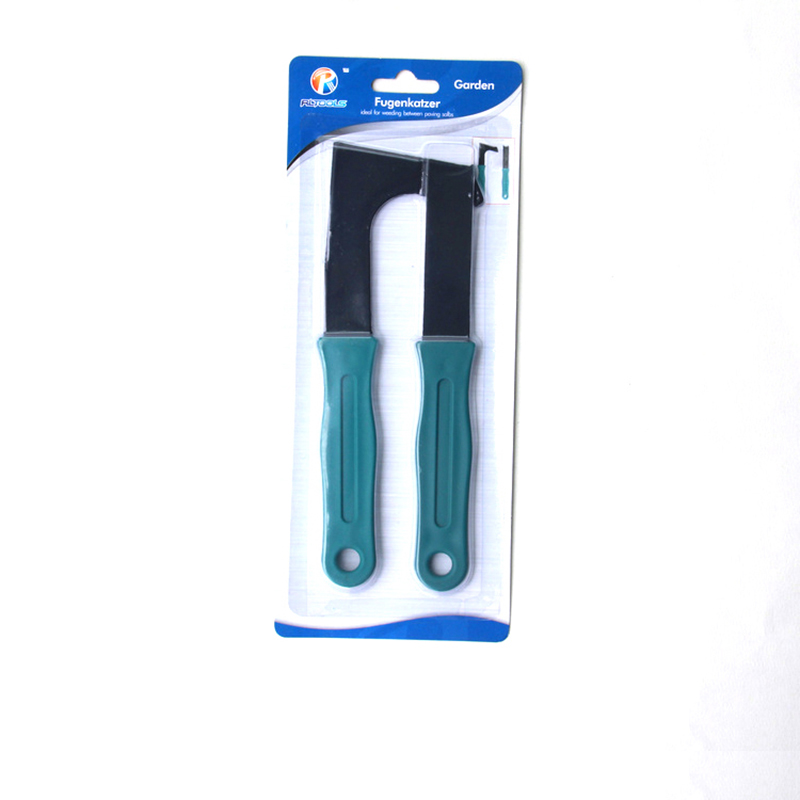
■Package: Suction Card
■OEM: Acceptable
■Samples: For FREE
■Delivery Time: Always 30 working days depending on the order quantity
■Packing: By standard cartons
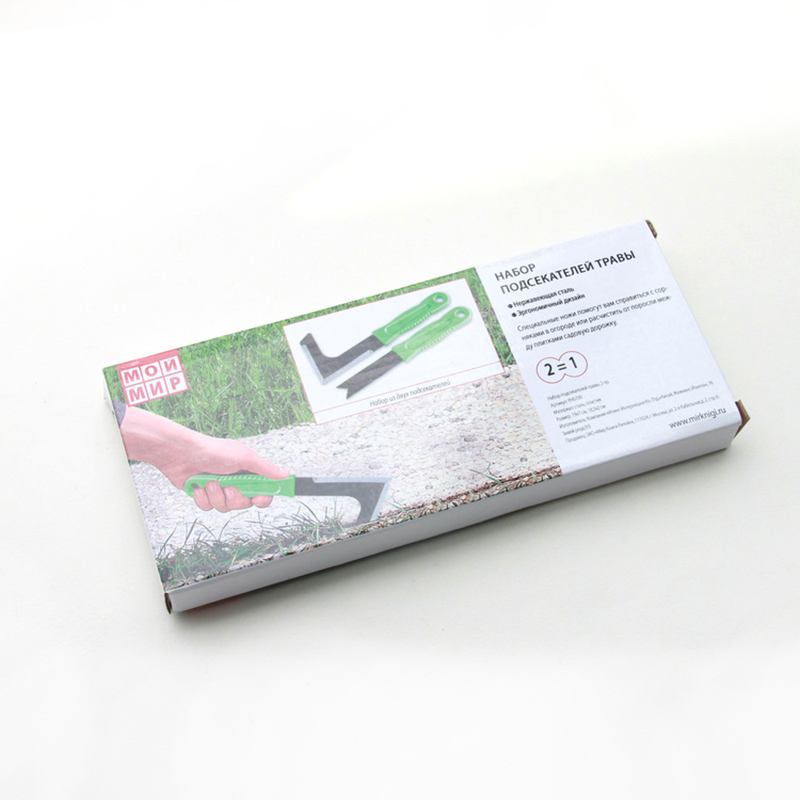
Product Description
■Used to remove the weeds and stem leaf in the cracks.
Product Image
How to fix tacoma center console lock / latch using wire hanger:
Center console repair process
Note:
Go to step 1 if you need temporary fix of spring from getting lost while using lock in broken state if you’re not able to do the repair at this time. When opening and closing the lid, make sure you guard the lock with your finger to prevent it from jumping out of the case/track.
If you’re ready for the repair then proceed with the next steps.
Tools to use:
• No. 2 Philips screw driver
• Fine tip Marker or any
• Pick tool or nail (for pilot hole on plastic)
• Drill
• Drill bit (smaller than wire hanger to use. See step 6. 1)
• Pliers (regular and needle/long nose)
• Channel Lock Pliers
• Screw driver with square rod
• vise to hold lock part when drilling
Materials to use:
• wire hanger (pick the right size see step 6.1)
• spring (from a pen) – (if you lost the original one)
• Grease – optional -(lithium or silicone)
STEPS:
1. Preset spring to lock part by bending one end to fit into protrusion- use long nose pliers (this will prevent spring from getting detached and lost while doing the repair or while waiting for a good time to do the repair)
2. Put back lock part in the case/track
3. Mark best flush position on lock part as reference (lock to lid flushness) (Test for a smooth engaging of lock without excessive retracting effort vs fully locked position, depress for negative clearance if necessary and mark this)
4. Remove console back cover
5. Remove lock assembly (consists of lock part and case/track)
6. Modify lock assembly
• 6.1 Pick the thickest wire hanger and drill bit combination available based on the track width
• 6.2 Mark holes to drill for the wire hanger along the original tab location in reference to mark in step 2 (either use original broken tabs location or advance the new locations based on the mark on step 2- your goal is to have effortless but effective closing of the console)
• 6.3 create pilot holes with a pick or small nail on the drill location
• 6.4 Drill holes slightly smaller than the wire hanger and sample test pushing the wire in the hole halfway to prime the hole in rotational motion left and right then pull out. Use pliers.
• 6.5 Measure and Precut the final lengths of wire hanger for each side
• 6.6 Insert the lock part to the case/track
• 6.7 Push cut wire hanger through the case/track onto the drilled hole of the lock part (use pliers in pushing) (then finally use channel lock pliers and a square rod screwdriver to fully depress the wires flush to case/track)
• 6.8 Test smoothness of operation of spring action
• 6.9 Optional: Spray lubricant before final installation to ctr console (lithium or silicone)
7. Install lock assembly on car ctr console
8. test operation
9. Install back cover
Enjoy!
NOTE: THIS IS MY FIRST VIDEO. PLEASE FEEL FREE TO COMMENT IN THE EFFORT OF IMPROVING MY POSTS and FOR ANY QUESTIONS ON THE STEPS TAKEN IN THIS REPAIR. THANKS FOR VIEWING!
This Ryobi drill had an older style dual ring chuck. The concept was you would hold one of the rings with one hand while turning the other ring to tighten the chuck. Great concept – slight problem – it would not reliably hold a 1/8″ round drill bit without slipping when I drilled in wood. Also if I put in a hexagon shaped screwdriver bit the bit tends to drop out… when I am walking with the drill… leading to many hours looking in my lawn for the dropped screwdriver bit. The chuck has a ‘dual ring’ design – where you are supposed to hold one ring while turning the other ring to loosen or tighten the chuck grip.
Trouble is – it does not work reliably….
I went to Home Depot to have the drill chuck repaired under warranty or to be exchanged for one that did work. They offered to return the complete purchase – however I had bought it on a clearance price and did not want to pay full retail for a replacement drill.
The clerks were adamant that the drill chuck was fine -they maintained the problem was that I was not tightening the chuck enough. I had a clerk try putting a 1/8 round drill bit in the drill, tighten it to his satisfaction, then had him try to drill some wood. The bit slipped.
He then told me I should buy pipe straps to tighten the Chuck. Ummm yah sure….
In the end the store finally relented and exchanged the drill for a newer style that does not require pipe straps or vice grips or welded on bars of metal to tighten the chuck.