Manufacturer for Hay Knife Sets Wholesale to luzern
Short Description:
Product Detail
Product Tags
We are convinced that with joint efforts, the business between us will bring us mutual benefits. We can assure you product quality and competitive price for Manufacturer for Hay Knife Sets Wholesale to luzern, Welcome friends from all over the world come to visit, guide and negotiate.
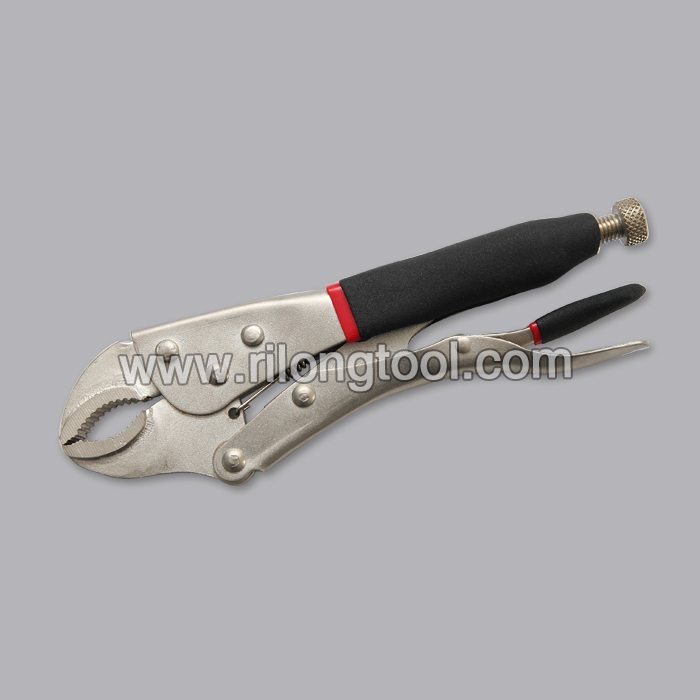
Basic Information
■Model Number: RL-GCD003
Additional Information
■Material: Carbon Steel
■Size: 8”
■Surface Treatment: Black Oxide, Painting
■Handle: Injection molding
■Color: Optional
■Package: Suction Card
■OEM: Acceptable
■Samples: For FREE
■Delivery Time: Always 30 working days depending on the order quantity
■Packing: By standard cartons
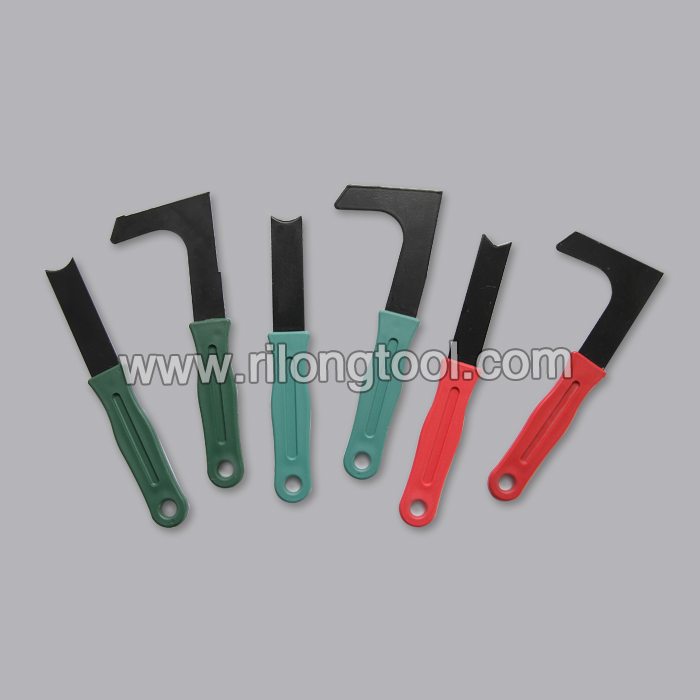
Product Description
■Used to remove the weeds and stem leaf in the cracks.
Product Image
Not responsible for any electrical mishaps. Don’t breathe in fumes when burning the rubber jacket/wire, do outdoors,hold your breath. Be Careful when working with electricity. A pair of wire stripper / crimper pliers are around $8 but if you do not have access to a pair you can try these methods. Watch out for nicks on the wire from cutting into it which can make the strands break. You may break / cut wire using these methods, go gently and you can get perfect removal without any breakage or minimal loss of strands.
How to strip wire without wire strippers. Strip electrical wiring for anything without a dedicated wire stripper. For splicing wires together.
Remove outer insulation from copper or other wire using a a flame from a lighter, razor blade, scissors,wire cutter or pliers.
For example small gauge stranded wire for speakers such as home theater or car audio can be stripped easily using any of these methods.
Replacing a broken derailleur can be an intimidating project, but it’s really not that difficult. Here’s a basic overview for first timers.
First, assess the damage. It’s possible that your derailleur is fine, and you only need to replace the hanger. This part is designed to fail in order to protect your frame. As often as these break, they’re pretty hard to find since every frame uses a different one. A shop that specializes in mountain bikes will usually carry the largest variety, but you can always shop online if you strike out. With basic tools you can replace your derailleur hanger just by looking at how the old one was attached. A little tinkering and you’ll be back up and running.
If you see more damage than just the hanger, you’ll need to buy a new derailleur, which is the position we’re in right now with this bike. Check your chain too, because there’s a chance it got tangled up in whatever wreck you were in. Another part you may need to replace is the shifter cable, but this usually isn’t necessary.
If you haven’t bought replacement parts yet, take note of how many gears you have on your cassette. The chain and derailleur you buy will be specific to this number. Unless you have exotic or expensive parts on your bike, you can mix Shimano, Sram, or off brands with each other, and everything will work fine. I’m using an off brand derailleur, a Bell shift cable, and a KMC chain. I plan on breaking these again shortly.
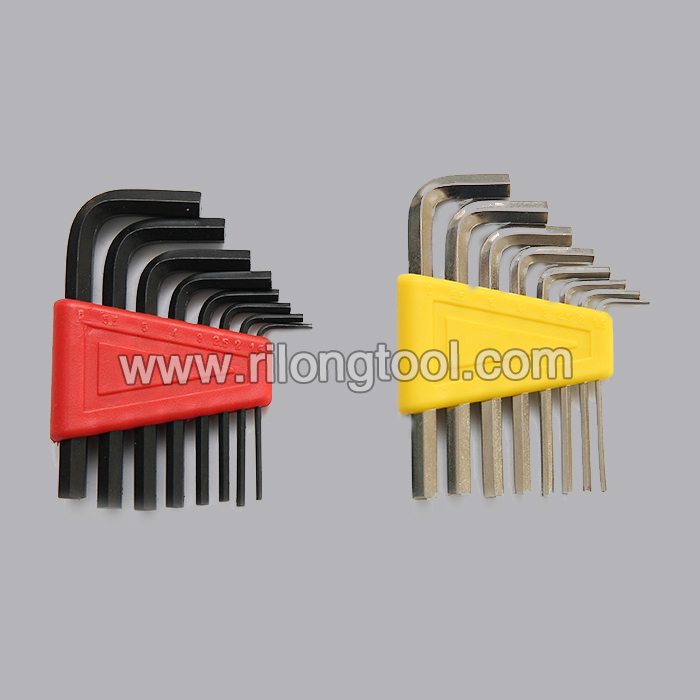
If you’re doing a complete overhaul as shown here, you’ll need a set of allen keys, a chain breaker, a cable cutter, and some basic tools like pliers and screwdrivers.
In all cases, the first step is to take your chain off. Just isolate the master link, and give it a squeeze with some narrow pliers. Pull the chain out, and you’re ready to remove the old derailleur. Most derailleurs are fastened with a hex bolt, so you’ll need your allen keys for this. Most of the time you can re-use your shift cable, but if it’s damaged you’ll need to run a new one. We’ll save that for a different video.
Next, fasten the new derailleur to the bike, making sure the screw is behind the notch on your derailleur hanger. This screw is used to keep the upper cog from crashing into your cassette, but tightening it too much will give you problems shifting. Once you put the chain back on your can adjust it as necessary.
All derailleurs have two limiting screws to keep the chain from shifting off of the cassette. These are labeled H for “high gear” and “L” for low gear. If you look at your drivetrain from the back side, you can manually push the derailleur to its higher and lower limit, checking how far it’s allowed to go. Look at the upper cog’s position in relation to the gears on the cassette. Here, we can see that the derailleur can move way too far past the lowest gear, so we’ll tighten the L screw to limit it. Do this for the other end of the cassette as well.
Next, we’ll attach the gear cable. First, make sure you’re shifted into the highest gear, or to put it another way, the smallest gear. This is usually the smaller lever on the right side of your handlebars. Next, attach the gear cable to the derailleur. Make sure there’s no slack in the cable whatsoever. If it’s a new cable, you’re likely going to need to tighten it again while adjusting it since it will stretch and settle into place. We’ll go over that in a minute too.
Now, we’re ready to put the chain back on. Pull the derailleur cage downwards and drop the chain behind the cassette and in front of the upper cog. The chain then goes around the back side of the lower cog and back up to the front. If you have a front derailleur, make sure you run the chain through it as well. Your master link can be re-attached simply by snapping it together and pulling on the chain.
Now you can turn the cranks and try shifting. Chances are, it’s going to shift terribly, unless you’re some kind of a derailleur jedi. First, shift up and down like crazy to get the cable settled into place, and then start at the bottom and work your way up. If the first click on your shifter doesn’t get the chain on to the second cog, it means you need to tighten your cable more. If all you need are small adjustments, you can just loosen the adjustment barrel at the back of the derailleur. Once you get the tension right, try shifting up and down, one by one.
By now, you know how the stop screws and tension adjustments work, so play around with it until you’re shifting correctly. This is way easier with a bike stand like this one, but you could also just turn your bike upside down and work on it that way.
Find inexpensive replacement parts here: https://www.sethsbikehacks.com/product-category/repairs/derailleur/