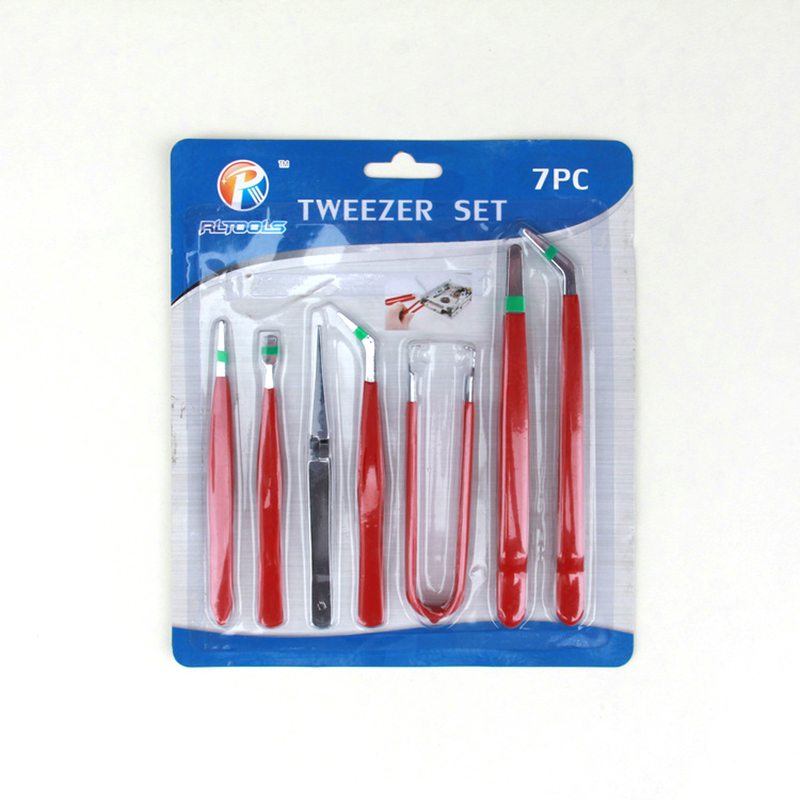
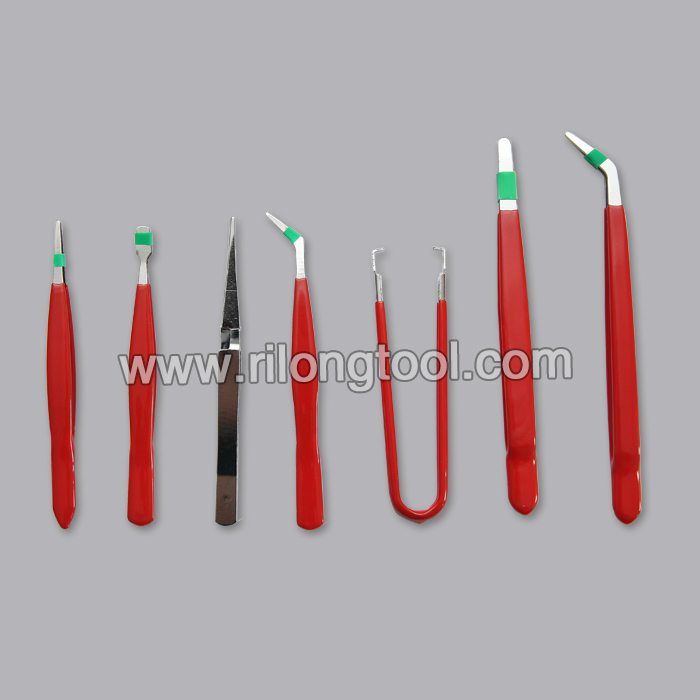
High reputation for 7-PCS Anti-static Tweezer Sets America Importers
Short Description:
Product Detail
Product Tags
We believe that long term partnership is a result of high quality, value added service, rich experience and personal contact for High reputation for 7-PCS Anti-static Tweezer Sets America Importers, We encourage you to make contact as we are looking for partners in our venture. We are sure you will find doing business with us not only fruitful but also profitable. We are ready to serve you with what you require.
Basic Information
■Model Number: RL-NZ007
Additional Information
■Material: Q195 Cold-rolled Steel
■Thickness: 0.8mm, 1.0mm, 1.2mm
■Surface Treatment: Chrome Plated
■Finish: Polished
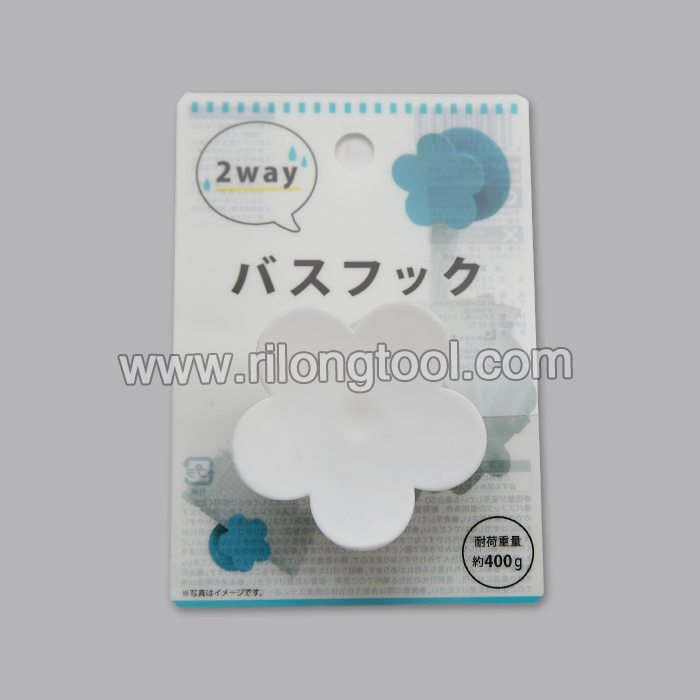
■Package: Suction Card
■OEM: Acceptable
■HS Code: 8203200000
■Samples: For FREE
■Delivery Time: Always 30 working days depending on the order quantity
■Packing: By standard cartons
Attention
■Do not heat it.
■Do not take acid drugs with it.
■Keep it clean after using it.
Product Image
Learn to replace a pressed wheel bearing in a Ford, specifically a 95 Ford Windstar, but this method will be similar for all pressed bearing vehicles.
The main steps are to take off the spindle nut, tire, brake caliper, and rotor. Then remove the bolts from the lower control arm ball joint, tie rod, and strut. Remove the steering knuckle, then press out the bearing and hub/spindle. Then press in your new bearing and hub/spindle. This job is a little more complex but can still be easily done by any amateur mechanic. You will save $400-1000 depending on your vehicle.
Here is how to Replace a Hub Bearing Assembly (rear wheel drive): https://www.youtube.com/watch?v=04AyCYIUEWQ
Here is how to Replace a Hub Bearing Assembly (front wheel drive): https://www.youtube.com/watch?v=fe_WtKIKlYA
Bearing Press Tool: https://www.amazon.com/gp/product/B00AZABHLQ/ref=as_li_tl?ie=UTF8&camp=1789&creative=390957&creativeASIN=B00AZABHLQ&linkCode=as2&tag=chri0e2-20&linkId=EIBAN5P55H2K2M5C
**If the video was helpful, remember to give it a “thumbs up” and consider subscribing. New videos every Thursday**
-Website: https://www.ChrisFixed.com
-Facebook: https://www.facebook.com/chrisfix8
-Twitter: https://twitter.com/ChrisFixed
-Instagram: https://instagram.com/chrisfixit
-Subscribe Here: https://www.youtube.com/subscription_center?add_user=paintballoo7
-YouTube Channel: https://www.youtube.com/ChrisFix
Disclaimer:
Due to factors beyond the control of ChrisFix, I cannot guarantee against improper use or unauthorized modifications of this information. ChrisFix assumes no liability for property damage or injury incurred as a result of any of the information contained in this video. Use this information at your own risk. ChrisFix recommends safe practices when working on vehicles and or with tools seen or implied in this video. Due to factors beyond the control of ChrisFix, no information contained in this video shall create any expressed or implied warranty or guarantee of any particular result. Any injury, damage, or loss that may result from improper use of these tools, equipment, or from the information contained in this video is the sole responsibility of the user and not ChrisFix.
https://www.ultimatehandyman.co.uk/forum1/
Shows you how to tighten radiator valves using a spanner and water pump pliers.