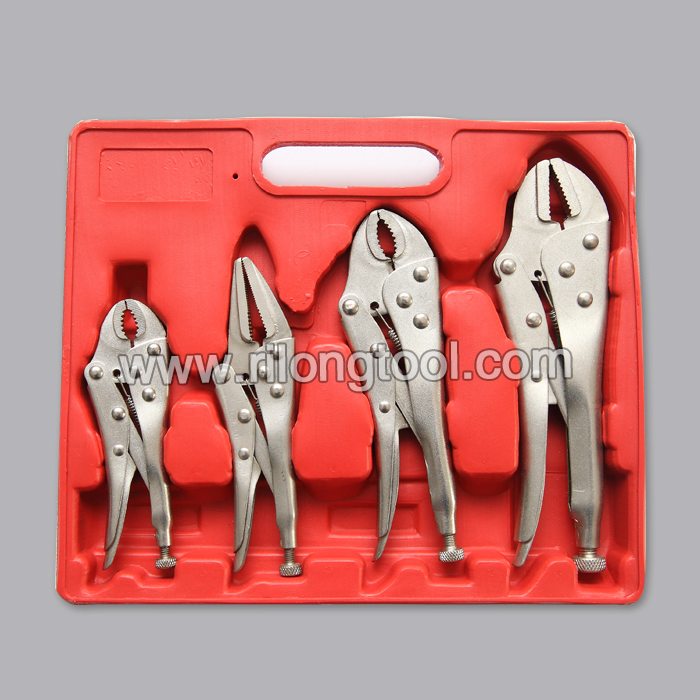
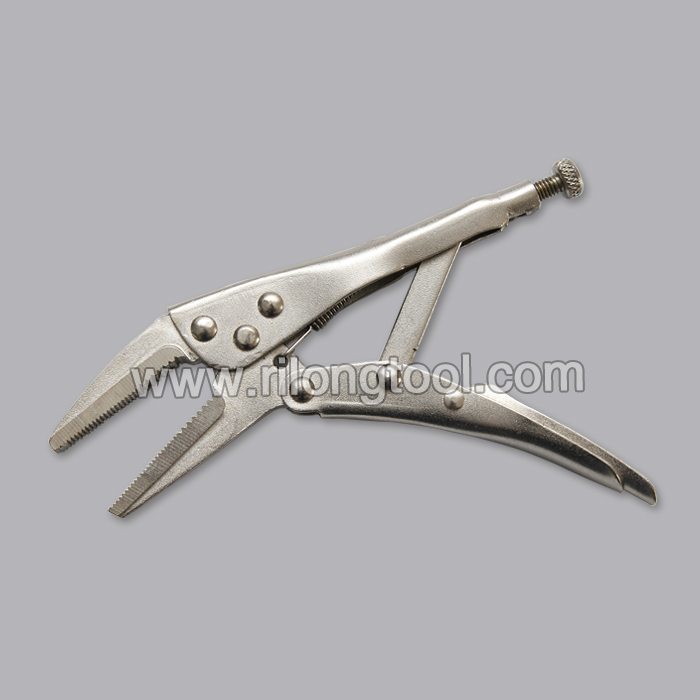
High reputation for 6.5″ Forehand Long-nose Locking Pliers for Vietnam

Short Description:
Product Detail
Product Tags
We always continually provide you with the most conscientious customer service, and the widest variety of designs and styles with finest materials. These efforts include the availability of customized designs with speed and dispatch for High reputation for 6.5″ Forehand Long-nose Locking Pliers for Vietnam, Our tenet is clear all the time: to deliver high quality product at competitive price to customers around the world. We welcome potential buyers to contact us for OEM and ODM orders
Basic Information
■Model Number: RL-DLQ007
Additional Information
■Material: A3# steel (Q235) or 45# steel
■Size: 6.5”
■Surface Treatment: Nickel-plated, Zinc-plated, Black Oxide, Electrophoresis
■Heat Treatment: Optional
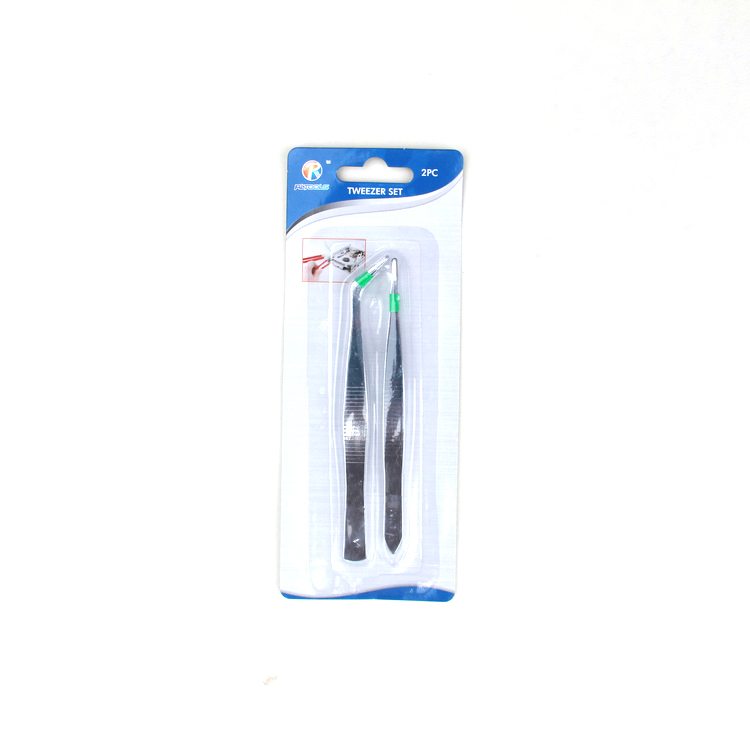
■Package: Blister Card, Suction Card, Tie Card, Double Blister Card
■OEM: Acceptable
■HS Code: 8203200000
■Samples: For FREE
■Delivery Time: Always 30 working days depending on the order quantity
■Packing: By standard cartons
Product Description
■Mainly used for clamping parts to rivet, weld, grind and so on, which is characterized by the powerful clamp force produced by the jaw. It can lock tight so that the parts won’t fetch away. Besides, jaws have a lot of levels to adjust for the use of different thickness of parts, and it also can be used as a wrench.
■Flexible using, long life and good tenacity.
■The screw tuning button can give the best clamp size easily.
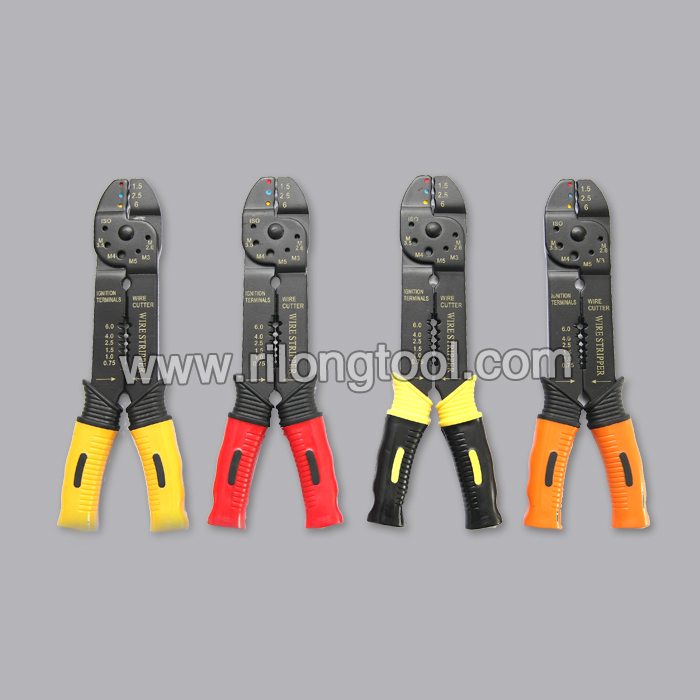
Product Image
Capacity:120pcs
Air pressure:4-7kg/cm
Fitting tube:6mm
Features:
1.Clinching staples into hard wood.
Used on the bedding and sofa industry
Disclaimer: This is how I did it. Your way may vary.
The camera stopped part way through so all I can give you is what I have and of course the steps to doing it yourself.
Remove your wheel.
A few inches from the outer tie rod end there is a nut that they use for your alignment. Take an adjustable wrench and loosen the nut a couple of turns no more.
Remove the cotter pin with the needle nose pliers use a socket wrench to take the castle nut that holds the tie rod end off. Turn the castle nut upside down and take your hammer and tap the castle nut until the tie rod end breaks loose. Unscrew the castle nut and remove the tie rod end from the knuckle.
You want to count the number of turns when unscrewing the outer tie rod. Make sure that you start your count with one when the bolt the castle nut was screwed to is pointing down. Mine counted out to 21 turns.
The reason for this is because this affects your alignment. Without doing this your car will be out of alignment making it to dangerous to drive. You will still have to get an alignment done but at least this will be a safety precaution. I would suggest getting your alignment done within the first week.
You can now remove the nut that held the inner tie rod alignment in place. Also, if you reach in with one hand you’ll feel a small clip holding the boot in place. Take some needle nose pliers and squeeze it and remove. This one is very simple to do. You will use it again. My boot had been on here for 13 years so I took a flat head screw driver and gently push it under the edge where the clip was and gently raised up this broke the seal created from age. Oh and if you have some grease, Vaseline put that on the shaft it will make pulling the boot off easier.
Way in the back is another clip. Take a long handled flat head screw driver and push it under the clip and turn it. I had to put a pair of vise grips on the handle of my screw driver to get enough leverage to break the clip. You will not be able to use the clip again so you can toss this one away. To remove the Bellows boot now was easy peasy. Inspect the boot to make sure it doesn’t have any defects and if so you’ll have to purchase a new one. Also, you’ll notice a small pipe sticking out of the side. That will fit over it’s mate when you re-install everything. I have no idea what it’s for but I’m sure if you look it up you’ll find out. I just know how to put it back together. Sorry.
Now comes the really fun part and I’m sick that the stupid camera stopped working. Take the special inner tie rod adapter and slide it gently around the old tie rod and then take your ratchet and you also may need a break bar and loosen it. I did I almost thought I was done for. I couldn’t get it loose. But, finally after a lot of sweating and knuckle busting it came loose. Yeah.
Oh I almost forgot some vehicles have a pin that helps hold the inner tie rod on. I didn’t have one. I think I should have but it wasn’t there. So if it doesn’t come off when you try with the adapter you might check and see if your vehicle has one. Don’t forget to remove the bracket (clamp) that you busted loose with your screw driver.
Now you can take the old inner tie rod and lay it next to the new one and check the length. It’s important to make sure that the parts are close to the same as it makes a difference in the alignment of the vehicle.
Put blue thread locker sealer on the threads of the inner tie rod and tighten it with your hand first and then finish it with the adapter tool. Use your torque wrench to tighten it to the specs of your vehicle.
To put the boot back on first put a zip tie on the back end loosely this is replacing the clamp you destroyed. Then slide the boot back on making sure you line it up with the tube that sticks out the side. If you need to you can put a little grease on the shaft to help it slide on. Tighten the zip tie and make sure it’s all snug. Then put the small clamp back on that you saved and your boot replacement is all done.
Take your outer tie rods and make sure they are close to the same length. I prefer to use the old nut as it is bigger and has more threads. Put the old nut back on and then take your new outer tie rod and screw it back on as many rotations as you took it off. Mine was 21. Tighten the jam nut against the new outer tie rod end. Put new grease value on. Tighten it gently. Put the new outer tie rod into the steering knuckle and push it through. Take the new castle nut and screw it on. Torque it down until it clicks. Once again the torque depends on your vehicle. Don’t forget to put your cotter pin on and bend them around the castle nut.
Take your grease gun and expand the rubber so it’s nice and fat.
Clean up your area, put your tire back on, lower your vehicle remove your jacks and stabilizing blocks and go get your car aligned. Your all done. ~Shovel
Facebook: https://www.facebook.com/bucketandshovel