Factory best selling 4-PCS Forehand Locking Pliers Sets to Azerbaijan Manufacturer

Short Description:
Product Detail
Product Tags
Our company insists all along the quality policy of "product quality is base of enterprise survival; customer satisfaction is the staring point and ending of an enterprise; persistent improvement is eternal pursuit of staff" and the consistent purpose of "reputation first, customer first" for Factory best selling 4-PCS Forehand Locking Pliers Sets to Azerbaijan Manufacturer, Welcoming interested companies to cooperate with us, we look forward to having the opportunity of working with companies around the world for joint growth and mutual success.
Basic Information
■Model Number: RL-DLQ028
Additional Information
■Material: A3# steel (Q235) or 45# steel
■Size: 5”, 6.5″, 7″, 10″
■Surface Treatment: Nickel-plated, Zinc-plated, Black Oxide, Electrophoresis
■Heat Treatment: Optional
■Package: Blister Card, Suction Card, Double Blister Card
■OEM: Acceptable
■HS Code: 8203200000
■Samples: For FREE
■Delivery Time: Always 30 working days depending on the order quantity
■Packing: By standard cartons
Product Description
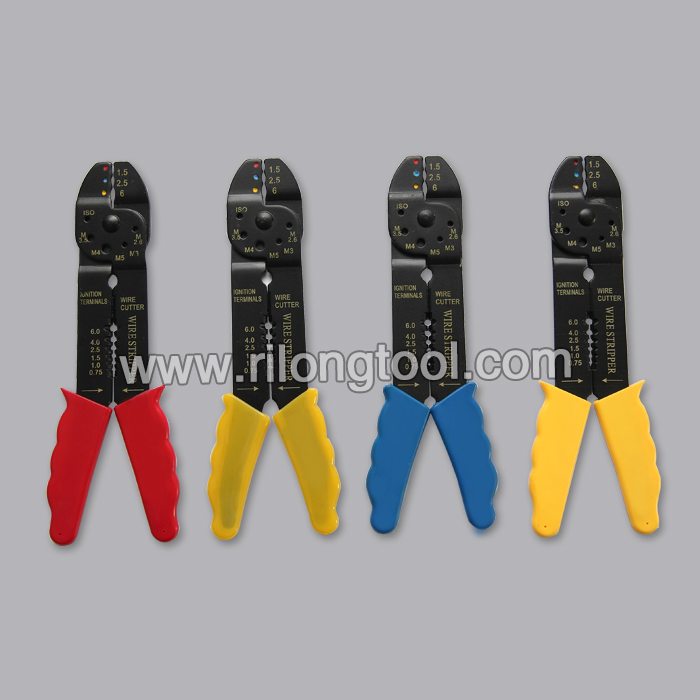
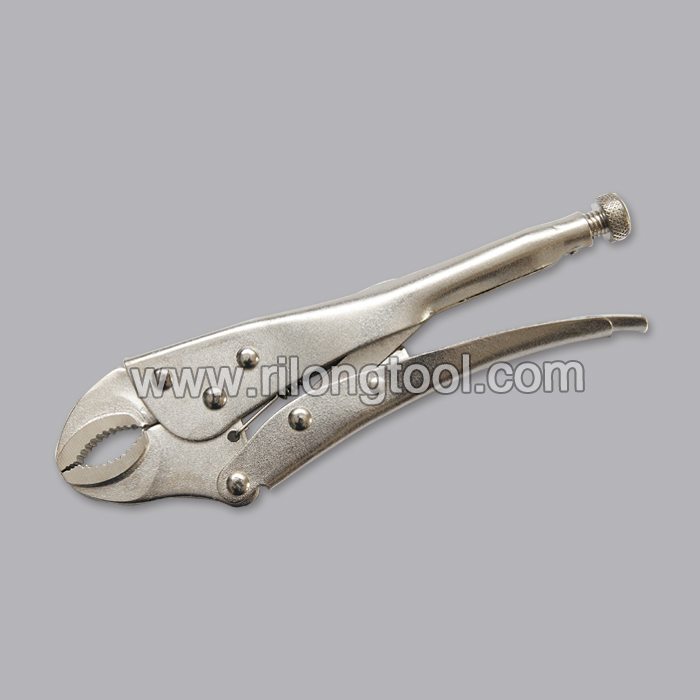
■Mainly used for clamping parts to rivet, weld, grind and so on, which is characterized by the powerful clamp force produced by the jaw. It can lock tight so that the parts won’t fetch away. Besides, jaws have a lot of levels to adjust for the use of different thickness of parts, and it also can be used as a wrench.
■Flexible using, long life and good tenacity.
■The screw tuning button can give the best clamp size easily.
Product Image
You will find the best prices and deals from kleen-rite corp for all your car wash need!
https://www.kleen-ritecorp.com/
In today’s Tom’s way, we show you how to service a Cat 310 Pump.
How to Service a Cat 310 Pump
Tools you will need: Socket Seal Case Tool (part# PU33004)
Reverse Pliers (part# PU30696)
M8 Allen Wrench Tool
Regular Screwdrivers
Socket Set & Pliers
Remove the hexbolts on each side
of the manifold.
Remove the hex Valve Plugs
(top discharge, bottom inlet)
Examine the O-Ring under the Valve Plug for cuts
or distortion and replace if worn. Lubricate the
new O-Rings before installing on the manifold.
Grasp Spring Retainer by tab at the top
with pliers and remove from
valve chamber.
Examine the Valve O-Ring for cuts or distortion
and replace if worn. Lubricate the new O-Rings
before installing on the manifold.
Separate Manifold Head from crankcase by
turning the shaft, insert 2 screwdrivers in
gap and pry Manifold Head forward until it
comes off.
Place Manifold Head on work surface
with crankcase side up. Remove Lo-pressure
Seal On 5PFR & 7PFR plunger pumps
prior to May 1989, remove Snap Ring &
Lo-Pressure Seal from each Seal Case.
Discard Snap Rings. On 5PFR & 7PFR
plunger pumps after May 1989, remove
Lo-Pressure Seal from each Seal Case.
Remove Seal Case from each
seal chamber. Remove O-Ring
from outside diameter of
Seal Case.
Hi-Pressure Seal is easily removed
from the manifold without any tools.
If extremely worn a reverse pliers
may be used.
Correct Seal arrangement
Examine Seal Case O-Ring and replace
if worn. Lubricate new O-Ring before
installing.
Lo-Pressure Seal must be installed with Garter
Spring side down. The down direction is
facing the front of the manifold.
Groove Side Down
Install Lo-Pressure Seal into each
seal case with Garter Spring down.
Remove oil pan and seal retainer with wick. Using an M12 hex tool on the pumps,
loosen the plunger retainer about three to
four turns.
Inspect O-Ring and Back-Up Ring for wear
& replace if needed. Examine Ceramic
Plunger for scoring, scale build-up,
chips or cracks and replace if needed.
Install new Gasket, then O-Ring, then
Back-Up onto each Plunger Retainer.
Rotate Crankshaft
by hand so the two
outside plungers are
extended equally.
Buy the new Washer Tub Seal 4036ER2003A https://www.appliancepartspros.com/lg-seal-4036er2003a-ap4437693.html and Bearings MAP61913715 & 4280FR4048C https://www.appliancepartspros.com/lg-washer-bearing.html
Follow these simple step-by-step instructions to replace the Tub Seal 4036ER2003A and Bearings MAP61913715 & 4280FR4048C on LG Washers.
Symptoms: seal starts leaking causing damage to both bearings.
Buy the new Washer Tub Seal 4036ER2003A https://www.appliancepartspros.com/lg-seal-4036er2003a-ap4437693.html and Bearings MAP61913715 & 4280FR4048C https://www.appliancepartspros.com/lg-washer-bearing.html Most orders delivered in 2 business days or less.
Tools needed: long and short Phillips screwdriver, flathead screwdriver, pliers, locking pliers, large pliers, socket wrench with extension, 11/16″ socket head, 1/2″ socket head, 10mm socket head, thread locking liquid, penetrating oil, liquid soap, punch, hammer. Optional: container for water, rope, wooden block supports, block of wood.
These LG made Washer Tub Seal and Bearings replace the following older part numbers: 4280FR4048K, 1267488, 1267499, 4280FR4048M, 4280FR4048G, 1267497.