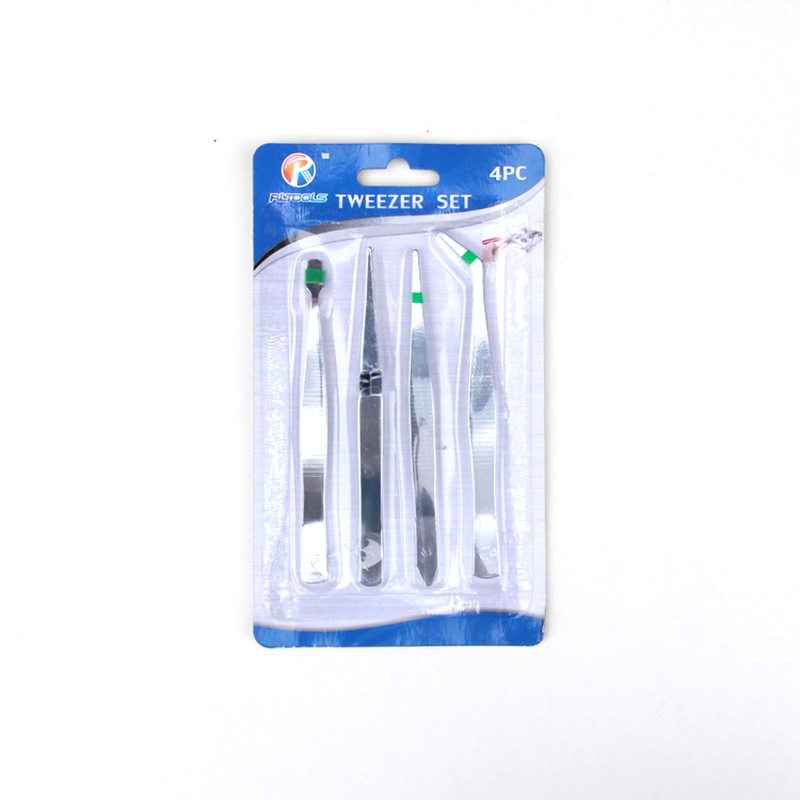
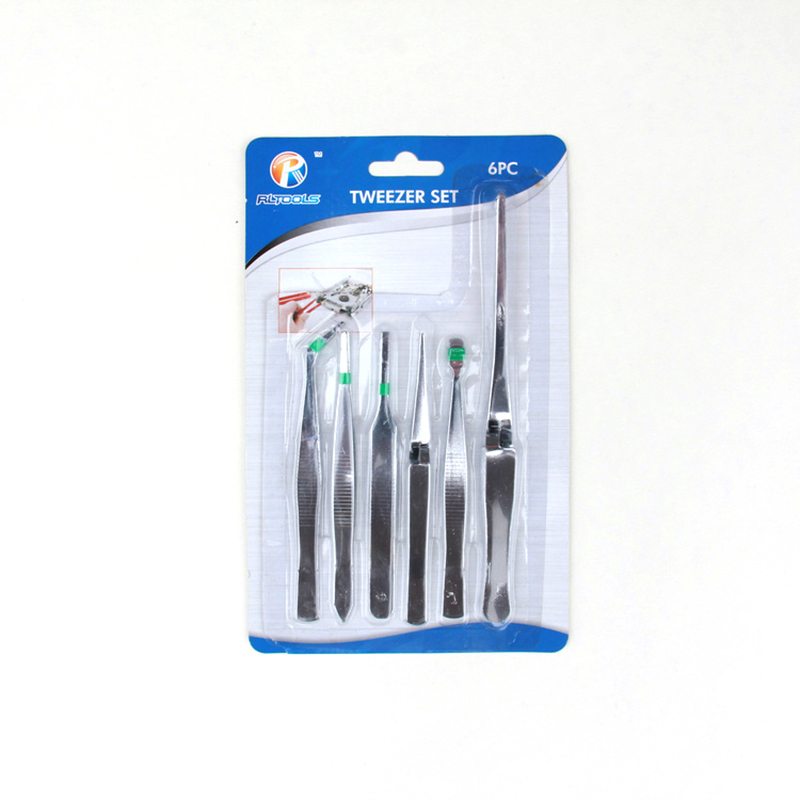
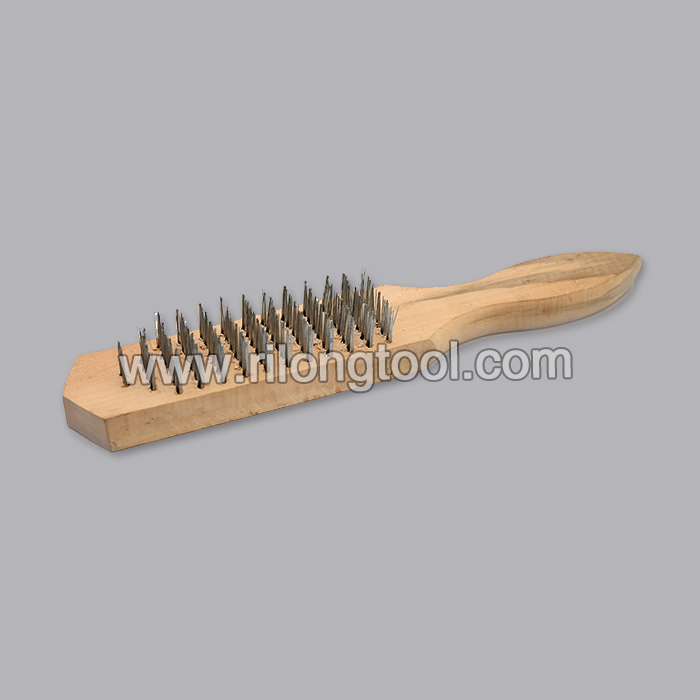
Competitive Price for 7-PCS Anti-static Tweezer Sets Wholesale to Washington

Short Description:
Product Detail
Product Tags
Persisting in "High quality, Prompt Delivery, Competitive Price", we have established long-term cooperation with clients from both overseas and domestically and get new and old clients' high comments for Competitive Price for 7-PCS Anti-static Tweezer Sets Wholesale to Washington, We welcome customers, business associations and friends from all parts of the world to contact us and seek cooperation for mutual benefits.
Basic Information
■Model Number: RL-NZ007
Additional Information
■Material: Q195 Cold-rolled Steel
■Thickness: 0.8mm, 1.0mm, 1.2mm
■Surface Treatment: Chrome Plated
■Finish: Polished
■Package: Suction Card
■OEM: Acceptable
■HS Code: 8203200000
■Samples: For FREE
■Delivery Time: Always 30 working days depending on the order quantity
■Packing: By standard cartons
Attention
■Do not heat it.
■Do not take acid drugs with it.
■Keep it clean after using it.
Product Image
https://www.homeownerseries.com
Fill Valve Repair = https://youtu.be/IB0VHdhUR1s?hd=1
Fill Valve Part Overview = https://youtu.be/bNQFOwuUCKg?hd=1
To view the Fill Valve Replacement Playlist = https://www.youtube.com/view_play_list?p=4A143A19D85596B2
Replacing the Fill Valve
Diagnostic
The Toilet Fill Valve controls the amount of water in the tank of the toilet. This assembly should be replaced if it begins to not shut off correctly, becomes damaged, or corroded. To minimize any disruptions in service, it is suggested that the Fill Valve be replaced every five years as part of regular toilet maintenance.
Parts
A new fill valve assembly can be purchased at hardware or plumbing supply stores. The package should include the Fill valve assembly, refill tube, lock nut and any gaskets.
Tools
The tools needed to replace the Fill Valve are a pair of rib joint pliers, an adjustable open-end wrench, and a small plastic bin.
Replacement
Begin the replacement of the toilet fill valve by removing the tank’s lid, turning off the water supply valve, and flushing the toilet.
If the toilet already has an existing Fill Valve, and the base is in good condition, then the fill valve may be quickly replaced by reaching to the base of the fill valve and pulling up the lock ring, removing the refill tub, and sliding the Fill Valve off of its base. The new Fill Valve is installed by simply removing the base that came with it and sliding it onto the existing base in the toilet. Reach behind the Fill Valve and snap the lock ring down into place. Then attach the refill tube to the overflow tube and adjust the new fill valve for optimal water level.
If the Fill Valve base in the toilet is not in good condition, then the entire unit will need to be replaced as follows.
With the tank empty, position a plastic bin to collect water under the water supply hose and unscrew the hose from the base of the tank, having any water drain into the plastic bin below. Now with an adjustable open-end wrench, or rib joint pliers, unscrew the lock nut located on the shank of the fill valve. With the nut removed the entire assembly can be pulled out of the tank. The old assembly should be placed into the plastic bin as it may continue to drain water.
With the old assembly removed, take the new unit and adjust the height to best suit the height of the tank and overflow tube, usually around 1-inch below the tank’s edge. Insert the threaded end into the hole where the previous assembly was removed. Position the new assembly and thread the lock nut by hand securing the tube upright.
Once hand tight, secure the nut a quarter turn further with the rib joint pliers to insure a watertight seal. Now re-attach the water supply hose to the fill valve’s shank. Place the fill valve’s refill hose into the overflow tube. The refill hose must not extend below the tank’s water line or water will constantly siphon from the tank.
Most fill valve kits should include a metal clip or angle adaptor that, when installed, will prevent the refill tube from going below the water line. Once in place, turn on the water-supply valve and the tank will begin to fill. Make any adjustments to the water level by sliding the adjustment clip, located on the fill valve, to change the height of the float-cup. The tank’s water level is best at about 1-inch below the top of the overflow tube located in the center of the toilet. Inspect the new connections to make sure that they are not leaking water, and flush the toilet to test the toilet’s function. Once in order, replace the tank’s lid to complete the project.
Watch the full episode: https://www.youtube.com/watch?v=sg_4316vpwo
Getting tight, and loose, with Richard Trethewey. (See below for tools and steps.)
Click here to SUBSCRIBE to the official This Old House YouTube channel: https://www.youtube.com/subscription_center?add_user=thisoldhouse
Watch new episodes of Ask TOH: https://www.thisoldhouse.com/toh/tv/ask-toh/video/0,,,00.html
Tools List for How to Choose and Use Pliers and Wrenches:
- Grooved-joint pliers
- Combination wrench
- Adjustable wrench
- Pipe wrench
Steps for How to Choose and Use Pliers and Wrenches:
1. Grooved-joint pliers quickly adjust to grip several different sizes of hexagonal and square nuts and fasteners.
2. To prevent grooved-joint pliers from slipping, always grip the nut so that you’re pulling the handle toward the pliers’ smaller, adjustable jaw.
3. Combination wrenches come in a wide variety of sizes. Each has an open-end wrench on one end and a box wrench on the other.
4. An adjustable wrench features a cylindrical-shaped knurled nut that allows you to adjust the opening between the jaws.
5. Grip round pipes with a pipe wrench.
6. To avoid damaging the pipe, take a three-corner bite. Be sure the wrench contacts the pipe at the fixed heel (bottom) jaw, at the adjustable hook (top) jaw, and at the beam, which is the long section of the hook jaw.
Follow This Old House and Ask This Old House:
Facebook: https://www.facebook.com/ThisOldHouse
Twitter: https://twitter.com/thisoldhouse
https://twitter.com/asktoh
Pinterest: https://www.pinterest.com/thisoldhouse/
G+: https://plus.google.com/+thisoldhouse/posts
Instagram: https://instagram.com/thisoldhouse
Tumblr: https://thisoldhouse.tumblr.com/