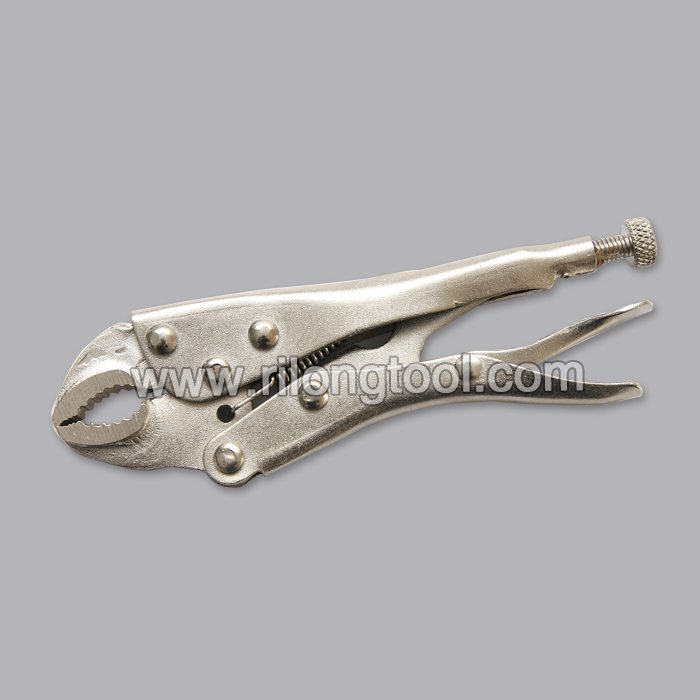
China Top 10 9″ C-clamp Locking Pliers Berlin Importers
Short Description:
Product Detail
Product Tags
It adheres to the tenet "Honest, industrious, enterprising, innovative" to develop new products constantly. It regards customers, success as its own success. Let us develop prosperous future hand in hand for China Top 10 9″ C-clamp Locking Pliers Berlin Importers, Sincerely hope we are growing up together with our customers all over the world.
Basic Information
■Model Number: RL-DLQ018
Additional Information
■Material: A3# steel (Q235) or 45# steel
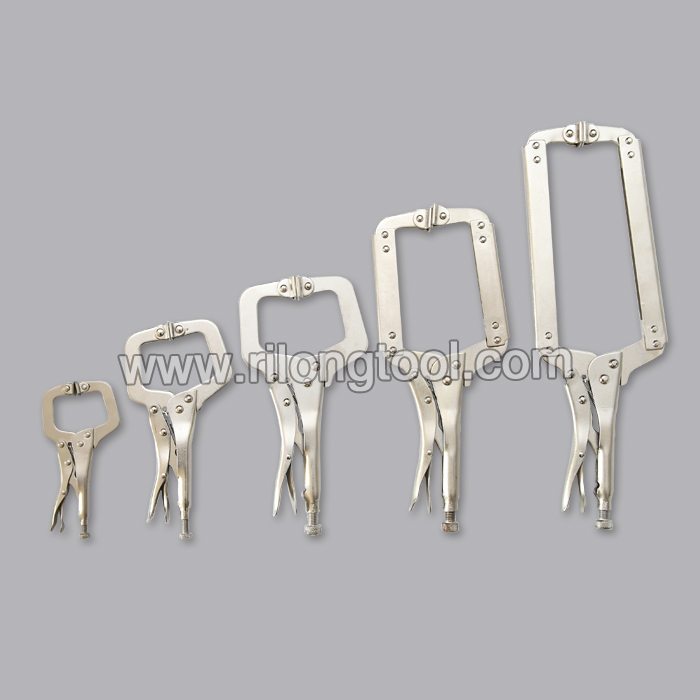
■Size: 9”
■Surface Treatment: Nickel-plated, Zinc-plated, Black Oxide, Electrophoresis
■Heat Treatment: Optional
■Package: Blister Card, Suction Card, Tie Card, Double Blister Card
■OEM: Acceptable
■HS Code: 8203200000
■Samples: For FREE
■Delivery Time: Always 30 working days depending on the order quantity
■Packing: By standard cartons
Product Description
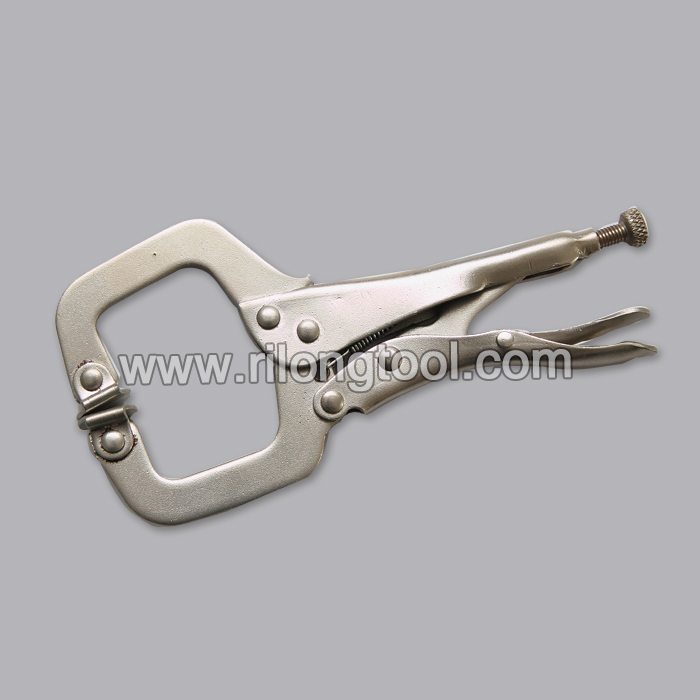
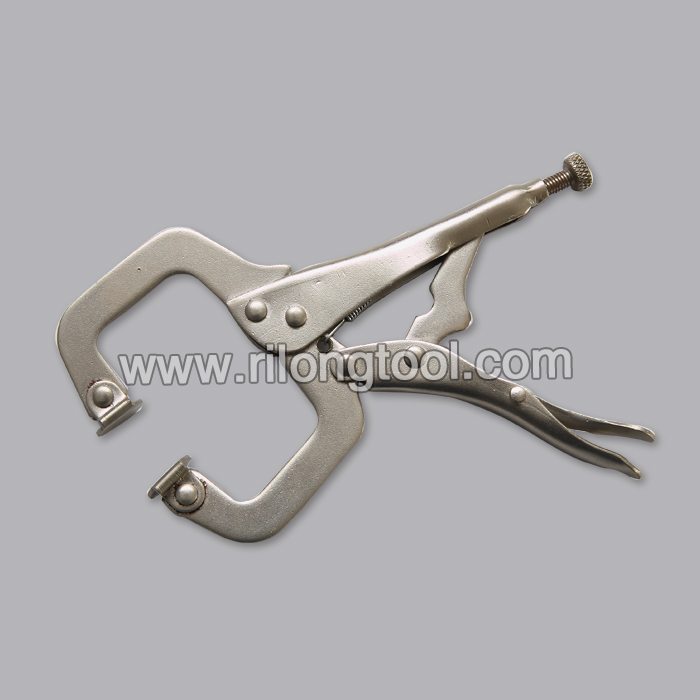
■Mainly used for clamping parts to rivet, weld, grind and so on, which is characterized by the powerful clamp force produced by the jaw. It can lock tight so that the parts won’t fetch away. Besides, jaws have a lot of levels to adjust for the use of different thickness of parts, and it also can be used as a wrench.
■Flexible using, long life and good tenacity.
■The screw tuning button can give the best clamp size easily.
Product Image
In this “Basic Plumbing Tools” video, I show you exactly what I take with me on each and every repair. I also lay out what I think you’ll need as a homeowner to perform your own basic plumbing repairs!
Watch the video and if you have any questions, please head on over to https://www.BobsPlumbingVideos.com and get in touch.
Tool Links:
Channel Lock Pliers-https://amzn.to/1Oh2fol
Slip joint Pliers- https://amzn.to/1Jmiqzl
Basin Wrench-https://amzn.to/1Jmiyiv
Pipe Wrench-https://amzn.to/1Oh2EHs
Handle Puller-https://amzn.to/1JmiSO9
Deep Socket Set-https://amzn.to/1Oh2RKD
Adjustable Wrench-https://amzn.to/1Jmj6oC
Four Way ScrewDriver-https://amzn.to/1Oh31ld
Teflon Tape-https://amzn.to/1JmjkMf
Pipe Joint Compound-https://amzn.to/1Oh3jIQ
Plumbers Putty-https://amzn.to/1JmjNht
Hammer-https://amzn1Jmk43Y.to/
Duct Tape-https://amzn.to/1JmjQKc
For more about the tools and gear I use in these videos and in my plumbing business, head on over to the gear store at-https://www.bpvgear.com
Full Disclosure: I make a small commission on purchases made at the bpvgear store. This allows me to produce these videos and provide more value to you.
Happy Plumbing!
Bob
Machine Shop Tool Making, Machining A Finger Plate Clamping Tool – Part 1, by Clickspring.
A Finger Plate clamping tool is a valuable tool in any workshop, and is a great mini mill and mini lathe project. You can also modify the design to suit whatever stock you have in the shop, which means you can finally use some of that scrap you’ve been saving up for that special project.
In this first video of a 2 part series, I build the base for the tool, the cross hole jig, as well as the brass clamping nut. You will see plenty of knurling, lathe turning and milling. Visit the Clickspring website for other mini lathe projects.
Thanks for watching. If you enjoyed the video please give a thumbs up, and leave me a comment. Be sure to check out part 2 of the series.
If you would like to help support the creation of these videos, then head on over to the Clickspring Patreon page: https://www.patreon.com/clickspring
For more info on this tool build, as well as other tool making info, visit the blog site at https://www.clickspringprojects.com
Project Plans available from the Clickspring Store:
https://www.clickspringprojects.com/store.html
Other Videos to Watch:
How To Make A Clock Part 1 – Making The Frames
How To Machine A Small Lathe Carrier
Visit the Clickspring Blog:
https://clickspring.weebly.com
Ask Me A Question:
https://www.clickspringprojects.com/contact.html
Follow Clickspring:
https://www.facebook.com/Clickspring1
https://plus.google.com/u/0/113668471124073837794/posts
https://instagram.com/clickspring1/
https://www.tumblr.com/blog/clickspring1
https://twitter.com/clickspring1
https://www.patreon.com/clickspring
Transcript:
00:17 If a small part is too small to be held safely by hand, there’s often no easy way to hold it in a vise either. That’s where this Finger Plate Tool can help. It clamps the workpiece firmly to the tool base, and then the whole thing can either be hand held, or clamped on parallels in a vise.
00:41 Now the dimensions are not very critical, and can be modified to suit whatever stock you have at hand. For example I made my dimensions to suit this rod stock and this piece of scrap steel.
01:05 I roughly trimmed the raw stock for the base, and then squared it up on the mill.
01:25 The hole and groove have to be dead on with each other for the jig to give accurate results. The holes were opened up with a twist drill, and the counterbore for the bushing holder was put in with an end mill.
02:23 I would have liked to have used a double angle cutter to do this, but I don’t have one. So I tilted the work to 45 degrees, and then used a standard end mill.
02:42 I won’t know how successful I was with this,
until the very end when I do some test drilling. The V shape was then roughed out on the band saw. And then the cut was tidied up on the belt sander.
03:44 Next up is this bushing holder, which holds the little bushings to guide the drill for cross holes. The first step is to turn the basic shape on the lathe.
04:25 The center of the part is then drilled out
to the correct size, to accept the cross hole bushings. And then while its still attached to the parent stock, its taken over to the mill to put in that cross hole.
05:14 I wanted this hole to have a good surface
finish, so although I started the hole with a twist drill, I did the final sizing with an end mill. Back on the lathe, a light touch with a file knocks off the burr from the cross hole, and its ready to be parted off.
05:53 The parted surface needs a light facing cut and chamfer to clean it up. And I used a hand chamfering tool to knock the edges off the inside hole. A drop of loctite holds it in place.
07:17 I want this to have a nice knurled finish,
so I made a light pass to make sure the pattern was going down well, and then the knurl was taken to full depth. Once the knurl was complete, the excess was trimmed away, and the tapered profile of the part was formed.
08:49 Thats about half of the work for the tool
completed. In the next video, I’ll finish off the tool by making the lifting screw,the drilling jig bushings and the clamping finger.
References:
Finger Plate Clamping Tool books and plans (let me know if you are aware of any others):
“Workshop Practice Series Number 31″ Stan Bray
https://www.teepublishing.co.uk/books/workshop-practice-series/
“Tools For The Clockmaker And Repairer” John Wilding
https://www.ritetimepublishing.com/
“The Model Engineers Workshop Manual” George H Thomas
https://www.teepublishing.co.uk/books/in-your-workshop/model-engineers-workshop-manual/
“Model Engineer Magazine” Edition Vol 104, Issue 2596, 1951 Commander W.T. Barker
https://www.itech.net.au/modelengineer/
“The Machinist’s Bedside Reader” Guy Lautard
pages 88-91
Machine Shop Tool Making, Machining A Finger Plate Clamping Tool – Part 1