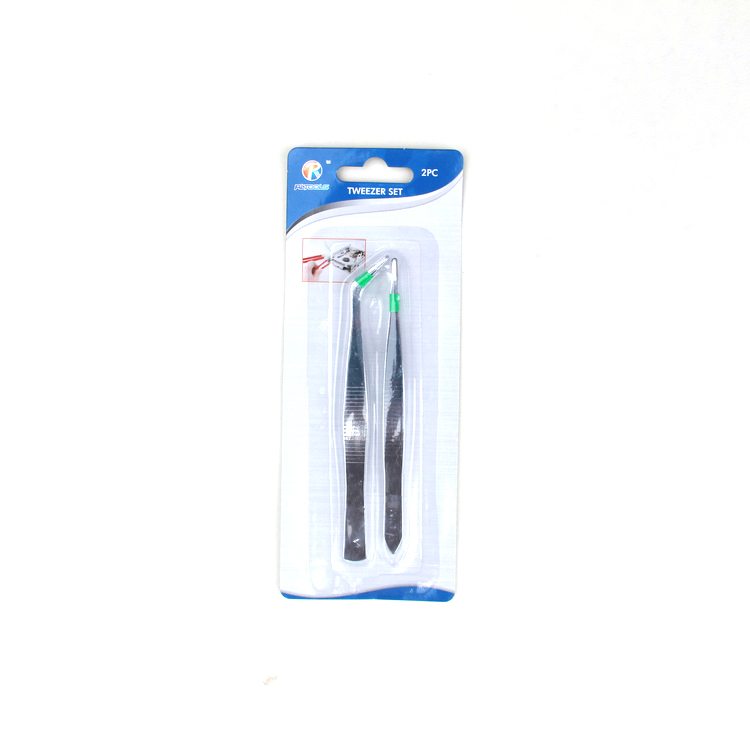
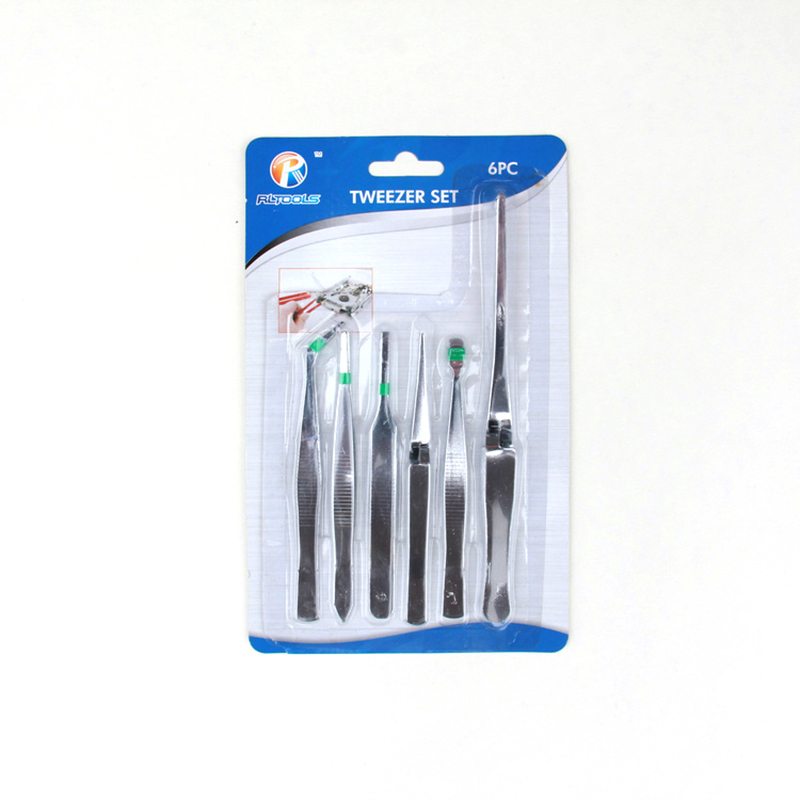
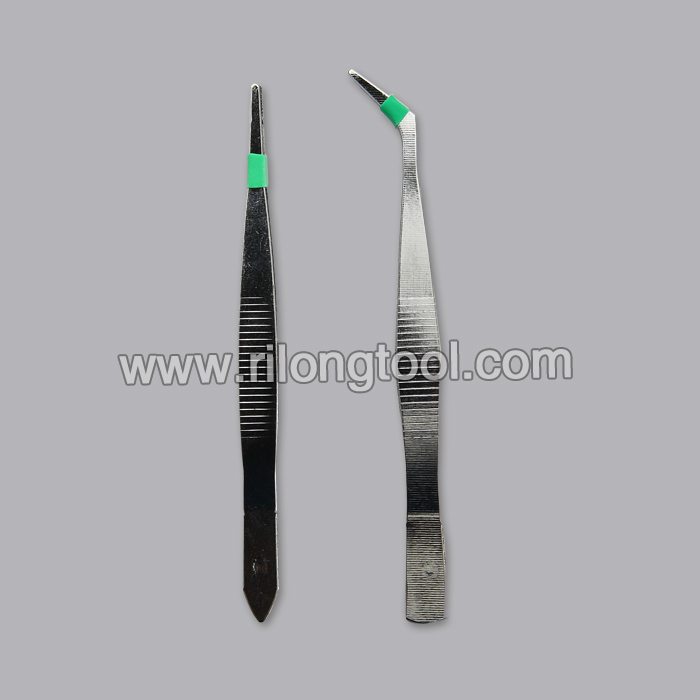
Cheapest Price 2-PCS Small Tweezer Sets for Kenya Factories
Short Description:
Product Detail
Product Tags
We always stick to the principle "Quality First, Prestige Supreme". We are fully committed to providing our clients with competitively priced quality products, prompt delivery and professional service for Cheapest Price 2-PCS Small Tweezer Sets for Kenya Factories, We are confident to make great achievements in the future. We are looking forward to becoming one of your most reliable suppliers.
Basic Information
■Model Number: RL-NZ001
Additional Information
■Material: Q195 Cold-rolled Steel
■Thickness: 0.8mm, 1.0mm, 1.2mm
■Surface Treatment: Chrome Plated
■Finish: Polished
■Package: Suction Card
■OEM: Acceptable
■HS Code: 8203200000
■Samples: For FREE
■Delivery Time: Always 30 working days depending on the order quantity
■Packing: By standard cartons
Attention
■Do not heat it.
■Do not take acid drugs with it.
■Keep it clean after using it.
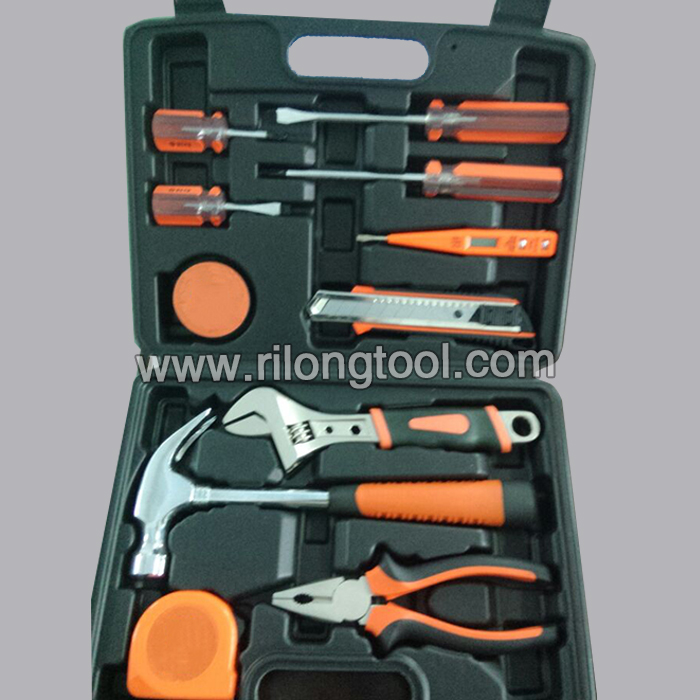
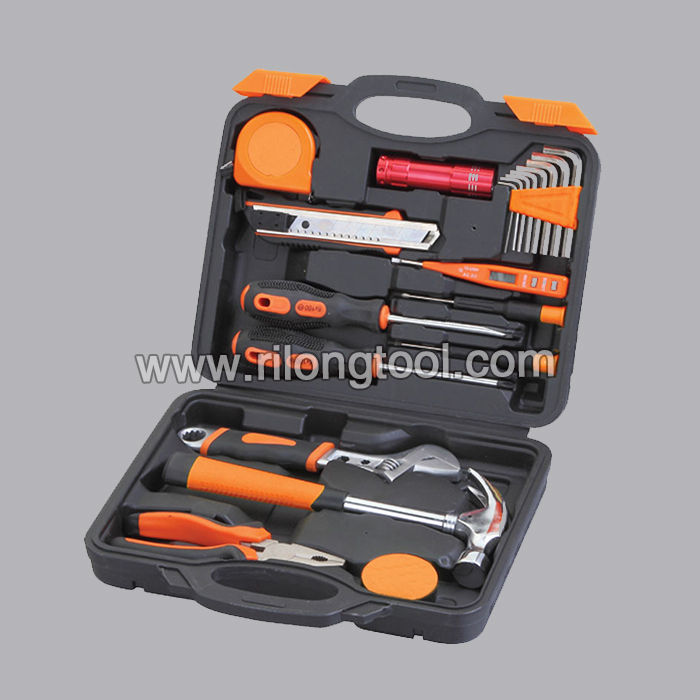
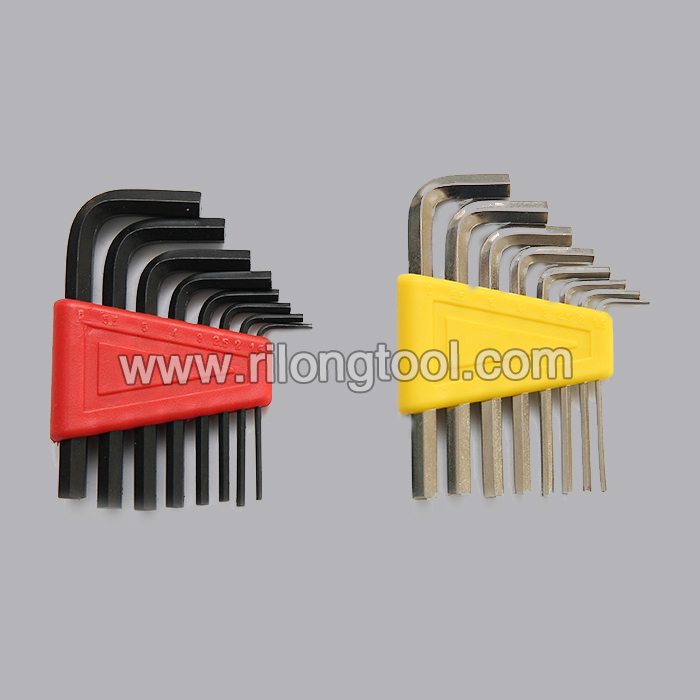
Product Image
Machine Shop Tool Making, Machining A Tailstock Die Holder For The Sherline Lathe – Part 2, by Clickspring.
In this second and final video on making a tailstock die holder, I complete the tool by making the #0 Morse taper shaft and the handle.
Thanks for watching. If you enjoyed the video please give a thumbs up, and leave me a comment.
If you would like to help support the creation of these videos, then head on over to the Clickspring Patreon page: https://www.patreon.com/clickspring
For more info on this tool build, as well as other tool making info, visit the blog site at https://www.clickspringprojects.com
Project Plans available from the Clickspring Store:
https://www.clickspringprojects.com/store.html
Other Videos to Watch:
How To Make A Clock Part 1 – Making The Frames
How To Machine A Small Lathe Carrier
Ask Me A Question:
https://www.clickspringprojects.com/contact.html
Follow Clickspring:
https://www.facebook.com/Clickspring1
https://plus.google.com/u/0/113668471124073837794/posts
https://instagram.com/clickspring1/
https://www.tumblr.com/blog/clickspring1
https://twitter.com/clickspring1
https://www.patreon.com/clickspring
Transcript:
00:15 The shaft is a straight forward piece of turning, but its worth noting that all of the cylindrical features must be concentric for it to work. The center holes on the shaft for the existing tool suggest it was turned between centers to achieve this result. I’m going to machine part of it between centers, but I’ll machine the taper while holding it in a collet. So starting with a piece of mild steel, I prepared it for turning between centers, by giving it a facing cut and center drilling each end.
00:44 I’ve mentioned before, I don’t have a drive plate for this lathe, so I turned a temporary center from this hex bar, and attached a driver to that.
00:55 To be honest, I find it more convenient to do this, than to take off the chuck to put in a center anyway, and since its turned in place, I know its right on the center line of the lathe. A lathe carrier was attached to the work, and the part set up for turning.
01:37 With the first cut marked out, I started the job of turning the profile to size. The fit with the main bore is quite nice,
so I’m calling that done. Next up is the taper, and for this I’m shifting to an ER collet to hold the part.
02:40 It’s not quite as accurate as doing it between centers, but I’m a bit limited in how I can cut an accurate taper with my lathe. The best option I could come up with was to copy an existing taper, and then cut it using the compound.
02:51 So this little Sherline drill arbor is my test subject, and it’ll sit nicely in a collet while I copy its taper with an indicator. I set the compound over to roughly the correct angle, and then spent a bit of time tapping it into place, until it was travelling parallel to the taper in the chuck.
04:01 Now the only zero morse taper I have for testing the result, is the one sitting in the lathe, so I pulled it out of the tailstock body to make it a bit more convenient to hold, and used it as a gauge to check my progress.
04:30 The size is about right, but the surface finish could be better. So a quick touch with a mill file to smooth out the tool marks, and the fit is excellent. A light chamfer, and its done.
04:54 The steel shaft is a lot harder than the aluminium, so it will wear the bore a little over time, loosening the fit a tiny amount, but I don’t think it will be a major issue. The next part of the tool to make is this handle.
05:07 It needs a thread cut on it so it can screw into the main tool body, so first up I faced the stock and then turned the end to the correct diameter for threading. I cut a little chamfer on the end to help start the thread,and used my existing die holder to hold the die.
06:07 The thread also needs a good undercut, so that the handle pulls down nicely into the main body of the tool. And lastly I reduced it to final length and gave it a general tidy up. The part was then flipped in the chuck, and the other end was given a clean up too.
06:53 I’m really enjoying using a graver to turn this sort of non critical stuff. They’re so much fun to use, and probably quicker than messing around with a form tool to do the same cut.
07:22 I also decided to put in some ornamental grooves, just to pretty it up a little, and make it a bit more pleasant to hold. And thats the handle done. Were on the home stretch.
08:51 I can see the die is sitting quite steady as the thread is cut, and it does a much better job than the standard holder, of holding the die square to the work. Its got a nice light feel to it; I get a direct sense of how the thread is being cut, through the grip. I’ve got a lot of these screws to make, this tool is going to get plenty of use.
Machine Shop Tool Making, Machining A Tailstock Die Holder For The Sherline Lathe – Part 1, by Clickspring.
Crescent® Flip & Grip – 2 Piece Collapsible Ratcheting Wrench
Traditional ratcheting wrench sets can be a challenge to store and transport, and generally force a tradeoff between convenience and access.
The Crescent® Flip & Grip seeks to provide you with all the benefits you see below all with ability to tackle 50+ fasteners with just 2 wrenches.
Versatility – Adjustable jaw fits a range of fastener sizes for a variety of projects.
Speed – Unique, spring-loaded jaw design ratchets on fasteners making projects faster and easier.
Portability – Collapsible head allows for compact storage and pocket portability.
Access – Locking pivot helps reach around obstacles and into tight spaces.
8-inch wrench accommodates fasteners in the following range: 1/2″-3/4″ and 12-19mm
6-inch wrench accommodates fasteners in the following range: 1/4″-7/16″ and 6-11mm
Crescent® Flip & Grip providing you with convenience and access whenever and wherever you need it!
For Instant Crescent News
Follow us…Facebook.com/crescenttools
Like us…@CrescentTools