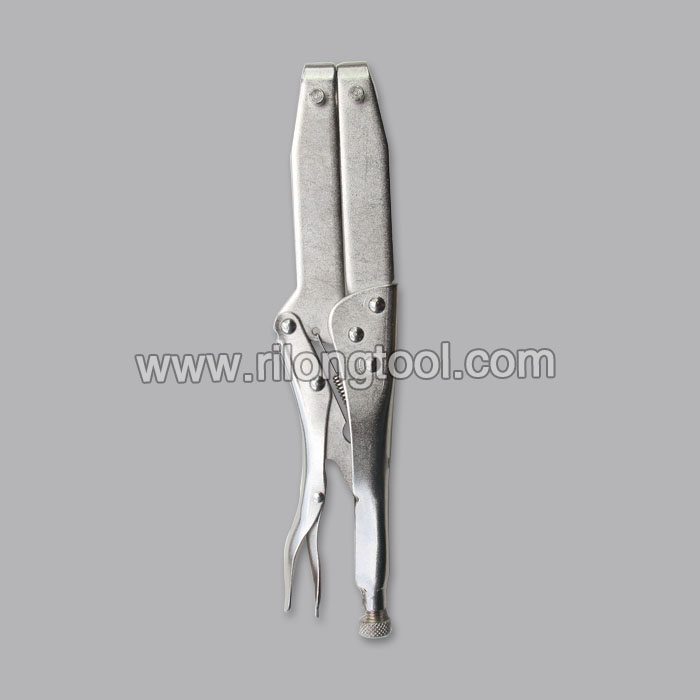
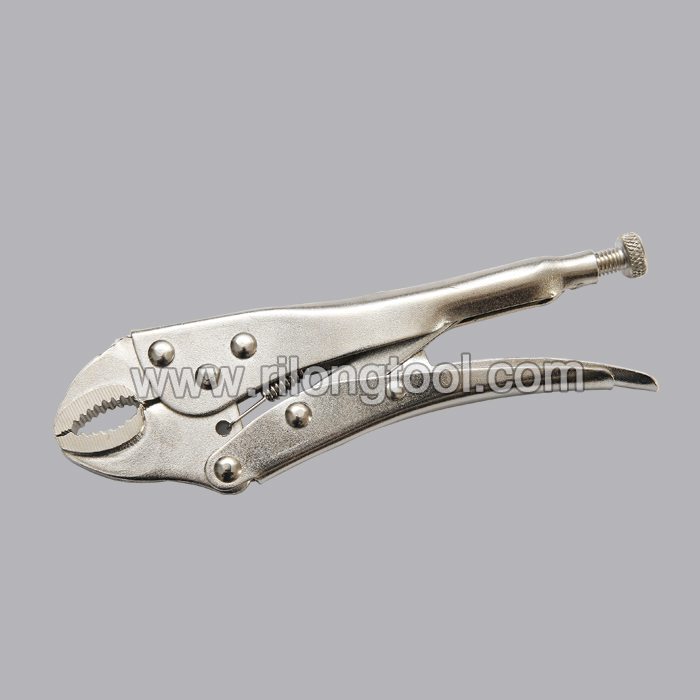
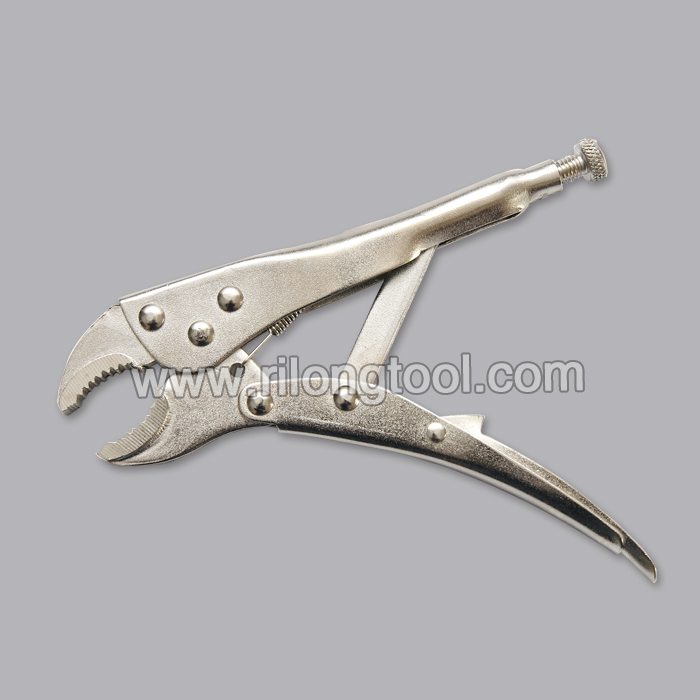
90% OFF Price For 7″ Forehand Round-Jaw Locking Pliers Factory for Sweden
Short Description:
Product Detail
Product Tags
Quality First,and Customer Supreme is our guideline to provide the best service to our customers.Nowadays, we are trying our best to become one of the best exporters in our field to meet customers more need for 90% OFF Price For 7″ Forehand Round-Jaw Locking Pliers Factory for Sweden, If you are interested in any of our products or would like to discuss a custom order, please feel free to contact us. We are looking forward to forming successful business relationships with new clients around the world in the near future.
Basic Information
■Model Number: RL-DLQ003
Additional Information
■Material: A3# steel (Q235) or 45# steel
■Size: 7”
■Surface Treatment: Nickel-plated, Zinc-plated, Black Oxide, Electrophoresis
■Heat Treatment: Optional
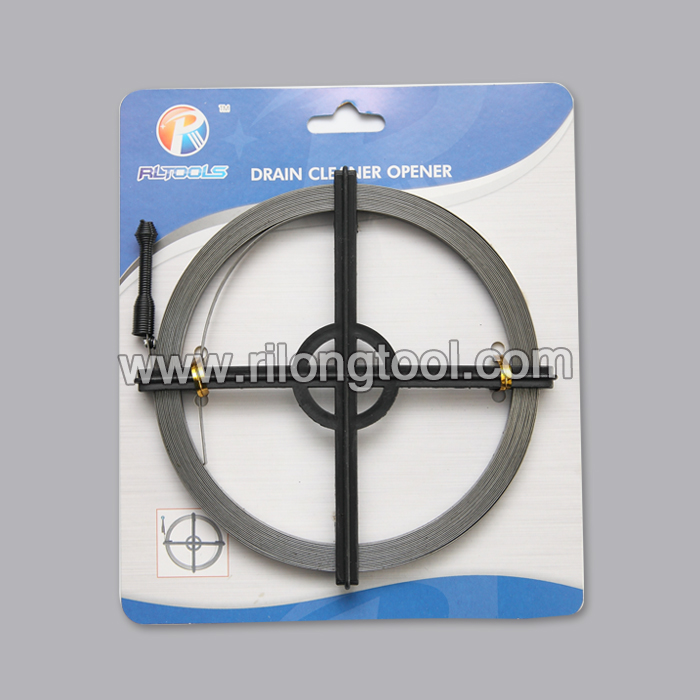
■Package: Blister Card, Suction Card, Tie Card, Double Blister Card
■OEM: Acceptable
■HS Code: 8203200000
■Samples: For FREE
■Delivery Time: Always 30 working days depending on the order quantity
■Packing: By standard cartons
Product Description
■Mainly used for clamping parts to rivet, weld, grind and so on, which is characterized by the powerful clamp force produced by the jaw. It can lock tight so that the parts won’t fetch away. Besides, jaws have a lot of levels to adjust for the use of different thickness of parts, and it also can be used as a wrench.
■Flexible using, long life and good tenacity.
■The screw tuning button can give the best clamp size easily.
Product Image
this is a video showing the fix for gm ls engine exhaust manifold bolt breaking off at the cylinder head. this is a very common problem found on all models of the 4.8,5.3,6.0 liter engines found in many of the full size vehicles in gm line up
the video involves using a welder and many of them can be used with a vice grips if necessary. this is a delicate job not to make more work for your self
PLEASE LIKE AND SUBSCRIBE AND COMMENT!!!!!!!!!!
FACEBOOK www.facebook.com/joetheautoguy
TWITTER www.twitter.com/joetheautoguy
GOOGLE+ www.plus.google.com/joetheautoguy
BlOGGER www.joemakinmoney.blogspot.com
Email joetheautoguy@gmail.com
Instagram www.instagram.com/joetheautoguy#
https://www.ingrowntoenails.info
Warning: Follow at your own risk. If you have doubts that you can do this correctly by yourself, or if your ingrown nail is worse than the one in this video, then see a doctor.