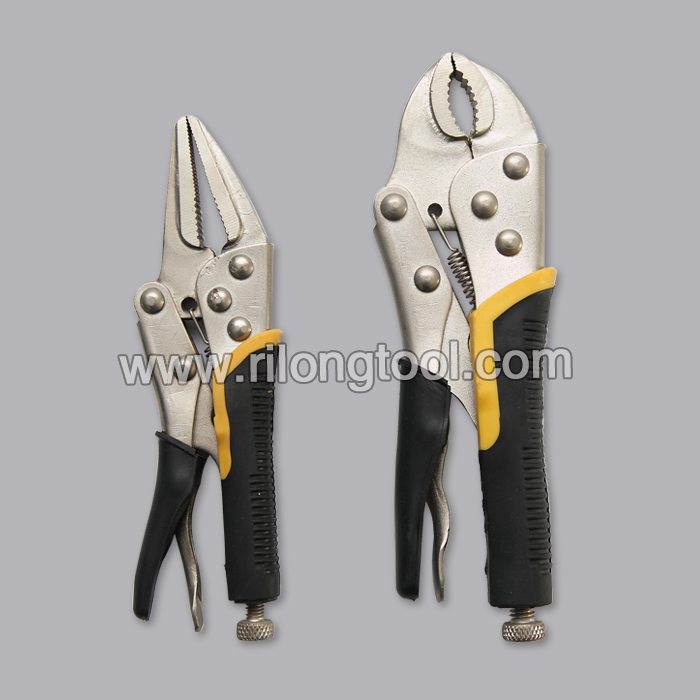
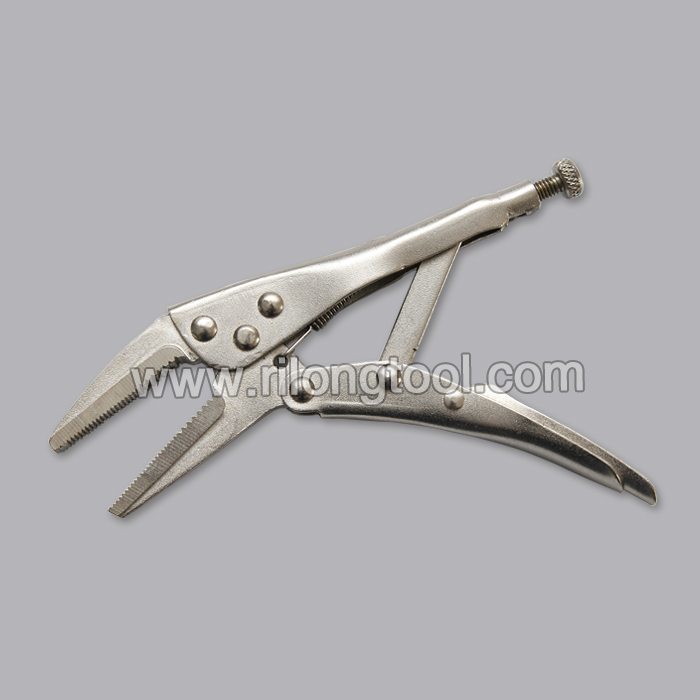
7 Years Factory 6.5″ Forehand Long-nose Locking Pliers in Mombasa

Short Description:
Product Detail
Product Tags
Assume full responsibility to meet all demands of our clients; achieve continuous advancements by promoting the growth of our clients; become the final permanent cooperative partner of clients and maximize the interests of clients for 7 Years Factory 6.5″ Forehand Long-nose Locking Pliers in Mombasa, We warmly welcome all interested customers to contact us for more information.
Basic Information
■Model Number: RL-DLQ007
Additional Information
■Material: A3# steel (Q235) or 45# steel
■Size: 6.5”
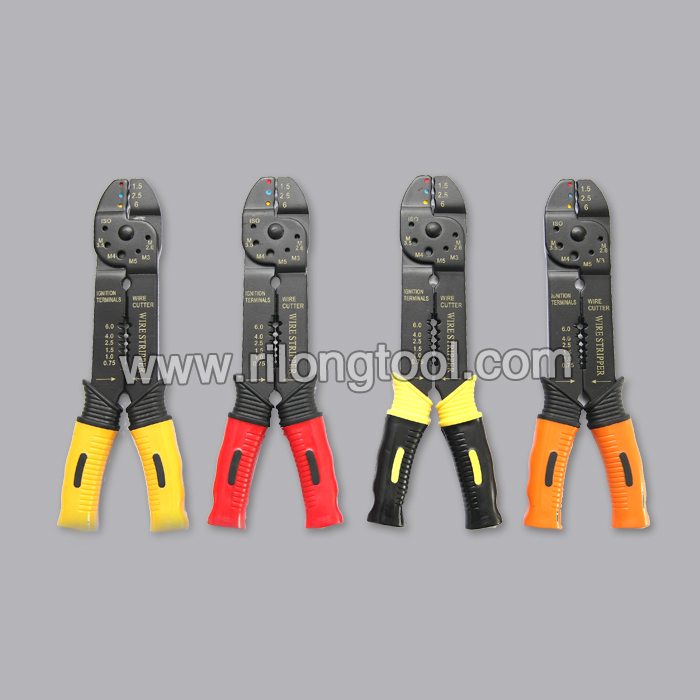
■Surface Treatment: Nickel-plated, Zinc-plated, Black Oxide, Electrophoresis
■Heat Treatment: Optional
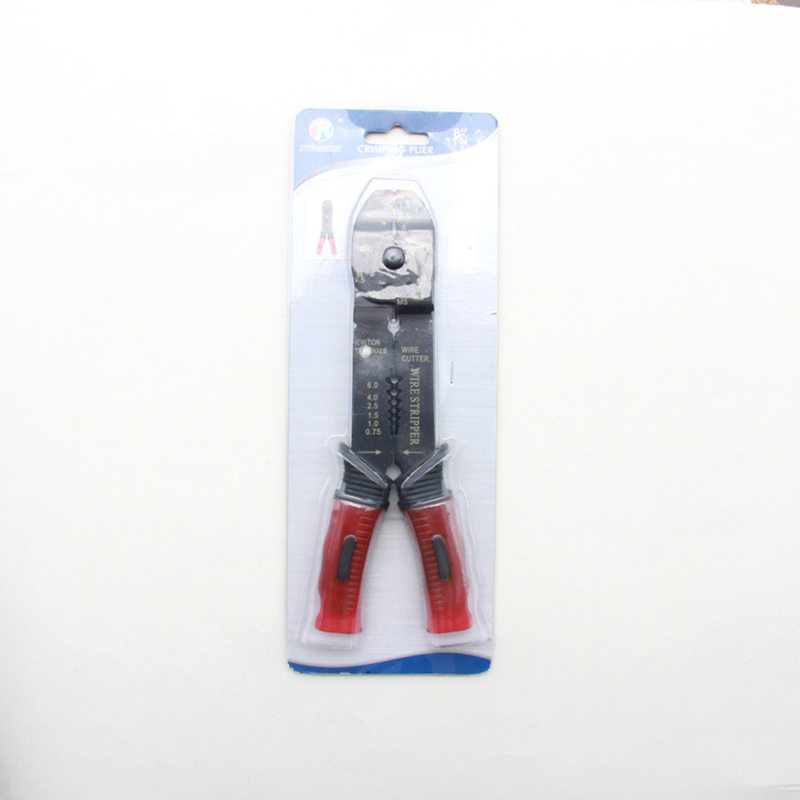
■Package: Blister Card, Suction Card, Tie Card, Double Blister Card
■OEM: Acceptable
■HS Code: 8203200000
■Samples: For FREE
■Delivery Time: Always 30 working days depending on the order quantity
■Packing: By standard cartons
Product Description
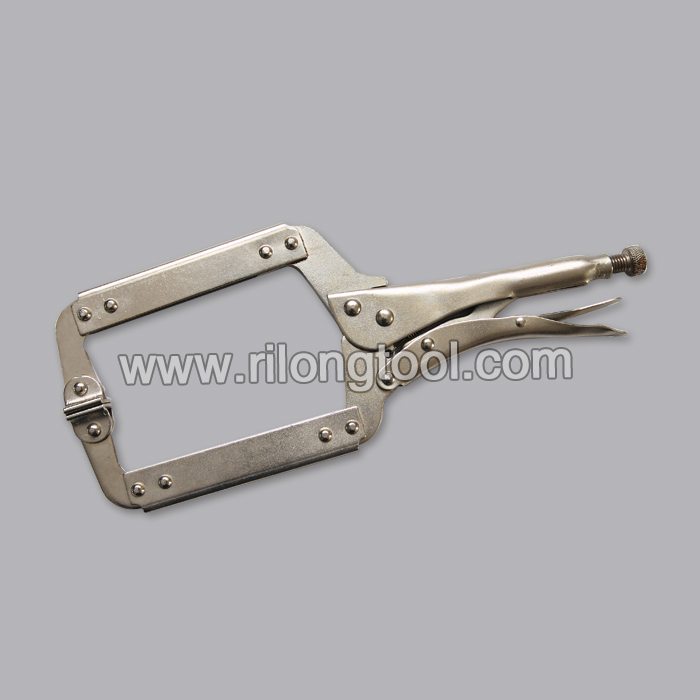
■Mainly used for clamping parts to rivet, weld, grind and so on, which is characterized by the powerful clamp force produced by the jaw. It can lock tight so that the parts won’t fetch away. Besides, jaws have a lot of levels to adjust for the use of different thickness of parts, and it also can be used as a wrench.
■Flexible using, long life and good tenacity.
■The screw tuning button can give the best clamp size easily.
Product Image
Video slideshow that outlines how to repair sheet metal. This demonstration was done on a lawn tractor mower deck, but the same principles can be applied to auto body work on vehicles. Most automotive body panels do use a thinner gauge steel, so when welding, more care will have to be taken to reduce the amount of heat distortion. In the video I did use a flux core mig welder, but an argon unit can be used as well.
Website: https://4diyers.com
Facebook: https://www.facebook.com/4diyers
Google Plus: https://plus.google.com/+4DIYers
Twitter: https://twitter.com/4DIYers
Instagram: https://www.instagram.com/4diyers/
Tumblr: https://4diyers.tumblr.com
Pintrest: https://www.pinterest.com/4diyers/
Tools/Supplies Needed:
-angle grinder
-angle grinder cutting disks
-angle grinder flap wheels
-locking pliers
-mig welder
-welding shield
-welding gloves
-hammer
-paint marker
-wire brush
-220 grit sandpaper
-paint
-paint brush
-safety glasses
-replacement metal
-propane torch
-adjustable wrench
-clean cloth
-degreaser
Procedure:
-determine to what extent the metal is damaged
-remove the rusty soft/thin areas will allow for a solid area to weld the patch to and also reduces the chance of having the welder burn through the existing steel
-cut out the damaged area using a grinder equipped with cutting disks
-start by forming the new metal to replace the damaged area
-sometimes it is easier to form the replacement metal first before cutting out the damaged area, but the damaged area should still be in reasonable condition to copy the shape or contours
-to form the replacement pieces I used a couple concrete blocks, along with some wood for forming, along with the assistance of a hammer, adjustable wrench, and propane torch
-forming metal will vary depending on what you are trying to achieve
-for my repair I first bent the metal patches, then made relief cuts using the angle grinder with cutting disks so I could form multiple contours
-once finished forming the patches, ensure they fit and remove excessive material from the original panel if needed (it’s better to have more newer metal in a patch repair)
-use the flap wheel for the angle grinder to remove any existing rust or paint to prepare for welding
-fit the patch into place, use locking pliers to hold it into place
-ground the mig welder onto the piece, select a proper heat range
-first tack the replacement piece into place, applying a tack weld every one to two inches
-adjust piece when needed using a hammer, ensuring the edge lines up correctly
-once the piece is held in, then continue with short welds about one inch in length in various areas
-do no run one continuous weld as this will cause warpage
-allow the metal to cool if need
-once the welding has finished, use the flap wheel on the angle grinder to smoothen out the welds
-finally to finish up, for my repair I used a wire brush to clean the mower deck removing any loose rust and paint
-finish up with 220 grit sandpaper to smoothen out the surface
-I wiped down the mower deck with a clean cloth and degreaser
-then applied a farm equipment paint using a brush to the whole mower deck
The cuts in the one rounded patch allows for the piece to be bent into two different directions to match the contour of the mower deck.
Grind the paint off around the area where the patch will be welded to. This will ensure that welder is able to arc on the existing surface properly.
The tack welds hold the piece in place and allow me to align the patch to the existing surface. For the welding, I used a small flux core mig welder.
Running small/short (approx. 1″ length) welding beads reduces the amount of distortion within the sheet metal which is caused by excessive heat. This will have to be adjusted accordingly depending on the gauge/thickness of steel.
For grinding down the welds I used the angle grinder with standard grinding disc for the higher areas and a flap disc to smoothen the surface.
For paint, I used low gloss black farm equipment painted which I brushed on.
Credit:
Music:
Zap Beat – Kevin MacLeod (https://incompetech.com/) Licensed under Creative Commons “Attribution 3.0″ https://creativecommons.org/licenses/by/3.0/
Thank you to all those who watch my videos and support my content. Don’t forget to subscribe to my channel for future tutorial videos and like my video if you found it helpful. New videos are always being uploaded every week!
© 4DIYers 2013
All Rights Reserved
No part of this video or any of its contents may be reproduced, copied, modified or adapted, without the prior written consent of the author.
HELP SUPPORT OUR WOODWORKING CHANNEL! https://www.patreon.com/KingsFineWoodworking
Plans available here: https://kingsfinewoodworking.com/collections/project-plans-for-sale/products/split-top-roubo-woodworking-bench
SPECS:
80 inches wide x 30 inches deep x 36 inches tall.
All legs and rails are solid 4 inches x 5 inches.
Bench Top is 5 inches thick. Weight is just under 500 pounds.
Some items used for this build.
Anything purchased through these links helps support our channel.
Watco Danish Oil https://amzn.to/2udu1AW
Transtint Red Dye https://amzn.to/2sfg2sO
Zinsser Sealcoat https://amzn.to/2tEgyEZ
Titebond III Glue https://amzn.to/2te9UT1
GRK 6” screws https://amzn.to/2ud6lMT
¼” roundover router bit https://amzn.to/2sAEnZf
Forrest Dado King Dado Blade https://amzn.to/2ud90Gw
Forstner Drill Bits https://amzn.to/2tzBMDa
Bosch 12” Miter Saw https://amzn.to/2sArizi
Some of the clamps used in this project:
Bessey Parallel Clamps https://amzn.to/2svVG2C
Jorgensen Bar Clamps https://amzn.to/2tfGHqI
Quick Grip Clamps https://amzn.to/2tFHaFE
I think everybody needs a woodworking bench. But, I know that not everybody has the thousands of dollars it takes to buy a quality bench from a woodworking store. I also know most woodworkers want to build their own anyway. Many friends of mine are woodworkers and most of them are saving up the $2000.00+ that it takes to buy the 8/4 maple to build their own. Whether Roubo style or another.
So I thought that I would present an alternative. This isn’t a new idea. Many YouTube woodworkers have done this before me. But, I thought that I would like to add my take on it.
I went to my local home improvement “Big Box” store. I selected construction grade lumber. At my store they had a choice of a product they called whitewood, or Douglas Fir. The latter was kiln dried, and a much higher density and harder lumber so I chose that.
Where you live will dictate what you buy. Many parts of the country will have southern yellow pine, which is a great choice for this.
I took quite some time to sort through the bunk of lumber to ensure that I got straight pieces and pieces with as few knots as possible. I chose all 2×6’s, and I ended up with a workbench that was nearly 500 pounds. Very strong, very solid!
Please follow along in the video to see what was built!