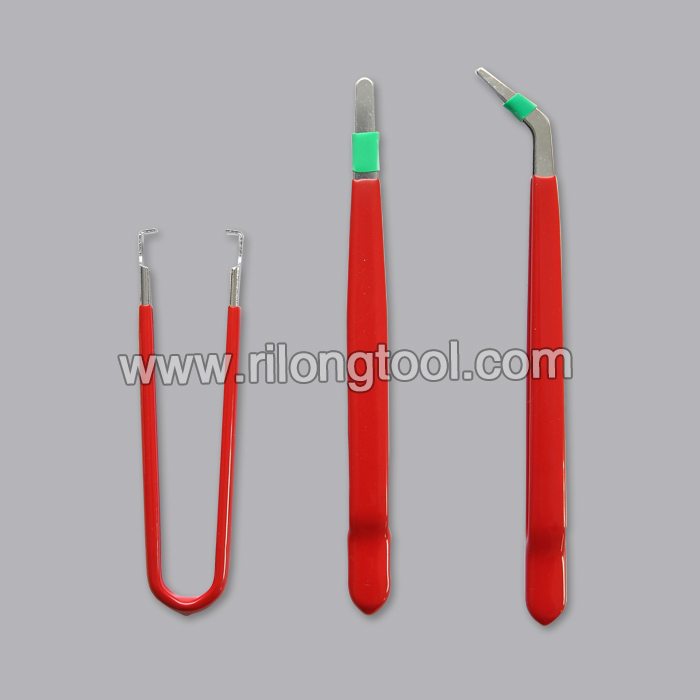
7 Years Factory 3-PCS Anti-static Tweezer Sets for Porto Manufacturers
Short Description:
Product Detail
Product Tags
Always customer-oriented, and it's our ultimate target to be not only the most reliable, trustable and honest supplier, but also the partner for our customers for 7 Years Factory 3-PCS Anti-static Tweezer Sets for Porto Manufacturers, We welcome you to join us in this path of creating a prosperous and efficient business together.
Basic Information
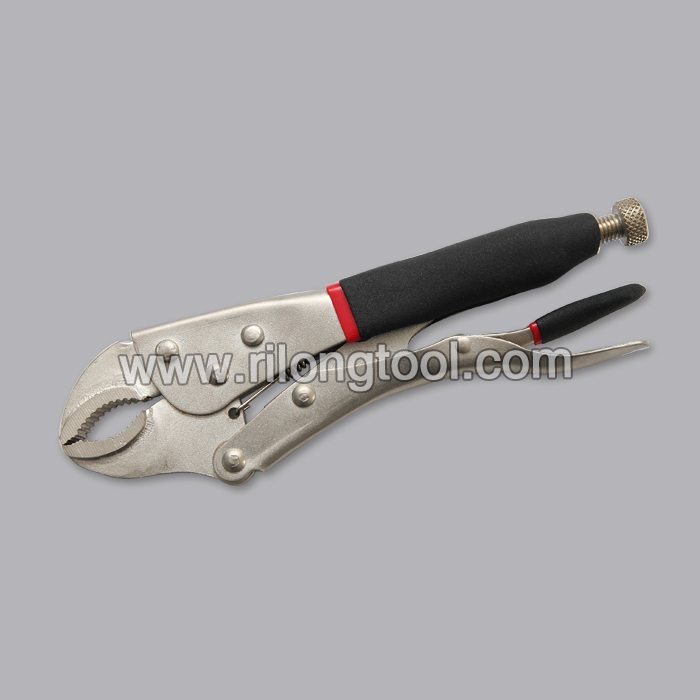
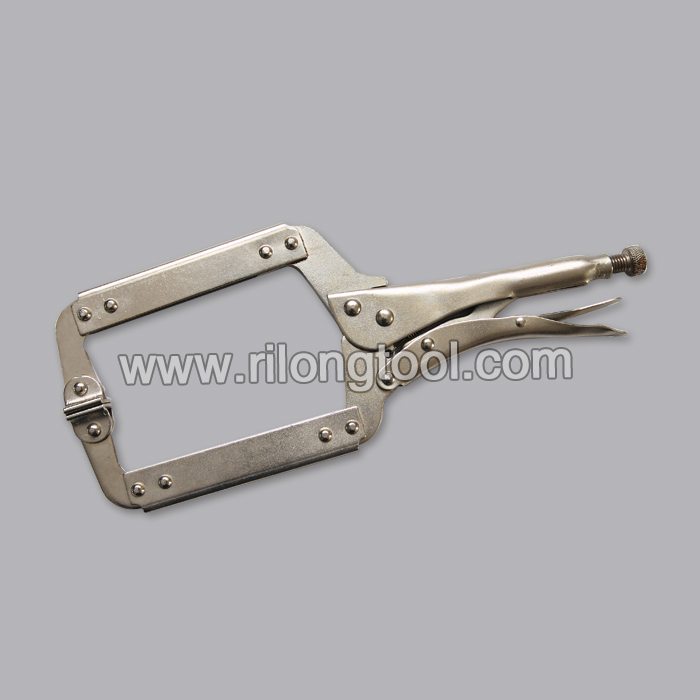
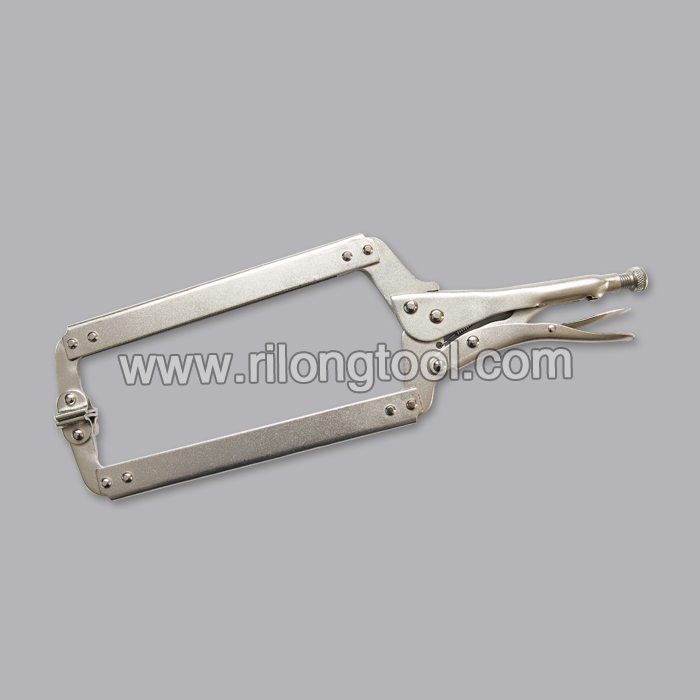
■Model Number: RL-NZ005
Additional Information
■Material: Q195 Cold-rolled Steel
■Thickness: 0.8mm, 1.0mm, 1.2mm
■Surface Treatment: Chrome Plated
■Finish: Polished
■Package: Suction Card
■OEM: Acceptable
■HS Code: 8203200000
■Samples: For FREE
■Delivery Time: Always 30 working days depending on the order quantity
■Packing: By standard cartons
Attention
■Do not heat it.
■Do not take acid drugs with it.
■Keep it clean after using it.
Product Image
From wrenches and screwdrivers to all types of pliers, clamps and bit sets — Duralast has a full range of the quality hand tools you need to do the job right.
https://www.autozone.com/autozone/landing/page.jsp?name=duralast-tools
Do you need tips on how to set up your garage door? This is the video for you. Before we begin, you should be aware of any possible injuries resulting from faulty installation. Worst, it could lead to a possible death as well.
Therefore, it is pertinent to follow each instruction. It is urged that you complete the easy garage door installation instruction stipulated in the manual before you begin the actual installation.
On the easy garage door installation instruction, you have to first check the tools required before starting the installation.
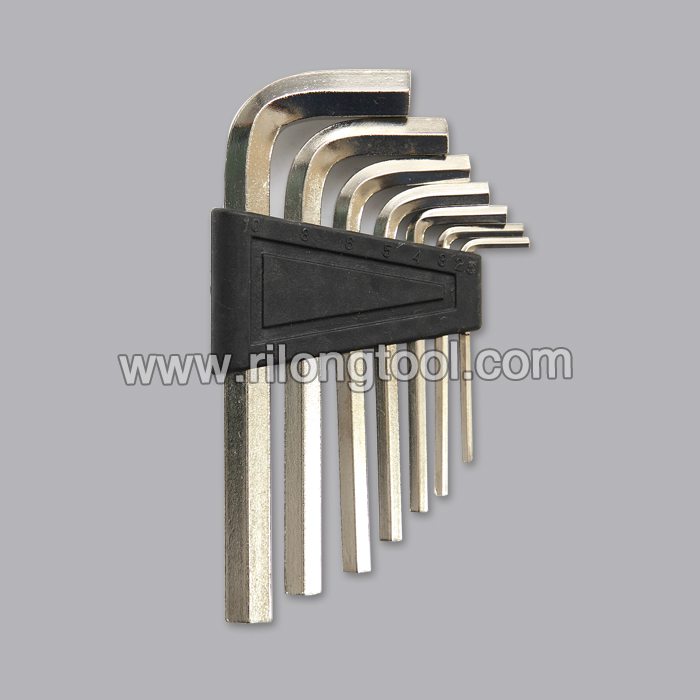
You will be needing a hammer, assorted screwdrivers, hand ratchet, electric drill with 5/32” and ¼ drill bits, speed handle, small step ladder, knife, tape measure, saw, locking pliers with vice-grips, level, 7/8” hold saw and nails.
Attach the strip to the lower portion of the first panel. Set it in the doorway. Fix it so you could drive the nails into each jamb.
Collect the pieces for the vertical, horizontal and curved tracks. Fasten the rollers on the door section. On one side of the doorway, glide the vertical track into the rollers of the first segment of the door. Repeat the process on the other side.
Mount the rollers into the second segment of the door. You have to slip the rollers in the vertical tracks on both side of the doorway.
Connect the hinges from the first to the second segment. You may use a screw driver to make it easier. In most cases, a power drill using the tip of the screw driver can make your work safer, easier and faster.
Connect now the third segment following the same process. Mount the plates on the top of both the vertical tracks fastened on the wall. The screws should be tight.
Mount the brackets to the tracks. It has to be tightly connected to the frame. Fasten them securely. Make sure screws are securely set.
Set up the curved and horizontal tracks. Connect the curved and horizontal tracks firmly.
You need to support the track. Therefore, you must find for a level on the horizontal track. Cut the rear track according to the necessary length needed in order to support the track.
Screw the track hanger to a solid foundation. Do the same process on the other side. Measure the last door segment and remove any unnecessary nails.
You will need a device called torque tube. This will cater lift assistance. If you prefer an opener, install a tube instead.
Turn the door open at about 4 feet to make sure the tracks are aligned. If not, make the necessary adjustment. Make sure that all screws and fasteners are tightened
It is important that each the screws and fasteners are secured and properly tightened for the security and protection for the member of the household.
Make sure you follow the easy garage door installation instructions in the manual as well. None of these instructions should be overlooked and taken lightly.