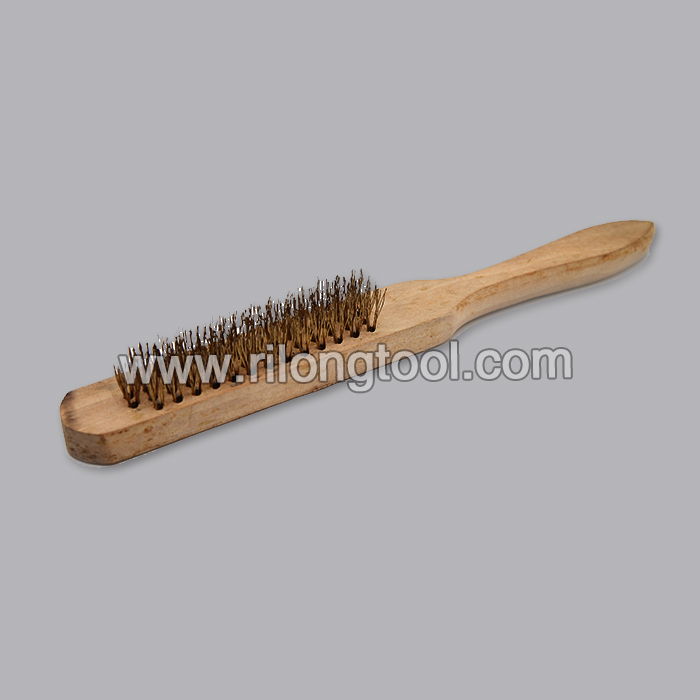
26 Years Factory Various kinds of Industrial Brushes for Zimbabwe
Short Description:
Product Detail
Product Tags
Innovation, quality and reliability are the core values of our company. These principles today more than ever form the basis of our success as an internationally active mid-size company for 26 Years Factory Various kinds of Industrial Brushes for Zimbabwe, Our aim is "blazing new ground, Passing Value", in the future, we sincerely invite you to grow up with us and make a bright future together!
Basic Information
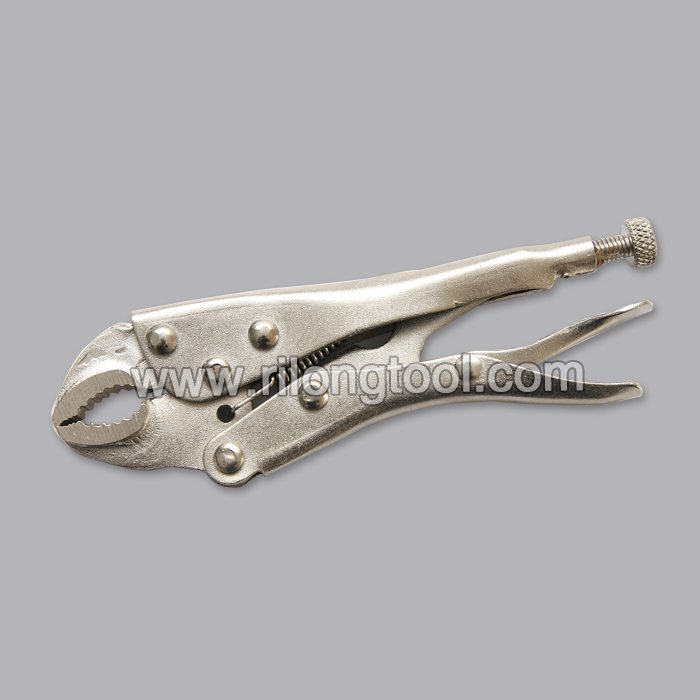
■Model Number: RL-B010
Additional Information
■Material: Steel
■OEM: Acceptable
■Samples: For FREE
■Delivery Time: Always 30 working days depending on the order quantity
■Packing: By standard cartons
Product Description
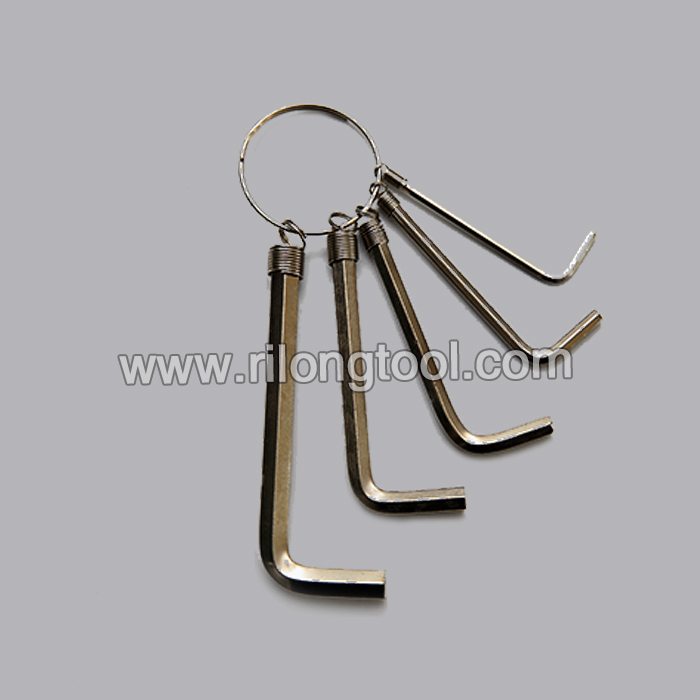
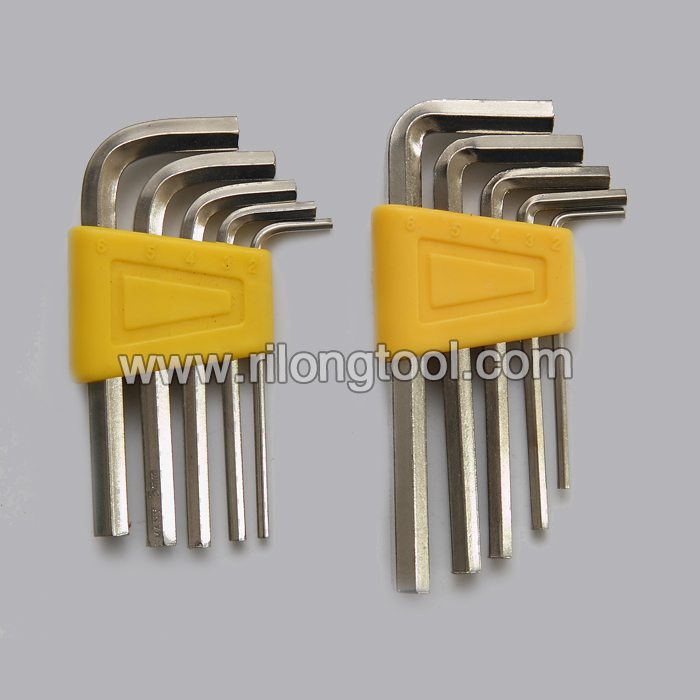
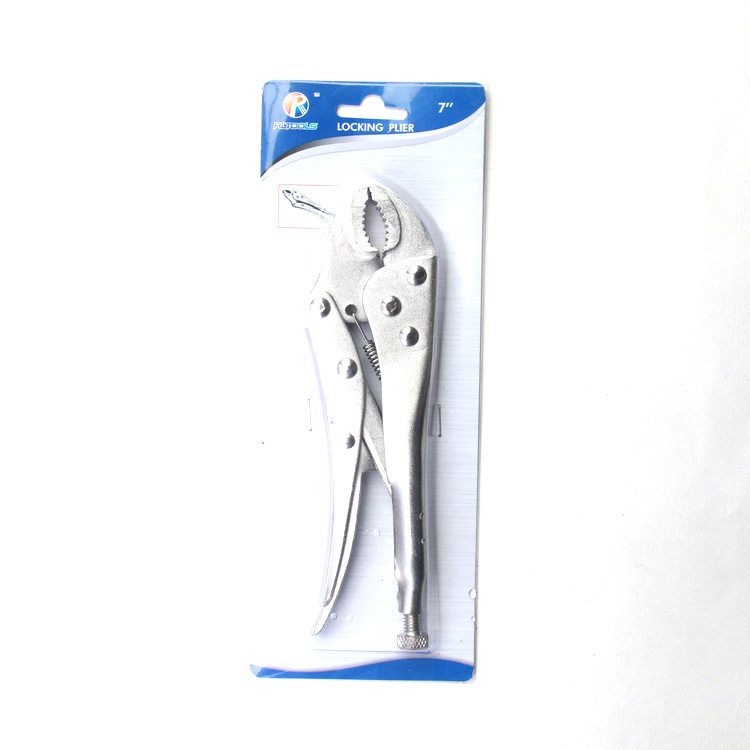
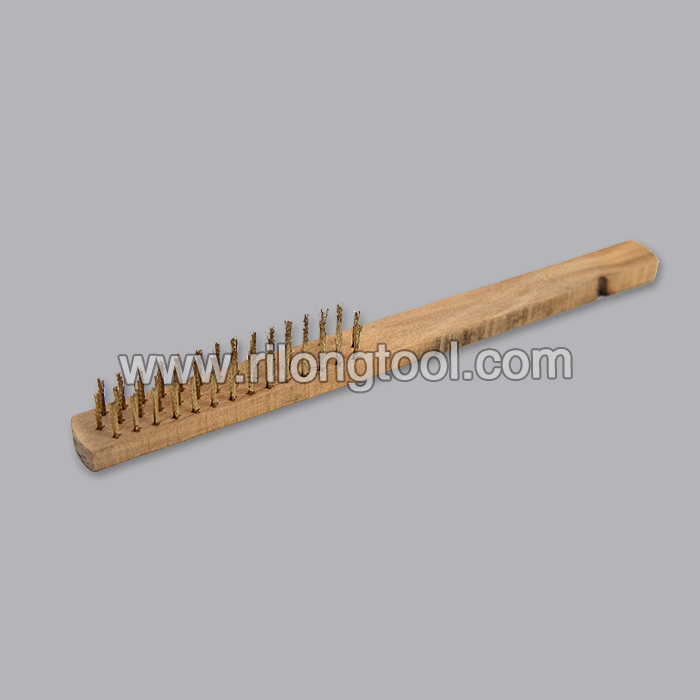
■Ningbo Rilong Hardware Tools Factory can supply various kinds of industrial brushes with very cheap prices.
Product Image
Malco 9 Gauge HRP5 Hog Ring Pliers, Video Short
https://www.retrofitlab.com/xenon-projectors
Check out our new Facebook group: https://www.fb.com/groups/EuropeanHeadlightFanatics/
Tutorial for Volkswagen Transporter T5 (1st generation) Bi-xenon projector retrofit. We used a DEPO headlight for this retrofit (better price than Projektzwo headlights). They are cheap, easy to retrofit (not permasealed as the original T5 headlight, so they open easy with heat), and they are reasonable quality.
0:01 remove the lens clips
0:15 put the headlight in preheated oven (200 degrees C, turn the oven off when you put the headlight in it, because most ovens have one heat emitting side which can locally melt the headlight unit)
0:31 Bake your headlight! ![]() 3 minutes for the first time
3 minutes for the first time
0:40 After 3 minutes, rotate the headlight, to make sure that it’s equally heated
0:52 Again 3 minutes in the oven.
1:20 Use a flat head screw driver to pry the headlight open.
1:35 Don’t use to much force, work patiently
2:08 Gently remove the lens completely from the housing
2:30 Make sure the sealant doesn’t stick to chrome parts which are visible to the eye when installed on the car, this looks ugly ![]()
3:25 First insert the wires through the H7 bulb hole
3:58 Then insert the shaft of the Bi-xenon projector
4:20 Place the H7 adapter ring
4:28 Spring washer
4:31 Locking nut, tighten it! Now the projector is ready ![]()
5:05 Put the lens back on the headlight
5:56 Make sure it fits correct
6:20 Mount the clips back again
6:40 Bake it again to soften the sealant again, to make sure it will be closed correctly
7:03 This time only 3 minutes in total
7:12 Check the lens that it fits tight, apply some pressure with pliers.
7:39 Ready!
After this, connect the wires. You can use wire taps to connect the wires of the Bi-xenon solenoid to the High beam wire, and optionally the angel eyes.
This is the pinout:
1= Height adjustment motor
2= (empty pin)
3= Height adjustment motor
4= Ground dim/high beam
5= Height adjustment motor
6= Turn signal +
7= Low beam +
8= Ground turn signal / position light
9= High beam +
10= Position light +
Any questions or need Bi-xenon projectors?
https://www.retrofitlab.com
Tolweg 2W
3851SK Ermelo
Netherlands