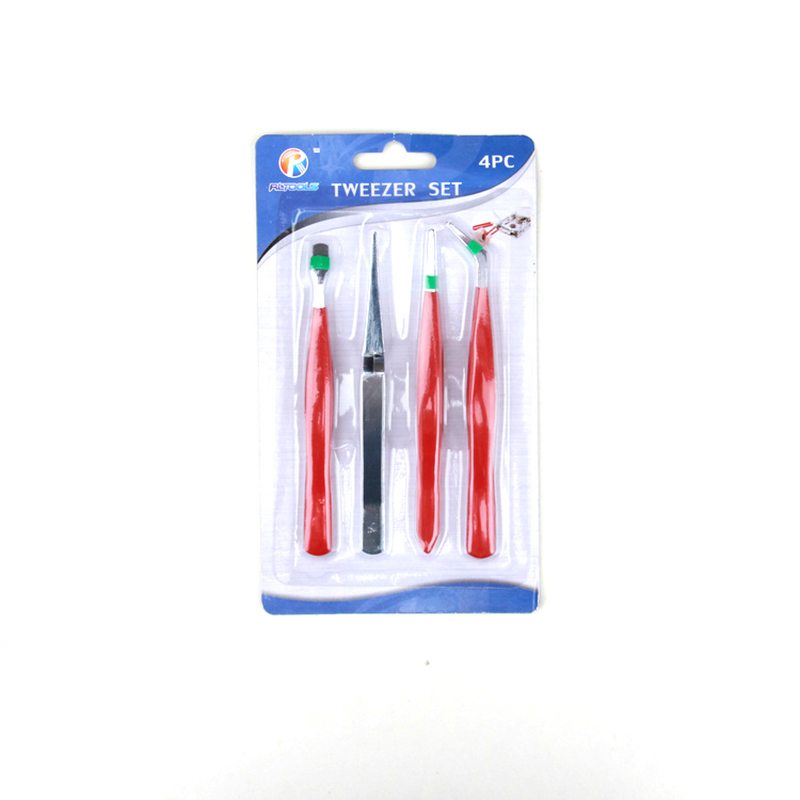
25 Years Factory 4-PCS Anti-static Tweezer Sets Oman Factory
Short Description:
Product Detail
Product Tags
"Based on domestic market and expand overseas business" is our development strategy for 25 Years Factory 4-PCS Anti-static Tweezer Sets Oman Factory, We sincerely welcome all guests to set up business relationships with us on the basis of mutual benefits. Please contact us now. You will get our professional reply within 8 hours.
Basic Information
■Model Number: RL-NZ004A
Additional Information
■Material: Q195 Cold-rolled Steel
■Thickness: 0.8mm, 1.0mm, 1.2mm
■Surface Treatment: Chrome Plated
■Finish: Polished
■Package: Suction Card
■OEM: Acceptable
■HS Code: 8203200000
■Samples: For FREE
■Delivery Time: Always 30 working days depending on the order quantity
■Packing: By standard cartons
Attention
■Do not heat it.
■Do not take acid drugs with it.
■Keep it clean after using it.
Product Image
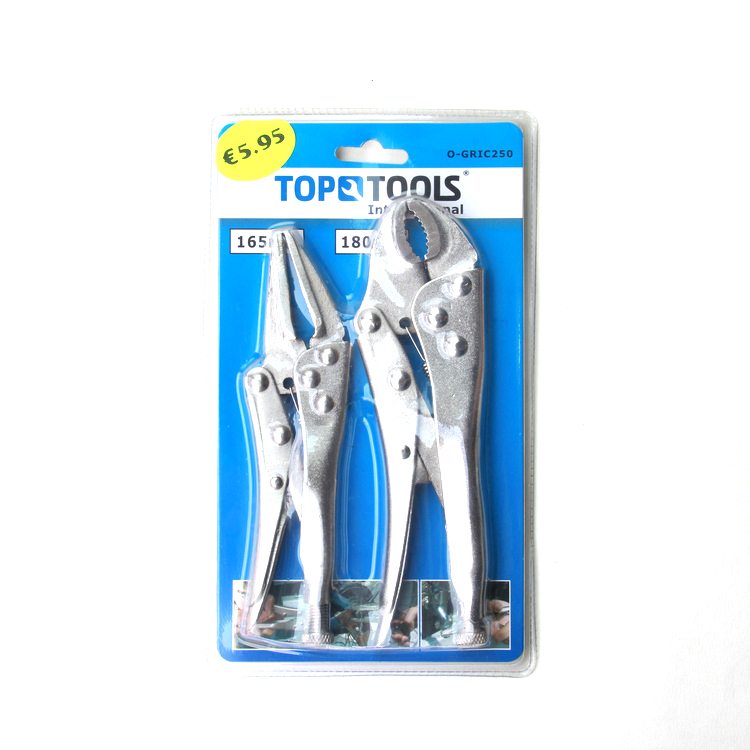
Instructions Of How To Use The New Master Locking Pliers!…
Original Master Locking Pliers:
This Product Was Invented and Partly Made In The United States!….
To Learn More You Can Go To:
www.ShopMasterLockingPliers.Com
https://shopmasterlockingpliers.com/
www.MasterLockingPliers.Com
https://www.masterlockingpliers.com/
This video gives you step-by-step instructions on replacing the brake pads on B-series brake winches made by the Dutton-Lainson Company.
Check out our channel to watch additional videos about DL and our products: https://www.youtube.com/user/DuttonLainson
Subscribe to our channel to get all of our videos in your feed: https://www.youtube.com/subscription_center?add_user=DuttonLainson
Watch more instructional videos like this one in our Step-By-Step Playlist: https://www.youtube.com/playlist?list=PLskGYSV8ME6PLJyFP9NX0fuMHSX-6hoZv
Thanks for watching!
*Music by Dan-O at DanoSongs.com.
Here is the transcript of this video:
“This video demonstrates how to change the two brake pads found on all Dutton-Lainson B-series brake winches.
Once you have disconnected your load and removed your winch’s cable or strap, use a half-inch wrench to remove the screw from the end of the drive shaft. You may need to hold the drive shaft in place with a vice grip in order to get the screw started. Remove the cap screw, spring, washer, extension, and the vice grip from the drive shaft, then crank the handle off of the drive shaft and set it aside. Use a screwdriver to remove the screws holding the gear cover in place, then pull the cover off of the winch and set it aside.
Next, get your fingertip between the ratchet pawl and wheel then pull and hold the pawl away from the wheel. Remove both brake pads and the ratchet wheel from the drive shaft, carefully let go of the ratchet pawl, then wipe away any dirt or residue on the ratchet wheel and drive shaft that may have been left by your old and worn brake pads.
Rotate the ratchet pawl counterclockwise until it slips into the hook of the ratchet spring and the other end of the spring is pressed against the drive shaft, then hold it away from the drive shaft as you re-install a new brake pad, followed by the ratchet wheel, then another new brake pad.
Be absolutely sure that the rounded side of the ratchet wheel is facing down toward the rest of the winch and its flat side is facing out toward you, or the winch will not function properly.
Let go of the ratchet pawl so it engages the ratchet wheel.
If you correctly installed the ratchet wheel, this area will look like the right side of your screen, not your left. Also be sure that you do not get any grease on your new brake pads, as this may cause your winch’s brake to slip.
Set the winch’s cover back over the gears, then re-tighten all of its screws with your screwdriver. Put a small dab of all-purpose grease on the end of the drive shaft, again ensuring that no grease gets on your newly-installed brake pads. Crank the handle back onto the drive shaft until the gears are engaged. Grab the cap screw, spring, washer, and extension and screw it into the drive shaft. You may have to once again use a vice grip on the drive shaft to hold it in place as you completely tighten the screw.
Thanks for watching this video!
Please like, share, and subscribe, then head over to our YouTube channel for many more videos about Dutton-Lainson products!”