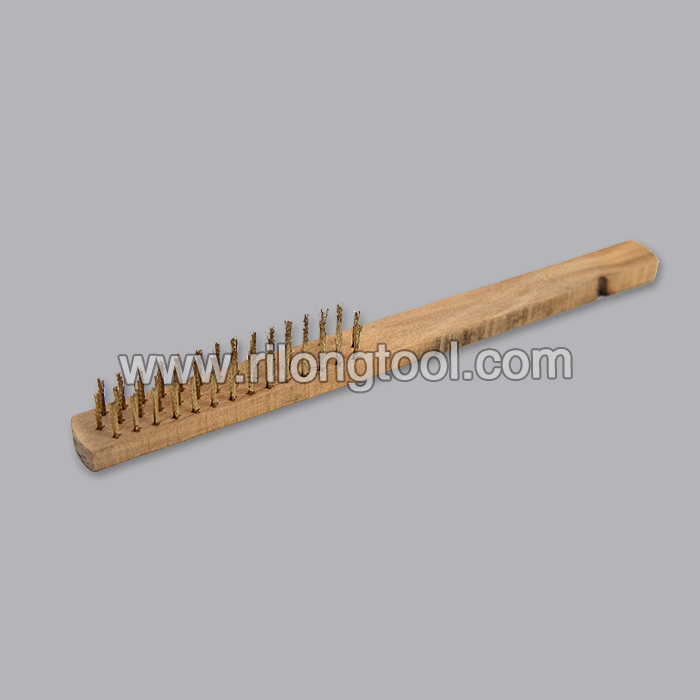
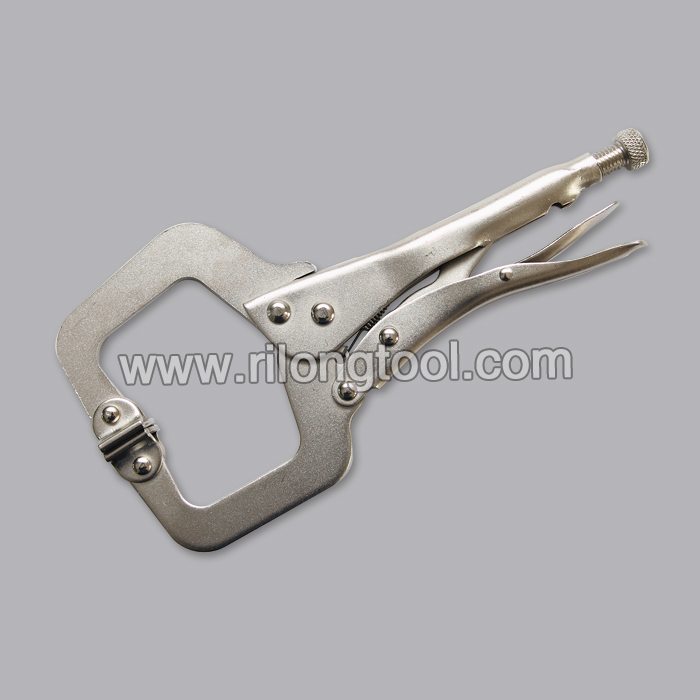
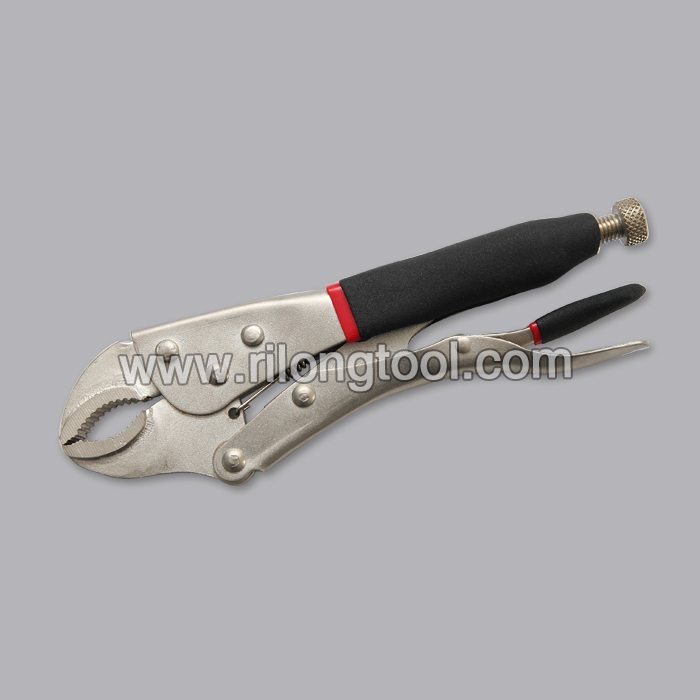
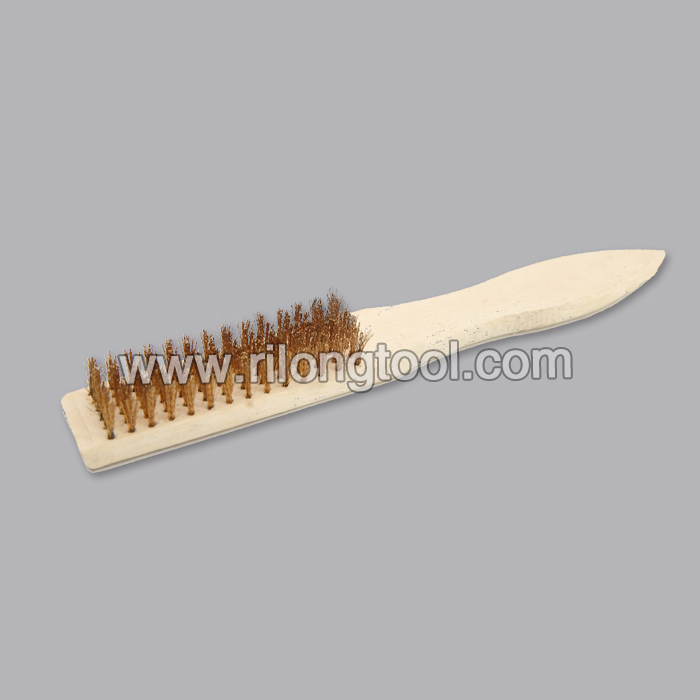
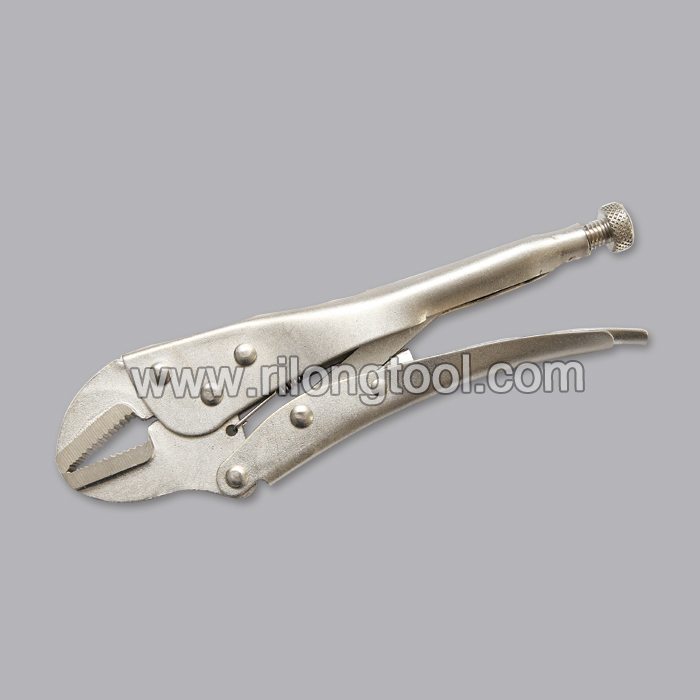
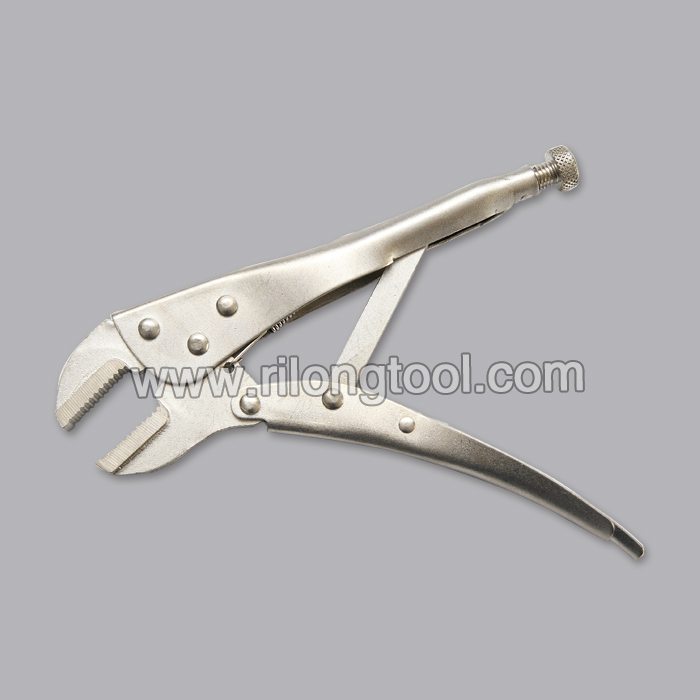
24 Years Factory 10″ Forehand Flat-nose Locking Pliers Manufacturer in Ottawa
Short Description:
Product Detail
Product Tags
Sticking to the belief of "Creating products of high quality and making friends with people from all over the world", we always put the interest of customers in the first place for 24 Years Factory 10″ Forehand Flat-nose Locking Pliers Manufacturer in Ottawa, We are looking forward to establishing long-term business relationships with you. Your comments and suggestions are highly appreciated.
Basic Information
■Model Number: RL-DLQ009
Additional Information
■Material: A3# steel (Q235) or 45# steel
■Size: 10”
■Surface Treatment: Nickel-plated, Zinc-plated, Black Oxide, Electrophoresis
■Heat Treatment: Optional
■Package: Blister Card, Suction Card, Tie Card, Double Blister Card
■OEM: Acceptable
■HS Code: 8203200000
■Samples: For FREE
■Delivery Time: Always 30 working days depending on the order quantity
■Packing: By standard cartons
Product Description
■Mainly used for clamping parts to rivet, weld, grind and so on, which is characterized by the powerful clamp force produced by the jaw. It can lock tight so that the parts won’t fetch away. Besides, jaws have a lot of levels to adjust for the use of different thickness of parts, and it also can be used as a wrench.
■Flexible using, long life and good tenacity.
■The screw tuning button can give the best clamp size easily.
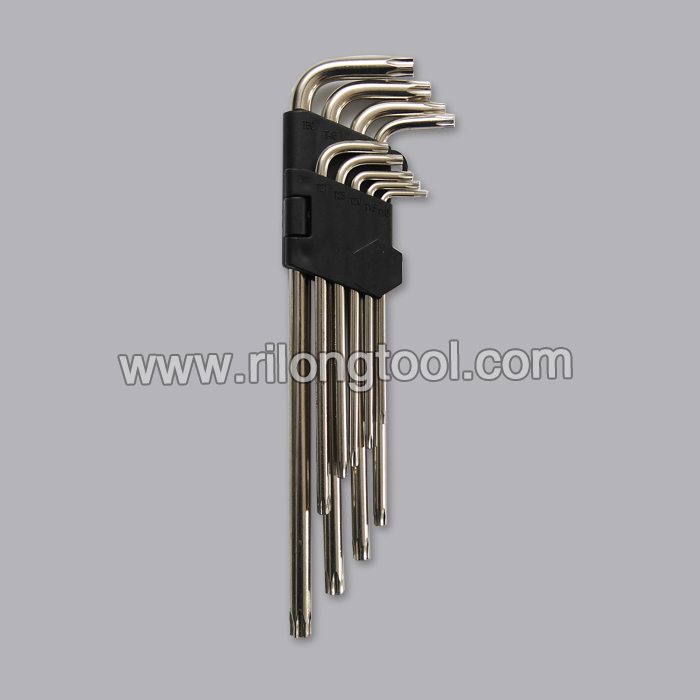
Product Image
Model 930, 932, 933, 934, 950, 950.5, 950.6, 952, 953, 954
1,5,This video shows the repair of the|compressed air system on the new Actros.||
6,9,Operations have to be performed |on both air compressors.||
10,15,Here, the operations are performed on |a freestanding engine for better viewing.||
16,18,First remove the following parts:|||
19,28,resonance head, intake manifold, downpipe,|exhaust manifold, compressor line, …||
29,33,… the two coolant lines (feed and return),|oil line, supply line, …||
34,36,… detach the AdBlue timer |from the compressor.||
37,43,If there is a problem with the horizontal|air compressor, assembly is performed in the|same way as on the vertical air compressor.|
44,47,There are two options for removing|the compressors:||
48,50,Option 1: Both are removed.|||
51,53,In this case, make sure that|the parts do not get mixed up.||
54,58,Option 2: First one compressor is removed |and reinstalled and then the other.||
59,62,With the last variant, |no parts can get mixed up.||
63,66,For this reason, the second and |safer variant is shown here.||
67,73,Start at the cylinder head – in this case|on the vertical compressor.||
74,80,Unscrew the cap from the TDC hole.|||
81,90,The turning device can then |be fitted to the timing case.||
95,100,When turning, make sure that the engine|turns in the correct direction.||
101,108,If the piston is not at the|top dead center position:||
109,115,Turn the turning device until|the piston reaches TDC.||
116,124,Detach the cylinder liner.|||
127,129,Then detach the seal.|||
130,138,Wipe off the grease before|installing the new seal.||
139,146,The cylinder liner and air compressor|piston can now be replaced.||
147,149,New tools are available for|the installation:||
150,168,Piston ring compressor pliers and two piston|ring compressor bands in different sizes.||
171,181,These tools were specially developed |to simplify piston installation.||
182,187,The piston ring compressor band can |easily be held with the new piston ring |compressor pliers.|
188,208,In addition, the compressor band |can be easily adjusted to the piston.||
211,222,Mount the cylinder head.|||
224,226,Fasten the four bolts |on the cylinder head.||
227,236,Tighten the bolts to 20 Nm in the first stage,|and to 40 Nm in the second stage.||
237,240,The horizontal compressor is removed|in the same way as the vertical compressor.||
241,248,Installation is shown next.|||
249,252,The horizontal angle makes|installation more difficult.||
253,264,The cylinder liner also |makes things difficult.||
278,284,Adjust the new seal precisely|to the cylinder liner.||
284,292,Otherwise, the bolts which fix the cylinder |head and cylinder liner to the timing case |will not fit through the holes.|
293,302,First tighten the four bolts on the cylinder |head to 20 Nm and then to 40 Nm |in the second stage.|
303,307,The remaining parts are installed|in reverse order.||
308,312,Finally, remove the turning device|from the timing case.||
313,319,The repair of the compressed air system|is thus complete.||
How to convert a work table into a professional looking, flush mounted router station.
Try Audible with a free audiobook. No Shipping, No Waiting. Try instantly at https://bit.ly/TKOR-FreeAudiobook. Get a free audiobook download at https://bit.ly/TKOR-FreeAudiobook
Some quick links to a few of the materials I used:
[✓] Porter cable wood router: https://amzn.to/2ccvEaJ
[✓] Router bits: https://amzn.to/2ccwjJB
Endcard Links:
Gravity Puzzle: https://goo.gl/9WtoHa
Scorcher Frame: https://goo.gl/OFCaEr
Picture Frame: https://goo.gl/1JKEc2
Fire Piston: https://goo.gl/BSl8QT
See What Else I’m Up To:
Instagram: https://goo.gl/C0Q1YU
Facebook: https://bit.ly/FBTheKingOfRandom
Pinterest: https://bit.ly/pingrant
Business Inquiries: For sponsorship requests or business opportunities please contact me directly: https://www.youtube.com/thekingofrandom/about
FTC Disclaimer: This video was sponsored by Audible. (#ad)
Try Audible with a free audiobook. No Shipping, No Waiting. Try instantly at https://bit.ly/TKOR-FreeAudiobook. Get a free audiobook download at https://bit.ly/TKOR-FreeAudiobook
WARNING:
Use of video content is at own risk. There are risks associated with these projects that require experience, caution, and/or adult supervision.
Music By: (“Drive” – Instrumental) https://bit.ly/ScottBrendoiTunes
Project Inspired By:
A local craftsman, named Bryce, who works out of his home. He gave me a tour of his shop, and had designed a router station very similar to this. He gave me permission to use the idea, and make modifications.
Project History & More Info:
While looking for a TV stand, I was astounded by the prices at the stores. I had a hard time believing a few pieces of wood put together could cost so much.
I started looking around on the classified ads for used options, when I came across a guy who made his own TV stands that looked awesome.
He ended up making a TV stand for us, and gave me a tour of his garage workshop just because I was curious.
He had made a flush mount router table built into his work table, and installed a light underneath to backlight it. I really liked his idea, so when I built this workbench, I tried to duplicate his idea, using 12” x 12” acrylic for the inlay because it looked awesome!
I think it turned out pretty well, and it works great.
I wired up some switches so I can turn it on and off from a safe distance.