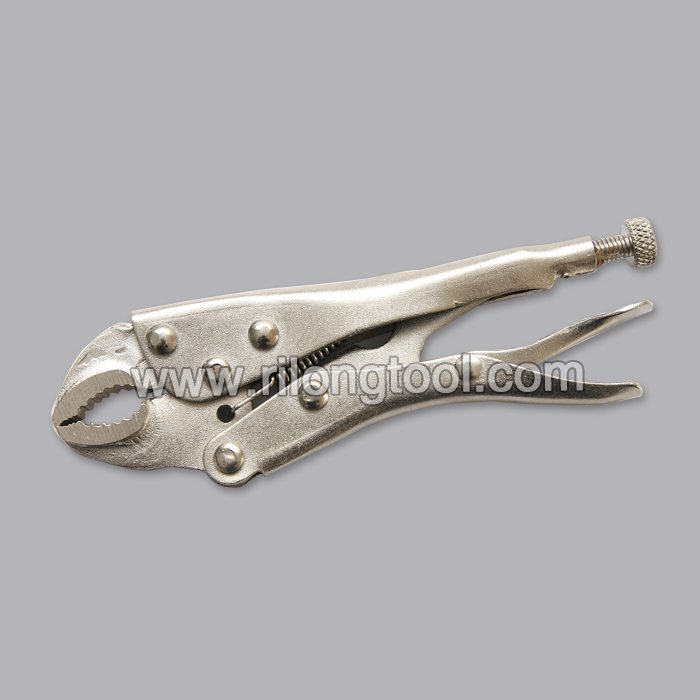
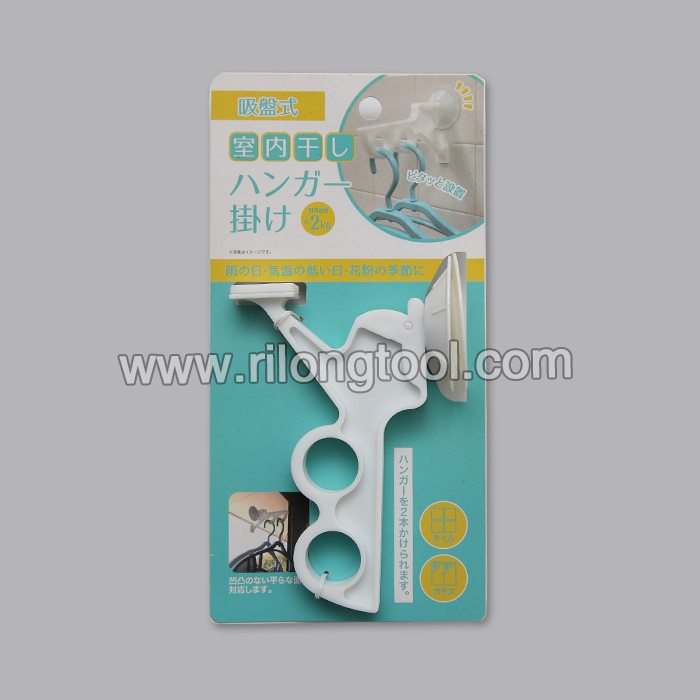
21 Years Factory Plastic sucking hooks for bathroom & toilet for azerbaijan Factory
Short Description:
Product Detail
Product Tags
We always work as a tangible team to ensure that we can provide you with the best quality and the best price for 21 Years Factory Plastic sucking hooks for bathroom & toilet for azerbaijan Factory, If you are interested in any of our products or would like to discuss a custom order, please feel free to contact us.
Basic Information
■Model Number: RL-WY001
Additional Information
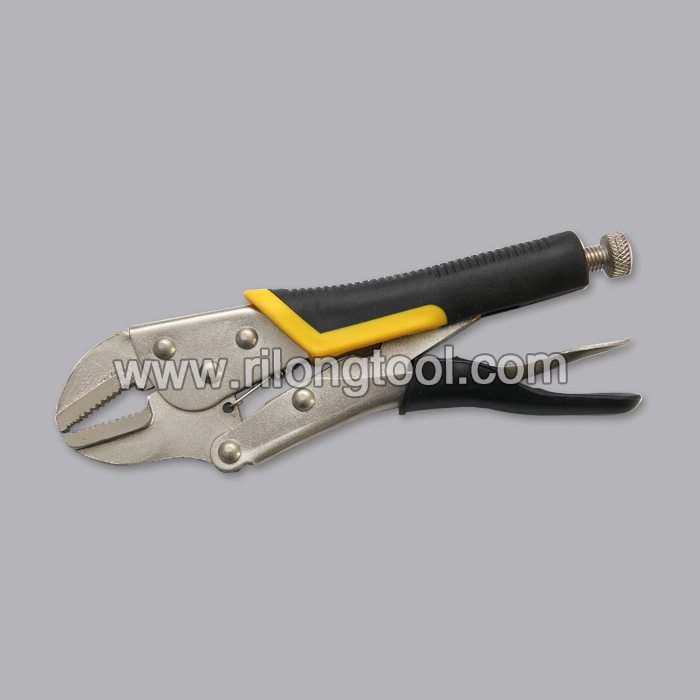
■Material: Plastic
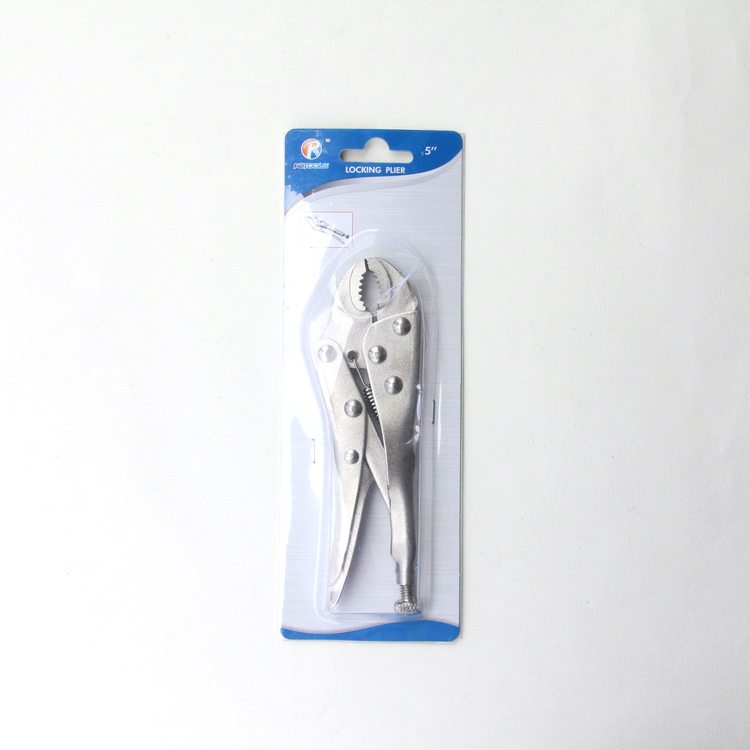
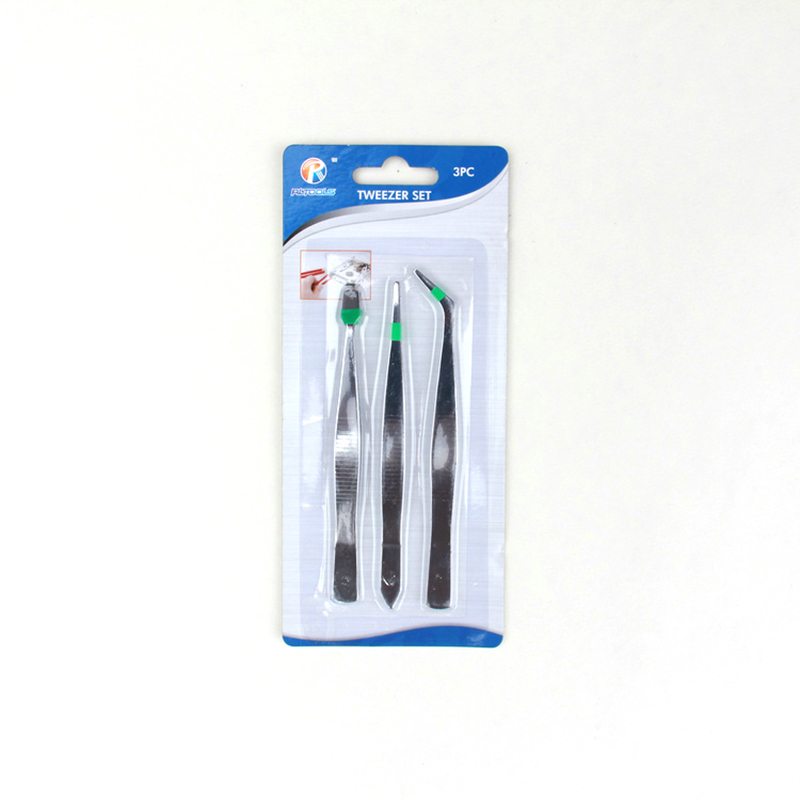
■Package: Insert Card
■OEM: Acceptable
■Samples: For FREE
■Delivery Time: Always 30 working days depending on the order quantity
■Packing: By standard cartons
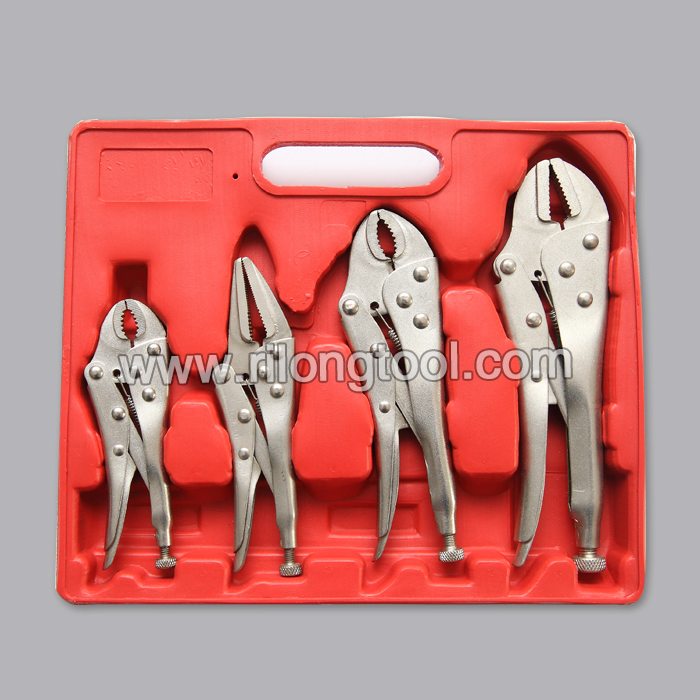
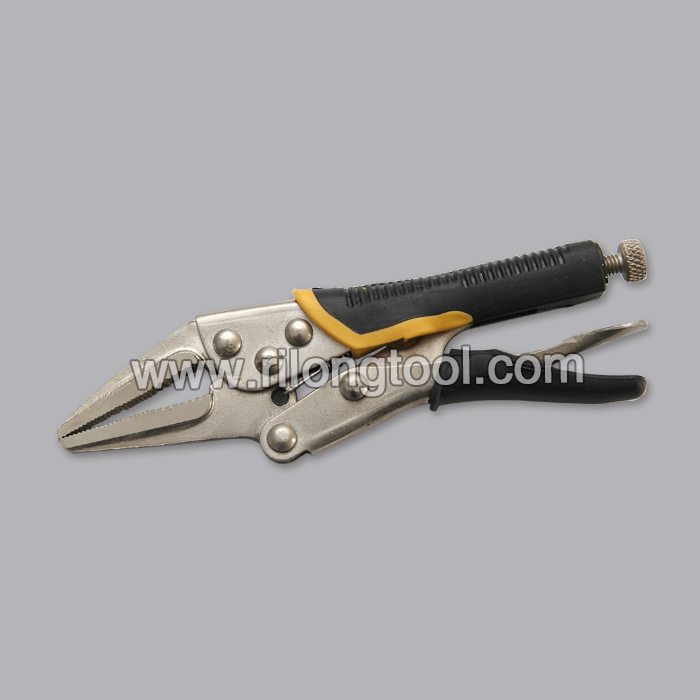
Product Description
■Ningbo Rilong Hardware Tools Factory can provide various kinds of accessories products for bathroom and toilet.
Product Image
The Cute Pony Care 2 – Pet Care Games For Kids
Description: The Cute Pony Care 2 is a nice game , which will test the skill and attention, this is ponies category. In this game you will need these qualities because only you will be able to successfully fulfill your objective. In this game you have to take care of a pink pony to hurt pretty badly when he tried to jump the fence. She did not jump very high and fell into a bush full of thorns. Now the pony is in the hospital, has thorns in the feet and pretty seriously injured back leg. You will have to pony treated using utensils at the bottom of the screen. The pliers have to remove the thorns wound sewing needle must toe with bandages need to bandage a broken leg and so on. In the second part of the game you have to wash the pony to be clean and in the end you must give your food. Even if you do not know what to do not worry because you will get all the necessary instructions: an arrow will always be near you and will show you all you need to do step by step.
===============================
IF YOU LIKE YOUR VIDEO PLEASE SUBSCRIBE ![]() https://goo.gl/nmzxwU
https://goo.gl/nmzxwU
===============================
PLAY THIS GAME HERE! https://goo.gl/Jo5rrx
===============================
PLAYLIST OF ALL GAMES : https://goo.gl/mKUHSa
===============================
BARBIE GAMES PLAYLIST HERE : https://goo.gl/dEDL16
Replacing the Air Filter on your VW or Audi 2.0T TSI engine should be done every 20K miles. Installing it on your own is a great way to save a few dollars. Take a look here for how to install a new air filter on your VW or Audi 2.0 Turbo TSI.
Genuine VW/Audi 2.0T TSI Air Filter
https://deutscheautoparts.com/1k0-129-620-d.html
K&N Performance Air Filter for VW/ Audi 2.0T TSI
https://deutscheautoparts.com/1k0-129-620-d-kn.html
This video is on a 2013 CC but the models listed below would have a very similar air filter installation process.
Disclaimer: Please note all DIY are intended for basic information. Deutsche Auto Parts is not liable for any damage incurred during any attempt to follow the information shown in the video above.
Volkswagen
Beetle 2012-2015 w 2.0T TSI Engine
CC 2009-2015 w 2.0T TSI Engine
Eos 2008-2015 w 2.0T TSI Engine
GTI MK5 2008-2009 w 2.0T TSI Engine
GTI MK6 2010-2014 w 2.0T TSI Engine
Jetta MK5 2008-2010 w 2.0T TSI Engine
Passat B6 2008-2010 w 2.0T TSI Engine
Tiguan 2009-2015 w 2.0T TSI Engine
Audi
A3 8P 2008-2010 w 2.0T TSI Engine
TT MK2 2008-2015 w 2.0T TSI Engine
This video was filmed at our facility
Deutsche Auto Parts
18525 Statesville Rd
Unit D4
Cornelius NC 28031
We are your number one place for VW and Audi Performance Software (ECU Tuning) as well as Parts and Accessories in the Charlotte area.
Transcription of this Video
Today, we are going over on how to replace an air filter on 2.0 TSI engine. This is going to be on a 2013 CC. Tools required for this job are hose clamp pliers, a 3/8 Ratchet, and a 3-inch extension with a T25 torx.
As mentioned earlier, the T25 torx will remove the eight screws that hold the top of the airbox at the bottom of the airbox. They are mounted at either side of this pipe and then around the perimeter of the airbox itself.
We can start removing this hose and it is best to take off the mass airflow sensor connector and the hose clamp. After that, we will remove all the screws and remove the top of the airbox.
To remove the squeeze clamps on the other side, there’s a clip on the top and at the bottom of where the clamp is on. When you squeeze the side, it releases the tension which allows the clip off. The best thing to do is squeeze it and then kind of rock it. You will see they are clipped on this part and at the bottom. Sometimes, they can be pretty challenging to get off but once you rock it back and forth just a bit, you can get it off.
We will go through to remove the electrical connector for the mass airflow connector sensor. You do so by just pushing down right on the selection connector and pulling it off.
Now, we are going to go ahead to remove the spring clamp that holds the air intake on to the mass airflow sensor. All you need is a pair of spring clamp pliers to remove it. These are specifically design for this style clamp, but you also can just use a standard set of pliers. Pump it on there, squeeze it and slide it off to let it go and then let it stay there. After that, you can just remove this pipe, slide off the mass airflow sensor and you are done.
Now, we are going to go ahead and remove the eight screws that hold it on. Once we have done them all loose, we can just remove the cover. This particular air filter is for vehicle for around 2000 miles. If you take a look, you will see some dirt spots around here and on the side. You can pay that to a brand new filter. Some of the newer filters have a different type of orange while this one is kind of pink around the rubber seal. However, if you take around the filters, they are significantly different in color overall.
Now, on top of offering the Volkswagen air filter, we also offer a K&N version. They are reusable so they are lifetime filters. You would not need to replace, just clean it, get a recharge kit and reuse it at your service interval.
When you have your new filter, just drop them in place and make sure that it is inside all the box area so your filter is not pulling outside of the edge. Grab the top, mount it back on and make sure the screws are all lined up. Start tightening the screws. When these are all tight, slide the pipe back on and it should pop on pretty easily to the mass airflow sensor. To reinstall the clamp, squeeze it, slide it back where it is mounted and let it go. Make sure it is on this channel all the way around because sometimes it will rotate one way or another. Plug the mass airflow sensor connector back in. There is clamp on the side of the pipe where the wire is holding to make sure it does not get away of anything. Finally, all you have to do is to install the second air hose on the front. All you have to do is push it on and snap it on place.
That is how you install an air filter on 2.0 TSI Volkswagen CC.
Follow us on Facebook
https://www.facebook.com/DeutscheAutoParts
Check us out on Instagram
https://instagram.com/deutscheauto