2016 Good Quality 18pcs Hand Tool Set RL-TS025 to Mauritius Factory

Short Description:
Product Detail
Product Tags
We will devote ourselves to providing our esteemed customers with the most enthusiastically thoughtful services for 2016 Good Quality 18pcs Hand Tool Set RL-TS025 to Mauritius Factory, Inspired by the rapid developing market of the fast food and beverage consumables all over the world , We are looking forward to working with partners /clients to make success together .
Basic Information
■Model Number: RL-TS025
Additional Information
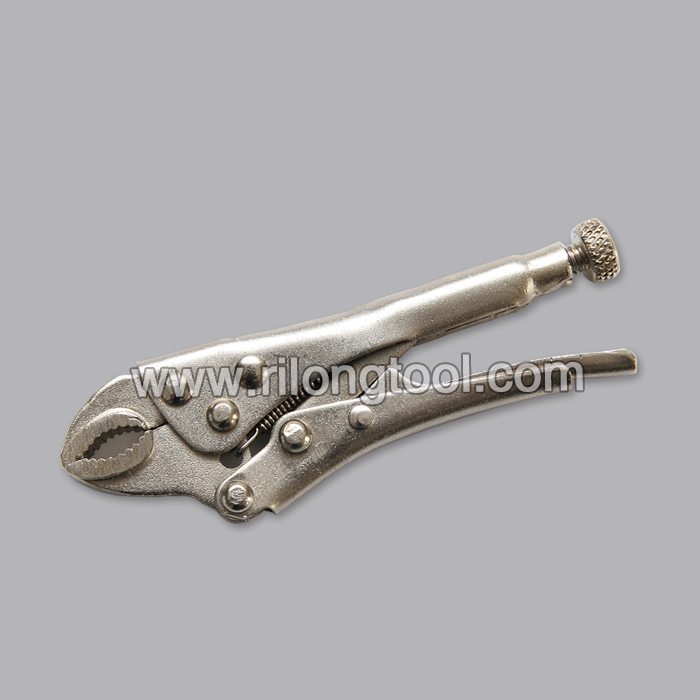
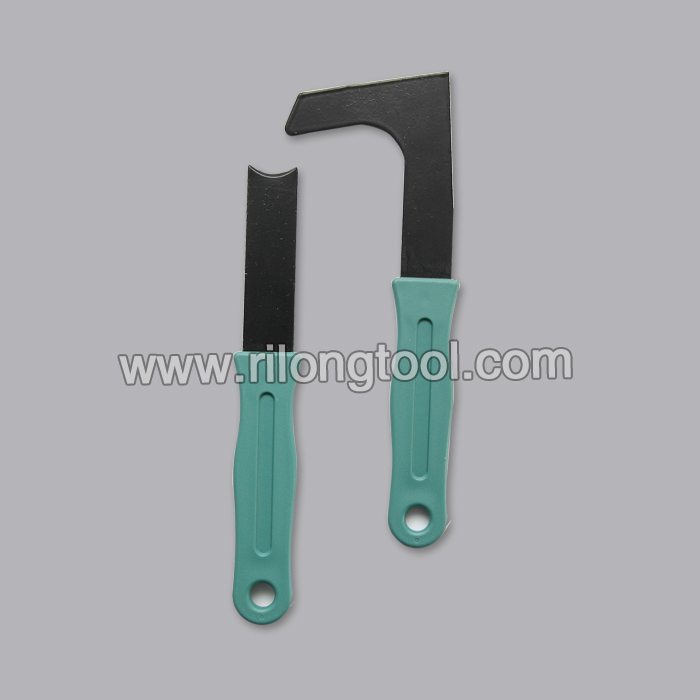
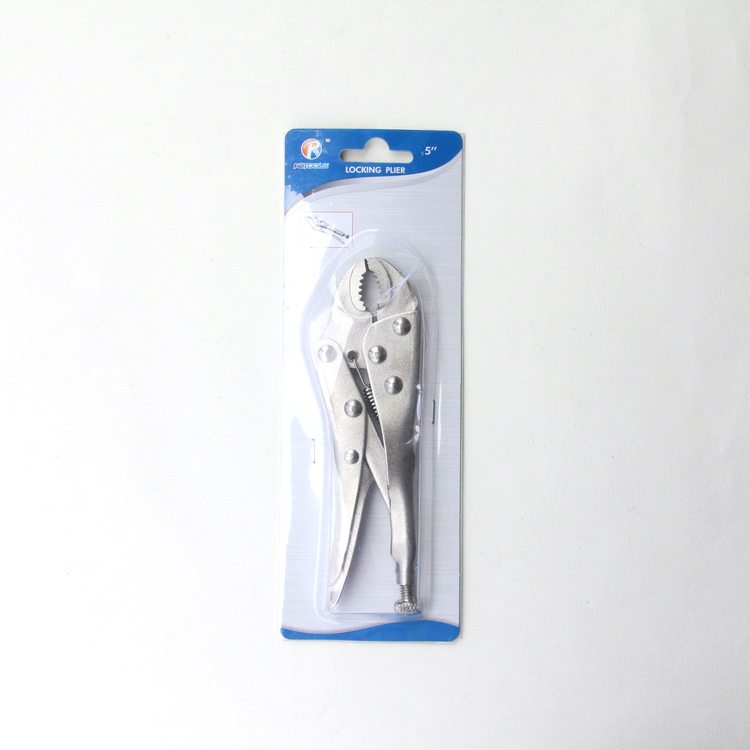
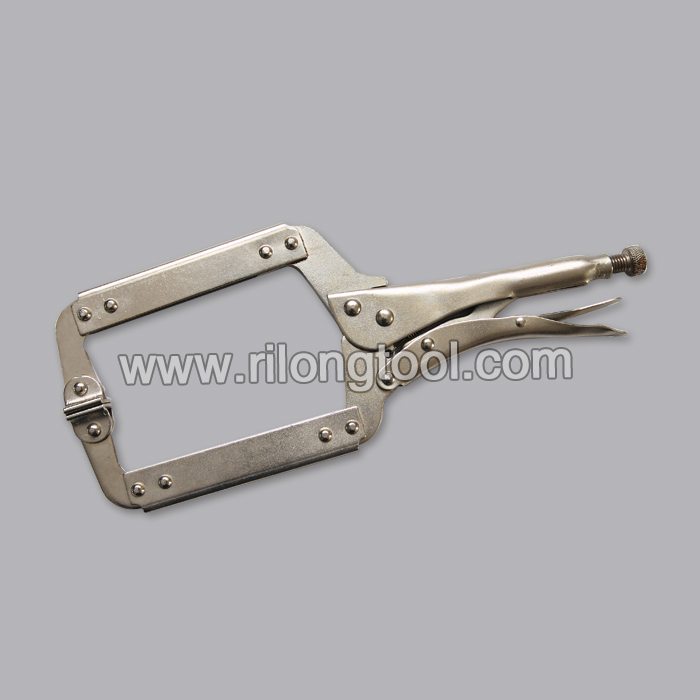
■Content:
| 3*150 screwdriver | 2pcs |
| 6*100 screwdriver | 2pcs |
| 3mm screwdriver | 2pcs |
| Hammer | 1pcs |
| Tape measure | 1pcs |
| Adjustable spanner | 1pcs |
| Long nose plier | 1pcs |
| Electroprobe | 1pcs |
| Slip-joint plier | 1pcs |
| Proof fabric | 1pcs |
| Saw bow | 1pcs |
| Scissor | 1pcs |
| File | 1pcs |
| Cutting plier | 1pcs |
| Knife | 1pcs |
■Package: BMC
■OEM: Acceptable
■Samples: 3 times of the original cost, and you need to afford the express cost
■Delivery Time: Always 30 working days depending on the order quantity
■Packing: By standard cartons
Product Description
■The hand tool set is hand-held, and it is very convenient.
Product Image
Delidding Intel 4790K with ‘Vice Only’ method.
Take a deep breath ![]() and give it a try! I was worried but it was surprisingly simple.
and give it a try! I was worried but it was surprisingly simple.
(But becareful and only if you are really sure about this, there are no guarantees and this will void your warranty!)
Used my cheap vice from Amazon, some painter’s tape around the vice jaws to not damage/scratch the processor, and some cloth in case the cpu falls down. No razor, hammer or wood block needed.
Make sure you align it very evenly on the vice jaws and go very, very slowly with the pressure.
I had around 25C difference between my second and fourth core under load. While core two would run into the high 90s, the fourth was only around low 70s – and yes, this is a 4790K that was supposed to be improved over the 4770K… yeah, right.
Now I get mid 60s in OCCT (non-AVX), 4.8GHz adaptive volts, for all of them, difference between the cores around 5C !
It took almost no power on the vice at all, the shear strength of the black ‘glue’ is really low. Was a bit nervous though, but it was much easier than I expected.
Much preferred this to the razor and even vice+hammer methods because it is much more controlled. But each to their own! ![]()
Kung Fu Maintenance Demonstrates how to install a pop up drain with silicone on a white cultured marble counter top. This method also works for stone, granite, or other porous materials that may be discolored by certain types of plumbers putty.
Nice Channel Locks Set https://amzn.to/2mc5IhS
Nice Adjustable Wrench https://amzn.to/2mc4we8
Nice Ratchet Set Standard And Deep Sockets https://amzn.to/2kYetf6
Plumbers Sockets Set https://amzn.to/2lYWzwT
Terry Cloth Towel Rags https://amzn.to/2lZaFOM
Get the screwdriver used in so many KFM videos here https://amzn.to/2kHFoOF
Get the multi tool pliers used in so many KFM videos https://amzn.to/2kWTjPp
Get The Kung Fu Maintenance book here https://amzn.to/2lEQPFk
Or the Kung Fu Maintenance E book here for less than $5 https://amzn.to/2lEY8wD
Get the Kung Fu Maintenance album (good driving music) “Up Beat” here https://amzn.to/2l41pZ1
Get the Kung Fu Maintenance album (nice Instrumental music) “Entropy” here https://amzn.to/2kl2U0p
I don’t work for any of the product companies listed however I do make a small commission on items ordered through the links.
https://KungFuMaintenance.Com
https://Blog.KungFuMaintenance.Com
https://Arcade.KungFuMaintenance.Com https://VGBlog.KungFuMaintenance.Com
https://TheMaintenanceEar.KungFuMaintenance.Com
Today I’ll be doing the silicone method of installing a popup drain for cultured marble, because sometimes, the putty might stain the cultured marble especially white cultured marble, and we don’t want that. Today, I’ll be using silicone instead.
First we’ve got our cap, the top portion of the popup. Around this, we’re going to put our silicone all the way around, just build it up nice and thick to make sure everything gets coated, like so. I’ve got the silicone on all the way around; we’re going to insert that into our drain. Then on the bottom, we’re going to feed our popup assembly. With the popup assembly, we’re going to want to coat the inner portions of the parts with the silicone also, this way it’s got it all in the threads. As we tighten this up together, everything gets siliconed up real good. In between both sides of the fittings, applying the silicone, as well as to the top threads, all the way around the inside. Then back to our cap that goes up top; we already put silicone around the outside. We’re going to put silicone around the inside also, that way when those threads get threaded in, they tighten up against that.
Insert that portion in the top and put our popup assembly up through the hole. Up top, we’re going to rotate this all the way on until it’s seated nice and strong. That’s about as far as I can go with that. [inaudible: 02:14] I’m not going to squeeze; I’m just going to hold it to make sure, and I’m rotating the bottom portion until that’s nice and set. Going back down below, what we need to do is make sure that the popup rod is facing towards the back. Now we can go ahead and tighten the net up, pulling down and turning it into place. Before I do that, I’m going to go ahead and put another bead of silicone around the inside of the top, pretty much all the way around, like so. We’re ready to tighten this up. It’s going to squeeze the silicone out of everywhere. Again, this is why you want several layers of gloves. In fact, I’m going to put on more because this way as it gets onto your gloves, you can just undo a layer if you need to. It makes clean- up a lot easier. Also when we go to remove the excess silicone, it makes that easier too.
We’re ready to tighten this up; again, making sure the popup is towards the back. Eventually, we’ll reach a point where we’re tight. I’m going to go ahead and remove a layer of gloves so I don’t get the silicone all over my channel locks. I can use my channel locks to tighten this down the rest of the way. This should be done until its 1/4 -turn past tight. If you have two pairs of channel locks, you can use one pair to hold the bottom. There is another way: You could take your screwdriver and insert that in here, and then use that to hold. Just be careful because this particular one’s made out of plastic so we don’t want to crack it. We’re nice and tight.
On the bottom, you’ll want to take your gloves and go all the way around, and just smooth this silicone in so that you’ve got a nice, even spread all the way around. On top, just take all the excess silicone out of here. We might have squeezed out through the top. At the bottom, going to put another little bead of silicone just around the bottom thread and then smooth that in with a glove so that it’s nice and even all the way around.