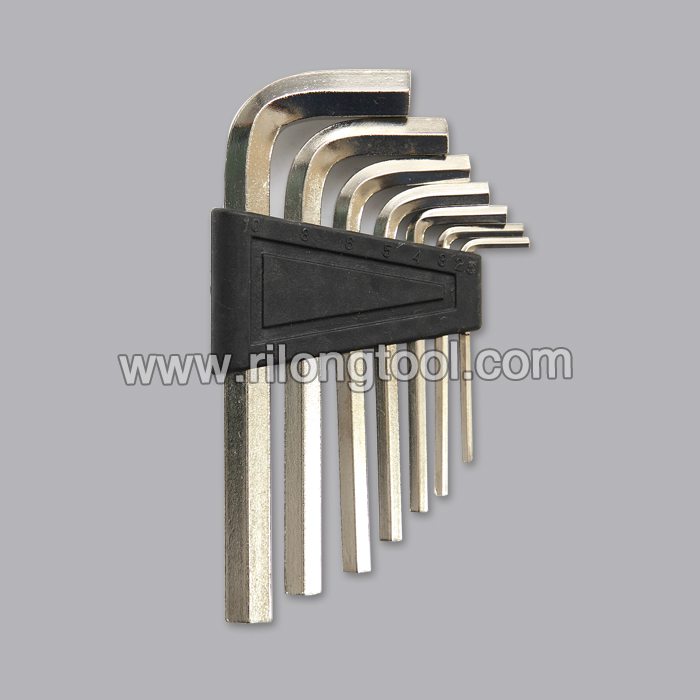
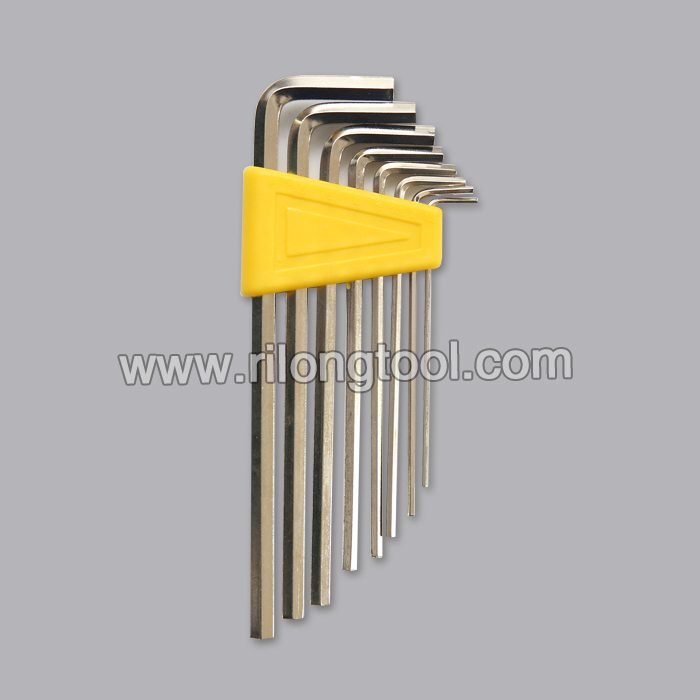
15 Years manufacturer 30-PCS Hex Key Sets surface by Chromeplate packaged by BMC to Chile Manufacturer
Short Description:
Product Detail
Product Tags
We take "customer-friendly, quality-oriented, integrative, innovative" as objectives. "Truth and honesty" is our management ideal for 15 Years manufacturer 30-PCS Hex Key Sets surface by Chromeplate packaged by BMC to Chile Manufacturer, We welcome new and old customers from all walks of life to contact us for future business relationships and achieving mutual success!
Basic Information
■Model Number: RL-NLJ016
Additional Information
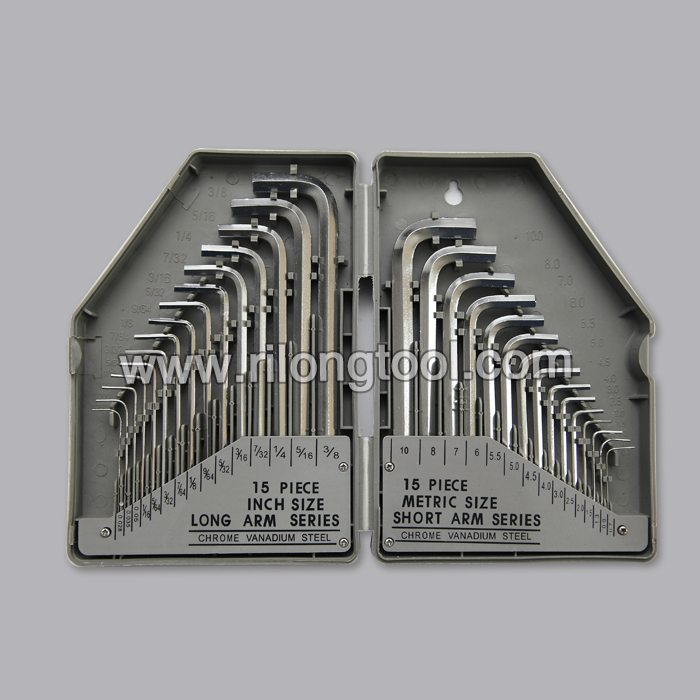
■Material: Chrome Vanadium Steel
■Size: 0.028″-3/8″, 0.7mm-10mm
■Surface Treatment: Chromeplate
■Heat Treatment: Optional
■Package: BMC + Double Blister Card
■OEM: Acceptable
■HS Code: 8204110000
■Samples: For FREE
■Delivery Time: Always 30 working days depending on the order quantity
■Packing: By standard cartons
Product Description
■Ningbo Rilong Hardware Tools Factory can provide various kinds of Hex Key with different sizes and packages.
Product Image
Bahco and NWS pliers
Sony KDL-55 TV Repair Guide for Main Board Replacement
Inputs not working on TV
Click Here to BUY TV REPAIR PARTS: https://www.shopjimmy.com
Find Sony A-1758-161-A Replacement A Boards / Main Boards at ShopJimmy.com:
https://www.shopjimmy.com/sony-a-1758-161-a-a-board.htm
• 180-Day Warranty on all Replacement TV Parts!*
• FREE Technical Support Tips! Call (877) 881-6492
*Some exclusions may apply
FOLLOW US:
Twitter – @ShopJimmy – https://twitter.com/shopjimmy
Facebook – ShopJimmy.com – https://www.facebook.com/ShopJimmy
………………………………………………………………………………………..
The A Board / Main Board shown in this video is a replacement for the following LCD TV models:
LCD TV Model Numbers:
• SONY KDL-55EX500
• SONY KDL-55EX501
• SONY KDL-60EX500
Top Common Sony LCD TV problems for bad Main Unit Boards:
• No Picture, No Sounds
• Blinking Standby Light
• Bad Picture
• Solarization, Inverted Picture, Contrast Issues
• Missing TV Channels or TV Inputs, Bad Tuner
• Bad HDMI
………………………………………………………………………………………..
TV Repair Made Easy™
© 2013 ShopJimmy.com, LLC.
………………………………………………………………………………………..
Disclaimer:
WARNING! Please make sure that your TV is unplugged, and that you are protected from static electricity. There are various ways to eliminate static electricity, but the most common way is to use a grounding wrist strap. Take photos and notes often to help remember the location and orientation of the parts and wires. And feel free to pause and backtrack through this tutorial as much as needed.
Materials Needed:
To be best prepared to replace the Main Board inside of your TV, you will need the following materials:
• A pair of latex gloves.
• Your ShopJimmy.com replacement Main Board.
• A pair of needle-nose pliers.
• Both a flat-head and phillips screwdriver.
• And a cup to hold all screws, clips, and any other small items. So let’s get to it shall we?
Instructions:
• Locate your TVs identification label and take note of the brand name model number, serial number and model code if present.
• Unscrew and remove the back cover.
• The main board typically manages your accessory inputs and outputs and houses the TV tuner.
• For this TV the Main Board is located on the right side of the chassis.
• Carefully unplug all wires by hand.
• Unlock the wire connectors by squeezing the tab or tabs and gently remove the wires. Be sure to keep a firm grip with both hands.
• Unscrew and remove your bad Main Board.
• The part number is not found anywhere on the board.
• Search your TV model number on https://www.shopjimmy.com to find a compatible replacement. Filter your search results by the appropriate part type.
• Click on the search results to view important product specifications. Verify that your original board matches all requirements noted in the product description prior to purchase.
• Insert all screws to secure your ShopJimmy New Main Board to the chassis.
• Reconnect all cables.
• Return the back cover to its original position and secure all screws.
• This ShopJimmy replacement Main Board does not require any manual configurations in order to function. Simply plug in and power on and your TV will function as if new.
Thank you for watching one of many tutorials here at ShopJimmy.com! If you have any further questions regarding your repair, simply post a question in the comments section below, or call our award-winning customer service team at the number on your screen! We strive to learn and share new TV Repair Tips everyday. Subscribe to our YouTube Channel and grow with us! Share our videos with your friends, and help us spread the savings! And don’t forget to hit that Like button!