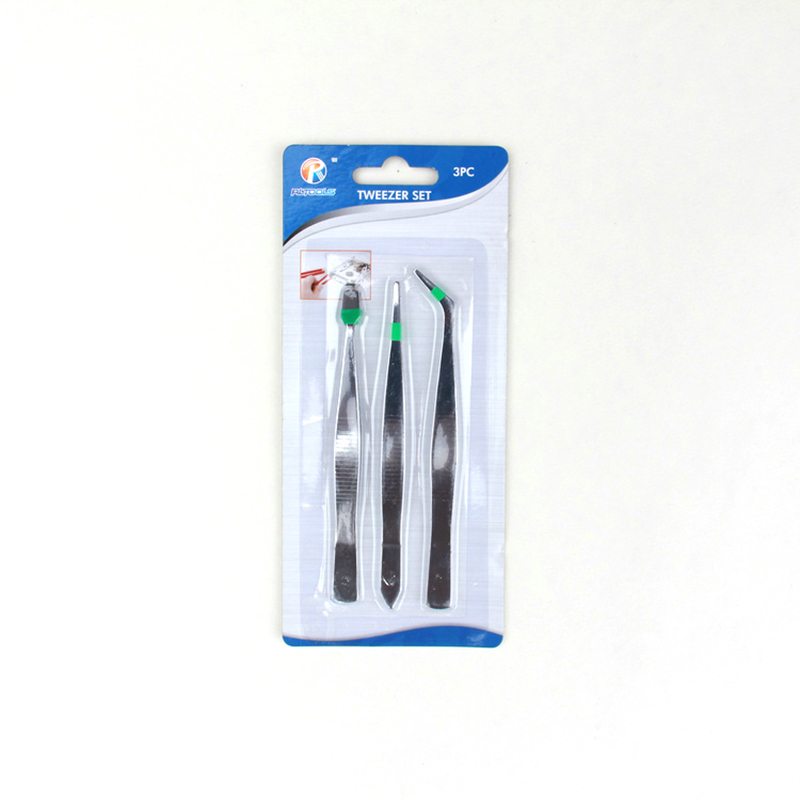
10 Years manufacturer 3-PCS Small Tweezer Sets Netherlands Manufacturers
Short Description:
Product Detail
Product Tags
Our products are widely recognized and trusted by users and can meet continuously changing economic and social needs of 10 Years manufacturer 3-PCS Small Tweezer Sets Netherlands Manufacturers, We always hold the philosophy of win-win, and build long-term cooperation relationship with customers from around the world.We believe that our growth base on customer's success, credit is our life.
Basic Information
■Model Number: RL-NZ002A
Additional Information
■Material: Q195 Cold-rolled Steel
■Thickness: 0.8mm, 1.0mm, 1.2mm
■Surface Treatment: Chrome Plated
■Finish: Polished
■Package: Suction Card
■OEM: Acceptable
■HS Code: 8203200000
■Samples: For FREE
■Delivery Time: Always 30 working days depending on the order quantity
■Packing: By standard cartons
Attention
■Do not heat it.
■Do not take acid drugs with it.
■Keep it clean after using it.
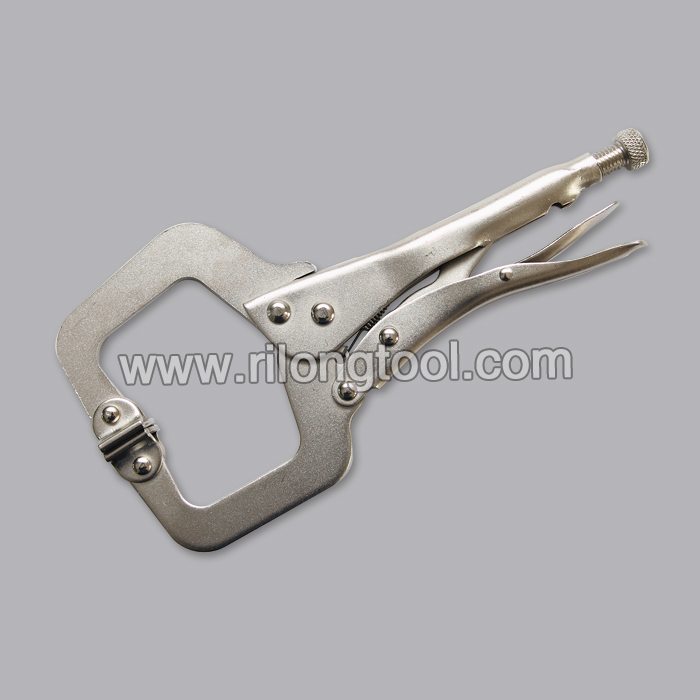
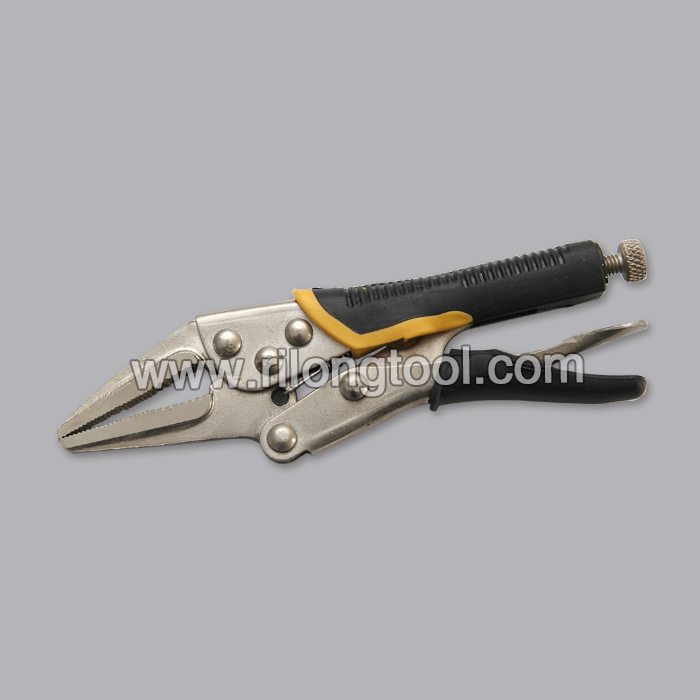
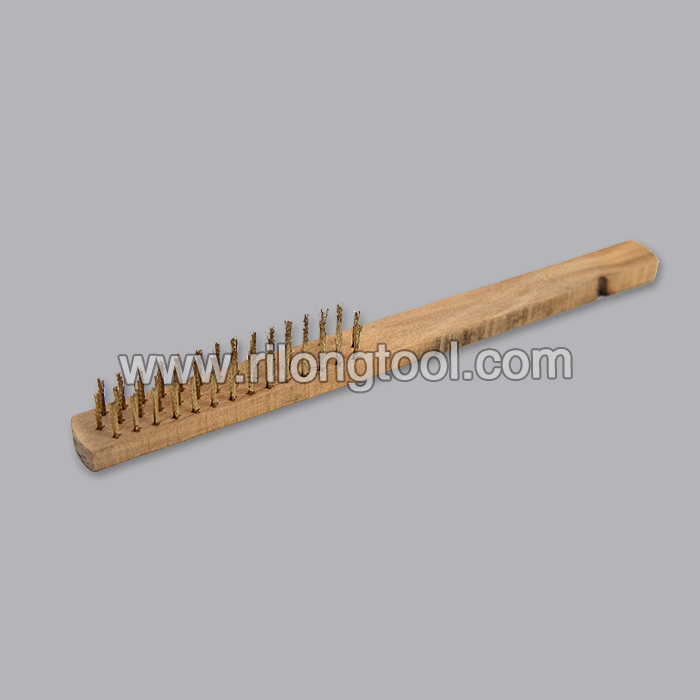
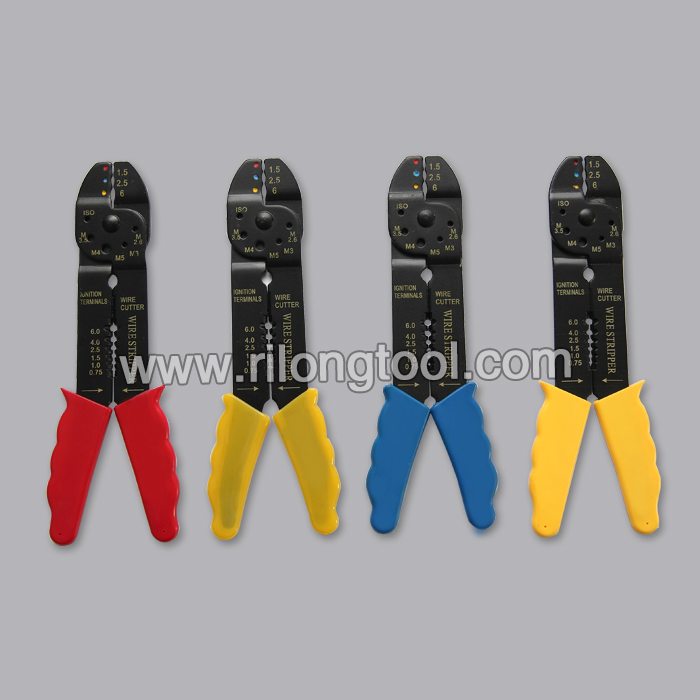
Product Image
Buy the new Washer Drain Pump Motor 4681EA2001T https://www.appliancepartspros.com/lg-drain-pump-motor-4681ea2001t-ap5328388.html
Follow these simple step-by-step instructions to replace the Washer Drain Pump Motor 4681EA2001T on LG, Sears, and Kenmore washers.
Symptoms: Motor shorted out; not pumping water out.
Buy the new Washer Drain Pump Motor 4681EA2001T https://www.appliancepartspros.com/lg-drain-pump-motor-4681ea2001t-ap5328388.html Most orders delivered in 2 business days or less.
Tools needed: Phillips screwdriver, flathead screwdriver, pliers, vice grip locking pliers.
This LG made Washer Drain Pump Motor replaces the following older part numbers: 4681EA2001D, 2003273, 4681EA2001U, AH3579318, EA3579318, PS3579318.
Take note, the following instructions do not apply for measuring chain length with a 28 or 29 tooth sprocket. Please see your manufacturer’s (Shimano/Campagnolo) instructions for those.
The thing to note is that the outer link should pull the inner through the connecting pin, not the other way around. CONTRARY TO WHAT I HAVE ON THE VIDEO! I had made a wrong interpretation before filming. I stand corrected.
——————–
This is a quick guide on how to change a Shimano Ultegra chain on your bike.
I’ve create this guide as I keep forgetting how to properly install the chain according to Shimano’s recommendations, which state not only a correct side to install the chain, but also a direction, with regards to the connecting link. The later is illustrated in diagram “A”.
Before you take apart the chain that is in place, make sure that, while the chain sits on the big ring and the smallest sprocket, both pulleys’ axles line up vertically. If they don’t, you’ll want to add or remove the appropriate number of links in order to make them line up, as this is what determines the length of the chain.
Shimano’s chains come in different lengths. Namely, 114, 116 or 118 links per chain. I usually get the 116 links ones, but only need 111, so I have to remove 5. As most carpenters would say: “measure twice, cut once”. You don’t have to push the pin completely out. Just make it clear the inner link and twist it to break the chain.
Weave the chain properly through the pulleys and derailleurs with the opened part at the bottom and find a way to hold both sides of the chain, with the outer connecting link on the forward side, hanging from the big ring, and its inner link on the other side, hanging from the rear derailleur.
Now put the pin. I’ll now use the chain tool to push it in. You’ll feel resistance when the pin’s groove goes through the outer side of the link, then it will ease off until you get to the other side of the link, where you’ll feel resistance again. Once it becomes easy to push, stop. Make sure the pin is pushed flush with the outer edge of the link and use pliers to break off the guide.
Often times, the pin will not allow the chain to bend freely, as you can see here, and this may cause issues when changing gears. Flex the chain sideways gently and lubricate until this is resolved.
Finally, with the chain on the big ring and the smallest sprocket, make sure both pulleys are still in line vertically.
You now have your new chain installed, and as clean as can be, probably for the last time in my case…