10% OFF Price For Various kinds of Industrial Brushes to Jeddah Factory
Short Description:
Product Detail
Product Tags
Our company sticks to the principle of "Quality is the life of the company, and reputation is the soul of it" for 10% OFF Price For Various kinds of Industrial Brushes to Jeddah Factory, We welcome new and old customers from all walks of life to contact us for future business relationships and mutual success!
Basic Information
■Model Number: RL-B008
Additional Information
■Material: Steel
■OEM: Acceptable
■Samples: For FREE
■Delivery Time: Always 30 working days depending on the order quantity
■Packing: By standard cartons
Product Description
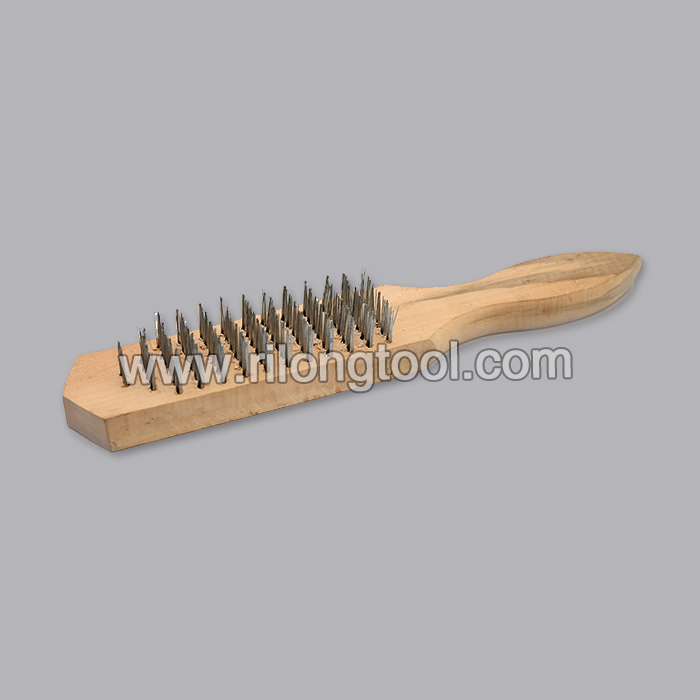
■Ningbo Rilong Hardware Tools Factory can supply various kinds of industrial brushes with very cheap prices.
Product Image
Wasn’t that bad lol decide for yourselves
This tutorial is for an 05 ZX6r, but the same method can be used to change any motorcycle chain.
Instructions:
Start by removing the front sprocket cover.
Save this bolt for last. (bike specific)
Inspect both the front and rear sprockets. If they are worn they must be replaced to prevent premature ware to the new chain.
Now remove the cotter pin from the rear axle nut, and loosen the axle. You will also need to turn in the chain adjusters so that you can slid the axle forwards.
Grind the face off of one of the chain links.
It should look like this when you are finished.
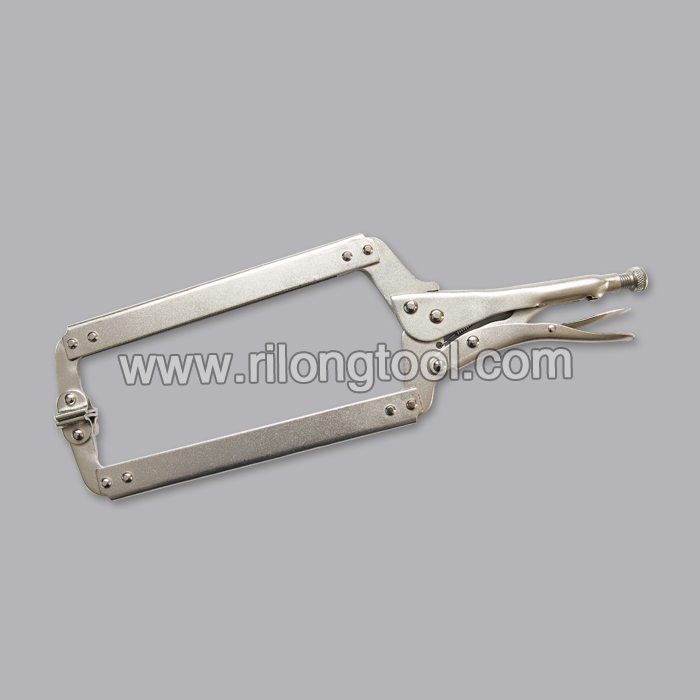
Assemble the chain cutting tool in the proper configuration.
Tighten the tool onto the chain and turn the handle to drive the pin through the chain.
Your new chain will likely need to be cut down.
The chain I purchased has 120 links on it, so I will be removing 10 links so that it will match the 110 link chain that I just removed.
Here you can see the pin that has been removed from the chain.
Roll the chain onto the sprockets.
Make sure to put an O-ring on both sides of the master link then insert it into the new chain. Place two more O-rings on the master link, and then install the front plate.
The front plate will need to be pressed on. Make sure that it goes on evenly, and matches the other outer links.
Now assemble you riveting tool in the proper configuration.
Tighten tool onto the chain but be careful not to compress the front plate. Turn the handle to flair the rivet. You can use a wrench for better leverage.
A proper flair should be between 0.152mm and 0.5mm Over flaring the rivet can cause it to crack or burst.
The rivet on the left has been properly flared.
Set the chain slack. Mine calls for 30-35 mm or 1.2-1.4 in. (most chains fall into this range)
torque the rear axle nut 94 ft bl in this case. (bike specific)
Install new cotter pin.
Check for kinks in the chain
Reinstall front sprocket cover
This bolt first (bike specific)
Music:
Slow Burn; Organic Grunge; Funk Game Loop Kevin MacLeod (incompetech.com)
Licensed under Creative Commons: By Attribution 3.0
https://creativecommons.org/licenses/by/3.0/
If you have read this far you also probably noticed two typos in the video, and yes I know they are there, and no I am not going to fix it.