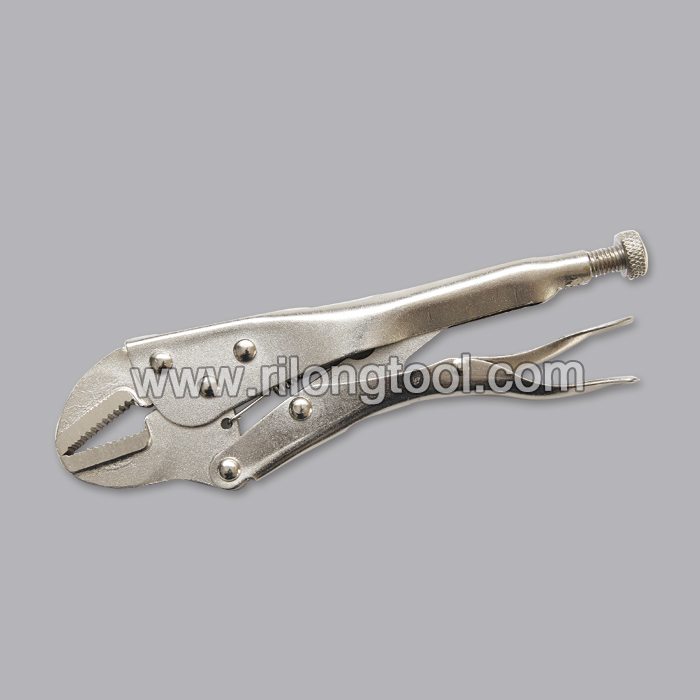
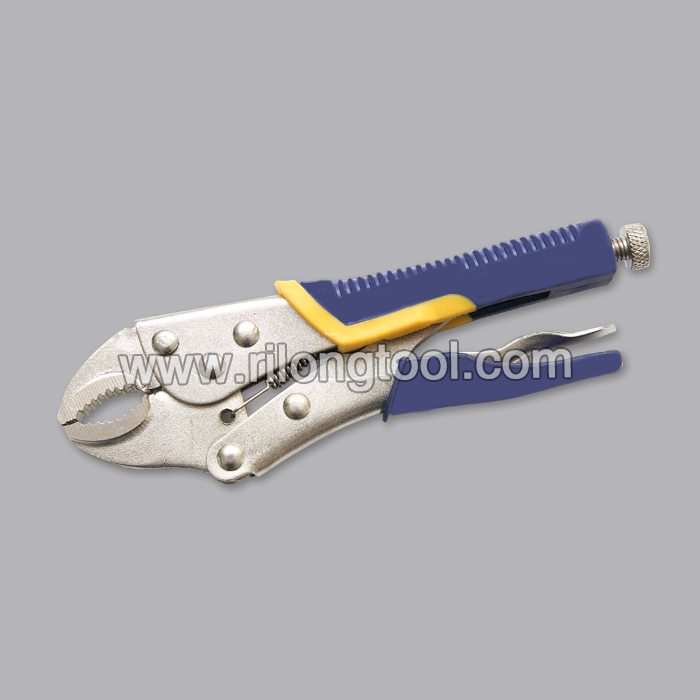
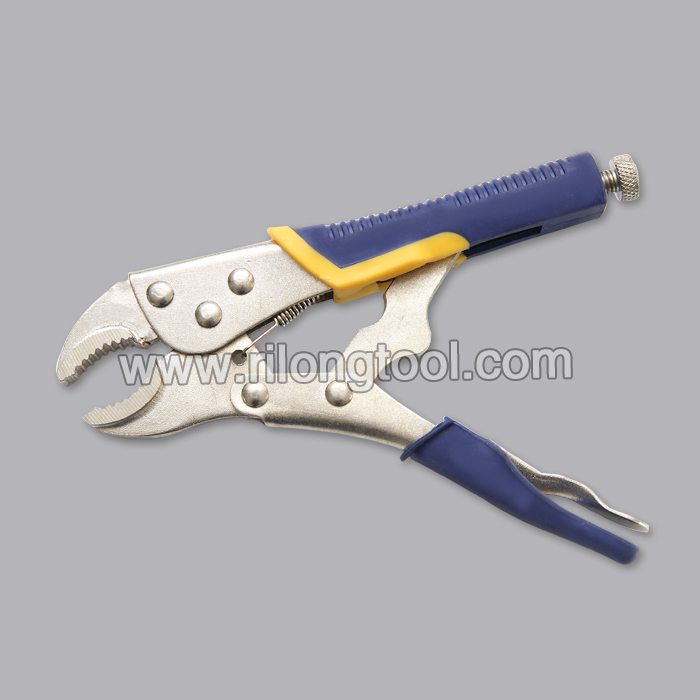
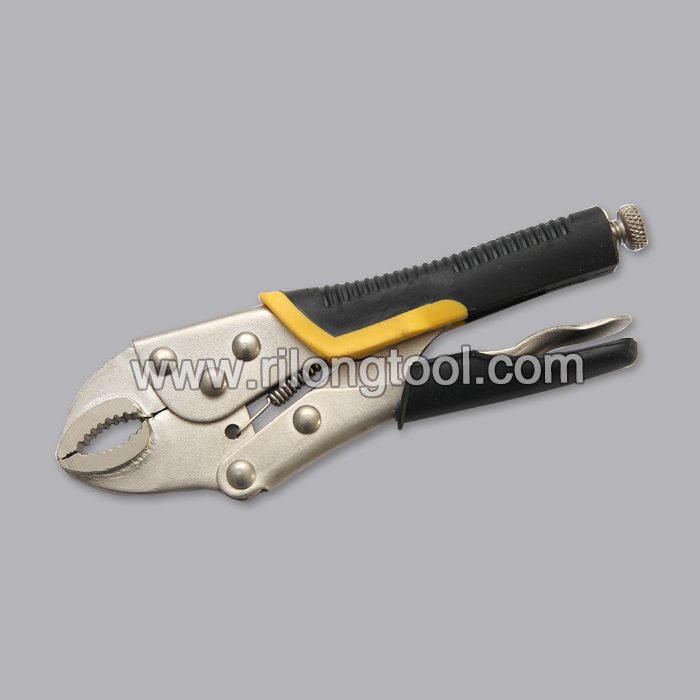
10% OFF Price For 10″ Backhand Round-Jaw Locking Pliers with Jackets Wholesale to Latvia
Short Description:
Product Detail
Product Tags
With advanced technologies and facilities, strict quality control, reasonable price, superior service and close co-operation with customers, we are devoted to providing the best value for our customers for 10% OFF Price For 10″ Backhand Round-Jaw Locking Pliers with Jackets Wholesale to Latvia, We welcome new and old customers from all walks of life to contact us for future business relationships and achieving mutual success!
Basic Information
■Model Number: RL-DLQ013
Additional Information
■Material: A3# steel (Q235) or 45# steel
■Size: 10”
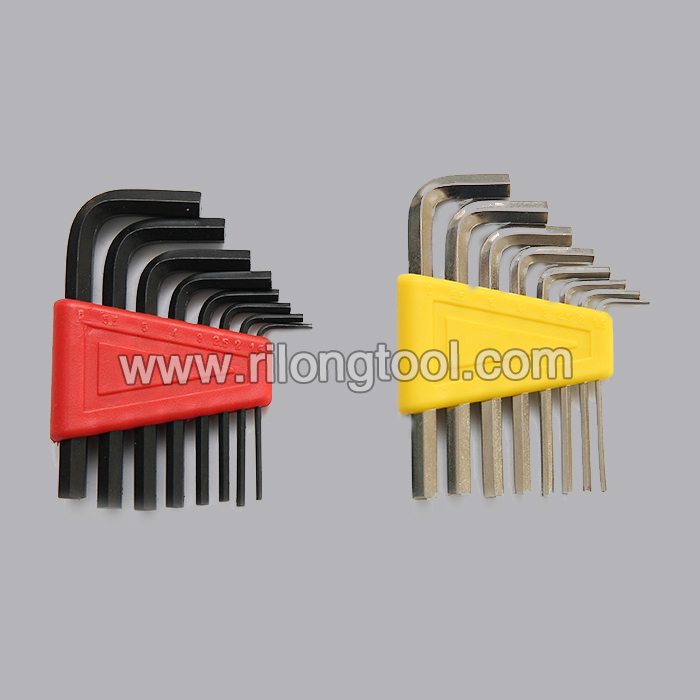
■Surface Treatment: Nickel-plated, Zinc-plated, Black Oxide, Electrophoresis
■Heat Treatment: Optional
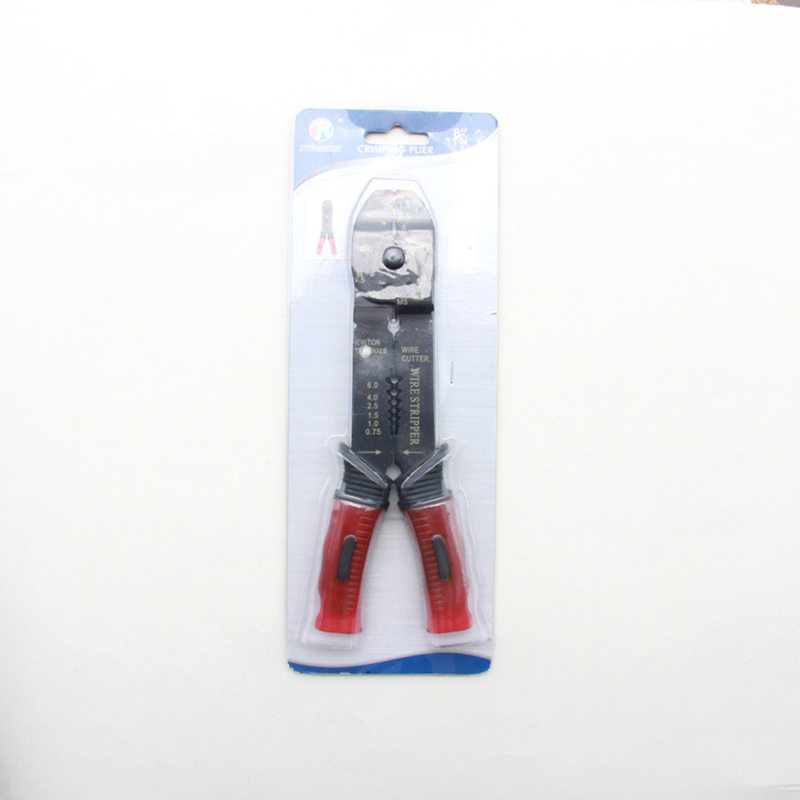
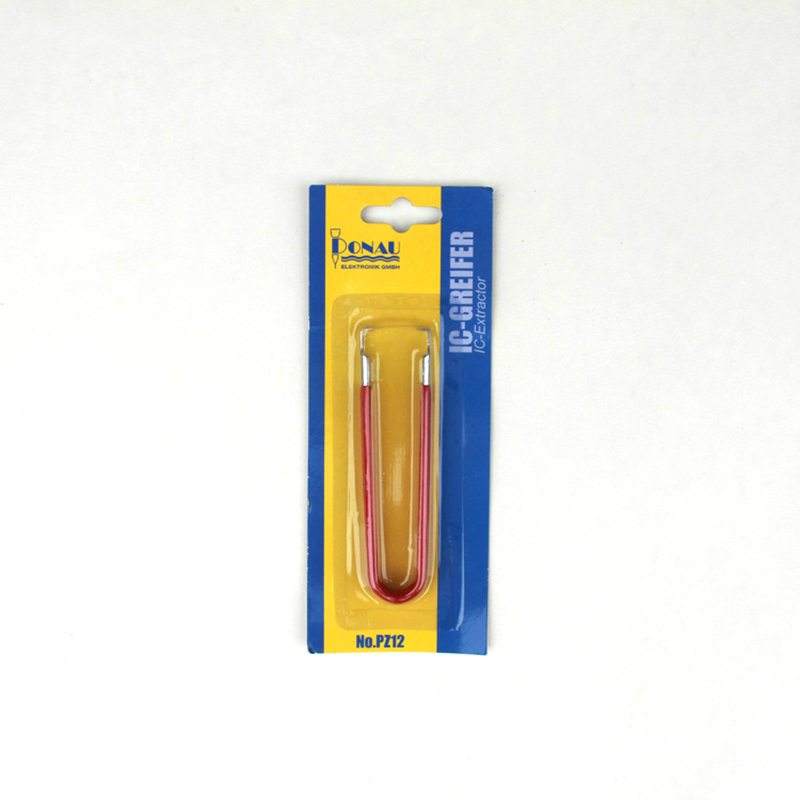
■Package: Blister Card, Suction Card, Tie Card, Double Blister Card
■OEM: Acceptable
■HS Code: 8203200000
■Samples: For FREE
■Delivery Time: Always 30 working days depending on the order quantity
■Packing: By standard cartons
Product Description
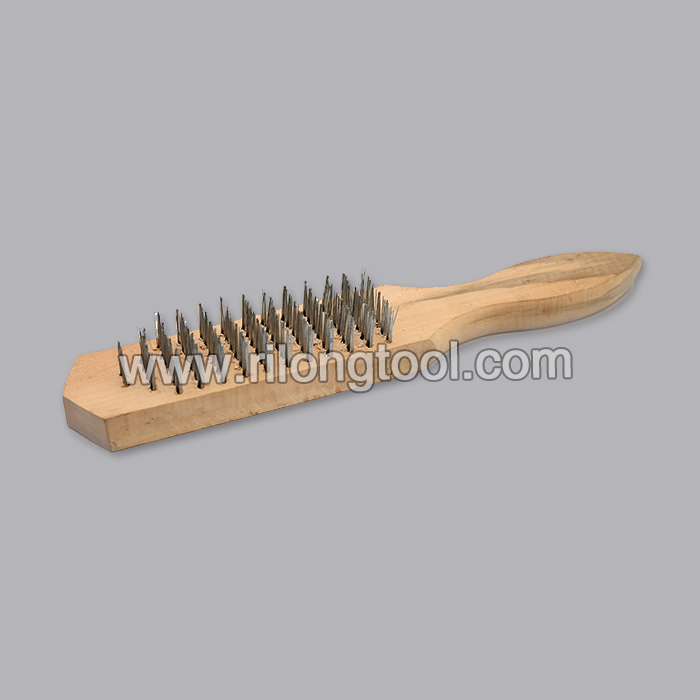
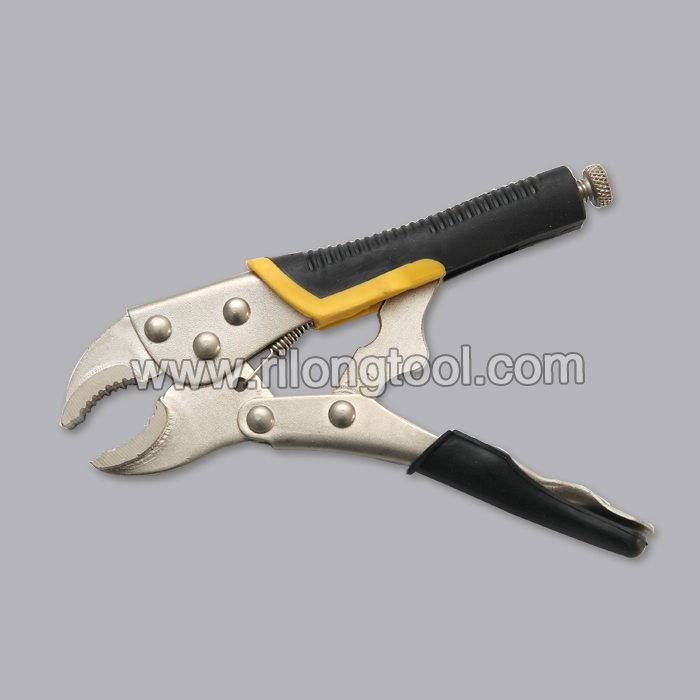
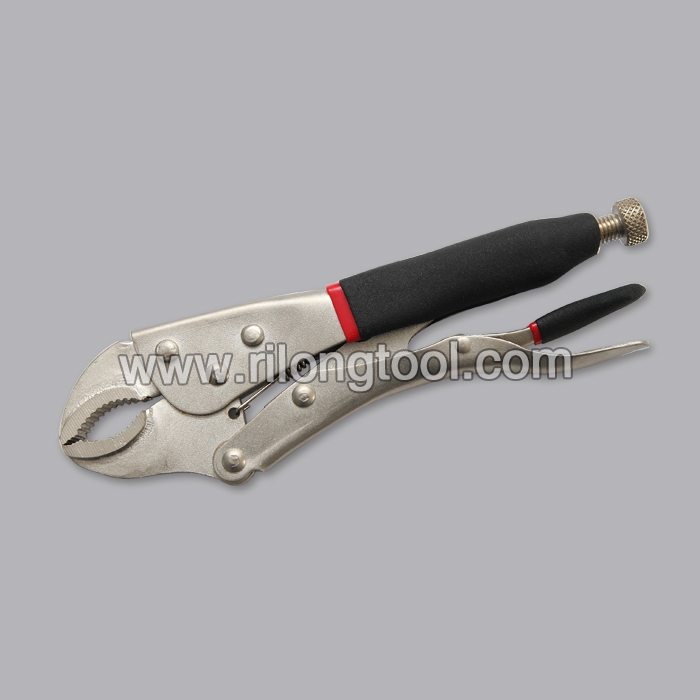
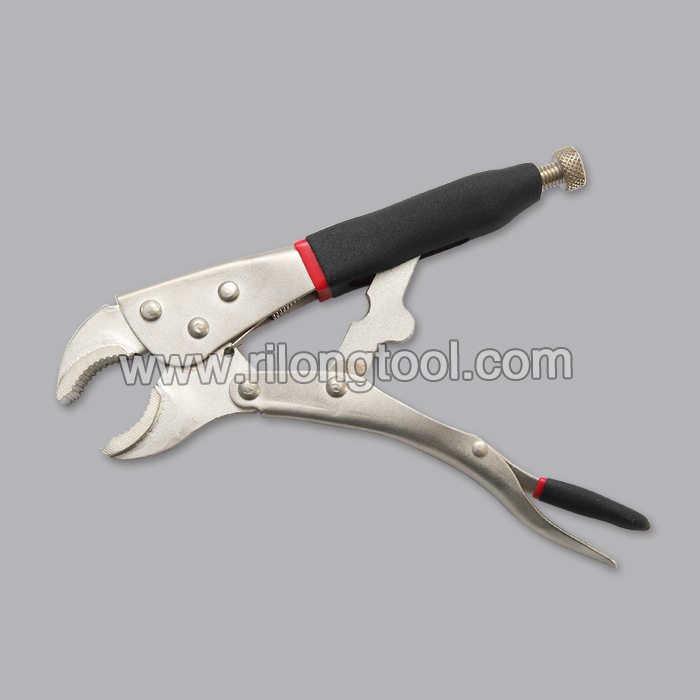
■Mainly used for clamping parts to rivet, weld, grind and so on, which is characterized by the powerful clamp force produced by the jaw. It can lock tight so that the parts won’t fetch away. Besides, jaws have a lot of levels to adjust for the use of different thickness of parts, and it also can be used as a wrench.
■Flexible using, long life and good tenacity.
■The screw tuning button can give the best clamp size easily.
Product Image
Learn how 2 tie a Bucktail Jig with Master Bucktail designer John Boggio of Asgard Jigs.
1-631-226-2001
www.facebook.com/chasintailfishing
hamma515@aol.com
Citreon C4 highlight mechanism to hopefully here to help other C4 owners to change their bulbs! Video is upside down, but you’ll clearly see a spring being held on one side by a clip. Warning: This spring is rock hard to move if not moved for a while – I had to use long nose pliers! Image is taken from the passenger side highlight. I found that using a mobile set to video (with the phone’s light on) to see into the hole helped – and a pair of long nosed pliers to help release the spring.
The correct procedure is to:
1. Remove black electrical block (just pulls off)
2. Unclip spring
3. Remove bulb
4. Insert new bulb
5. Replace spring
6. Replace electrical block
However… I’ve done this and here’s my findings!
The electrical block didn’t want to move. It does just pull off – but with it being where it is – it’s hard to get a firm grip and didn’t want to move – so I used my long nosed pliers to unclip the spring. The issue here was the bulb was stuck behind the spring clip and loose and I still couldn’t get the bulb out… so I used the long nosed pliers again to carefully “unhook” one end of the spring. The other end then simply slid out and I had the whole spring in my hand (be very careful not to lose this, or drop it in the hole or you’ll struggle after that!).
The bulb then came out easy enough, with the block connector still connected. Simply pull off the connector.
Now put the spring back in it’s place – you may need to double check how it looks by using your phone / mirror as the spring has a straight side, and a curved side – the straight side goes into the clip (as you can see in the video before I attempted anything). Don’t clip it back yet – just put the two ends back into their holders, and make sure the straight end does (when closed) aligns with the clip.
Once the clip has been put back, put the new bulb in. The bulb (H7) has a circular base, with a flat piece. This flat piece faces UP (towards the bonnet). Now clip the spring back. This should be easy to do now, no pliers needed – your thumb should work, and re-connect the electrical block.
It was a pain in the rear, and Halford’s “tried” to do this for me and according to their computer system has “DNA” (Do Not Attempt) – to alert the sales guys to leave well alone!
If you have some patients, you can easily do this. Took me a while to figure out so I’m posting this to help others.
Again, just be careful not to lose the spring if you do attempt it my way. It’s NOT the recommended method – but was the method I found to work best for me at the time.
[UPDATE - 01/11/2011]
Well, as it happened – a year after the video was posted – I had to replace the bulbs again (both front ones). Just for the record, this was easy to do as I was able to use the PROPER procedure since the clip was no longer stuck. The clip moved out the way easy enough and I was able to put the replacement bulbs in. The passenger side took maybe 10 minutes as I did struggle getting the bulb straight in the little holder, but the drivers side took 2 minutes to do! The black blocks came off easy enough, and the springs moved out of the way as intended – releasing the bulb. Full proper procedure is listed above!